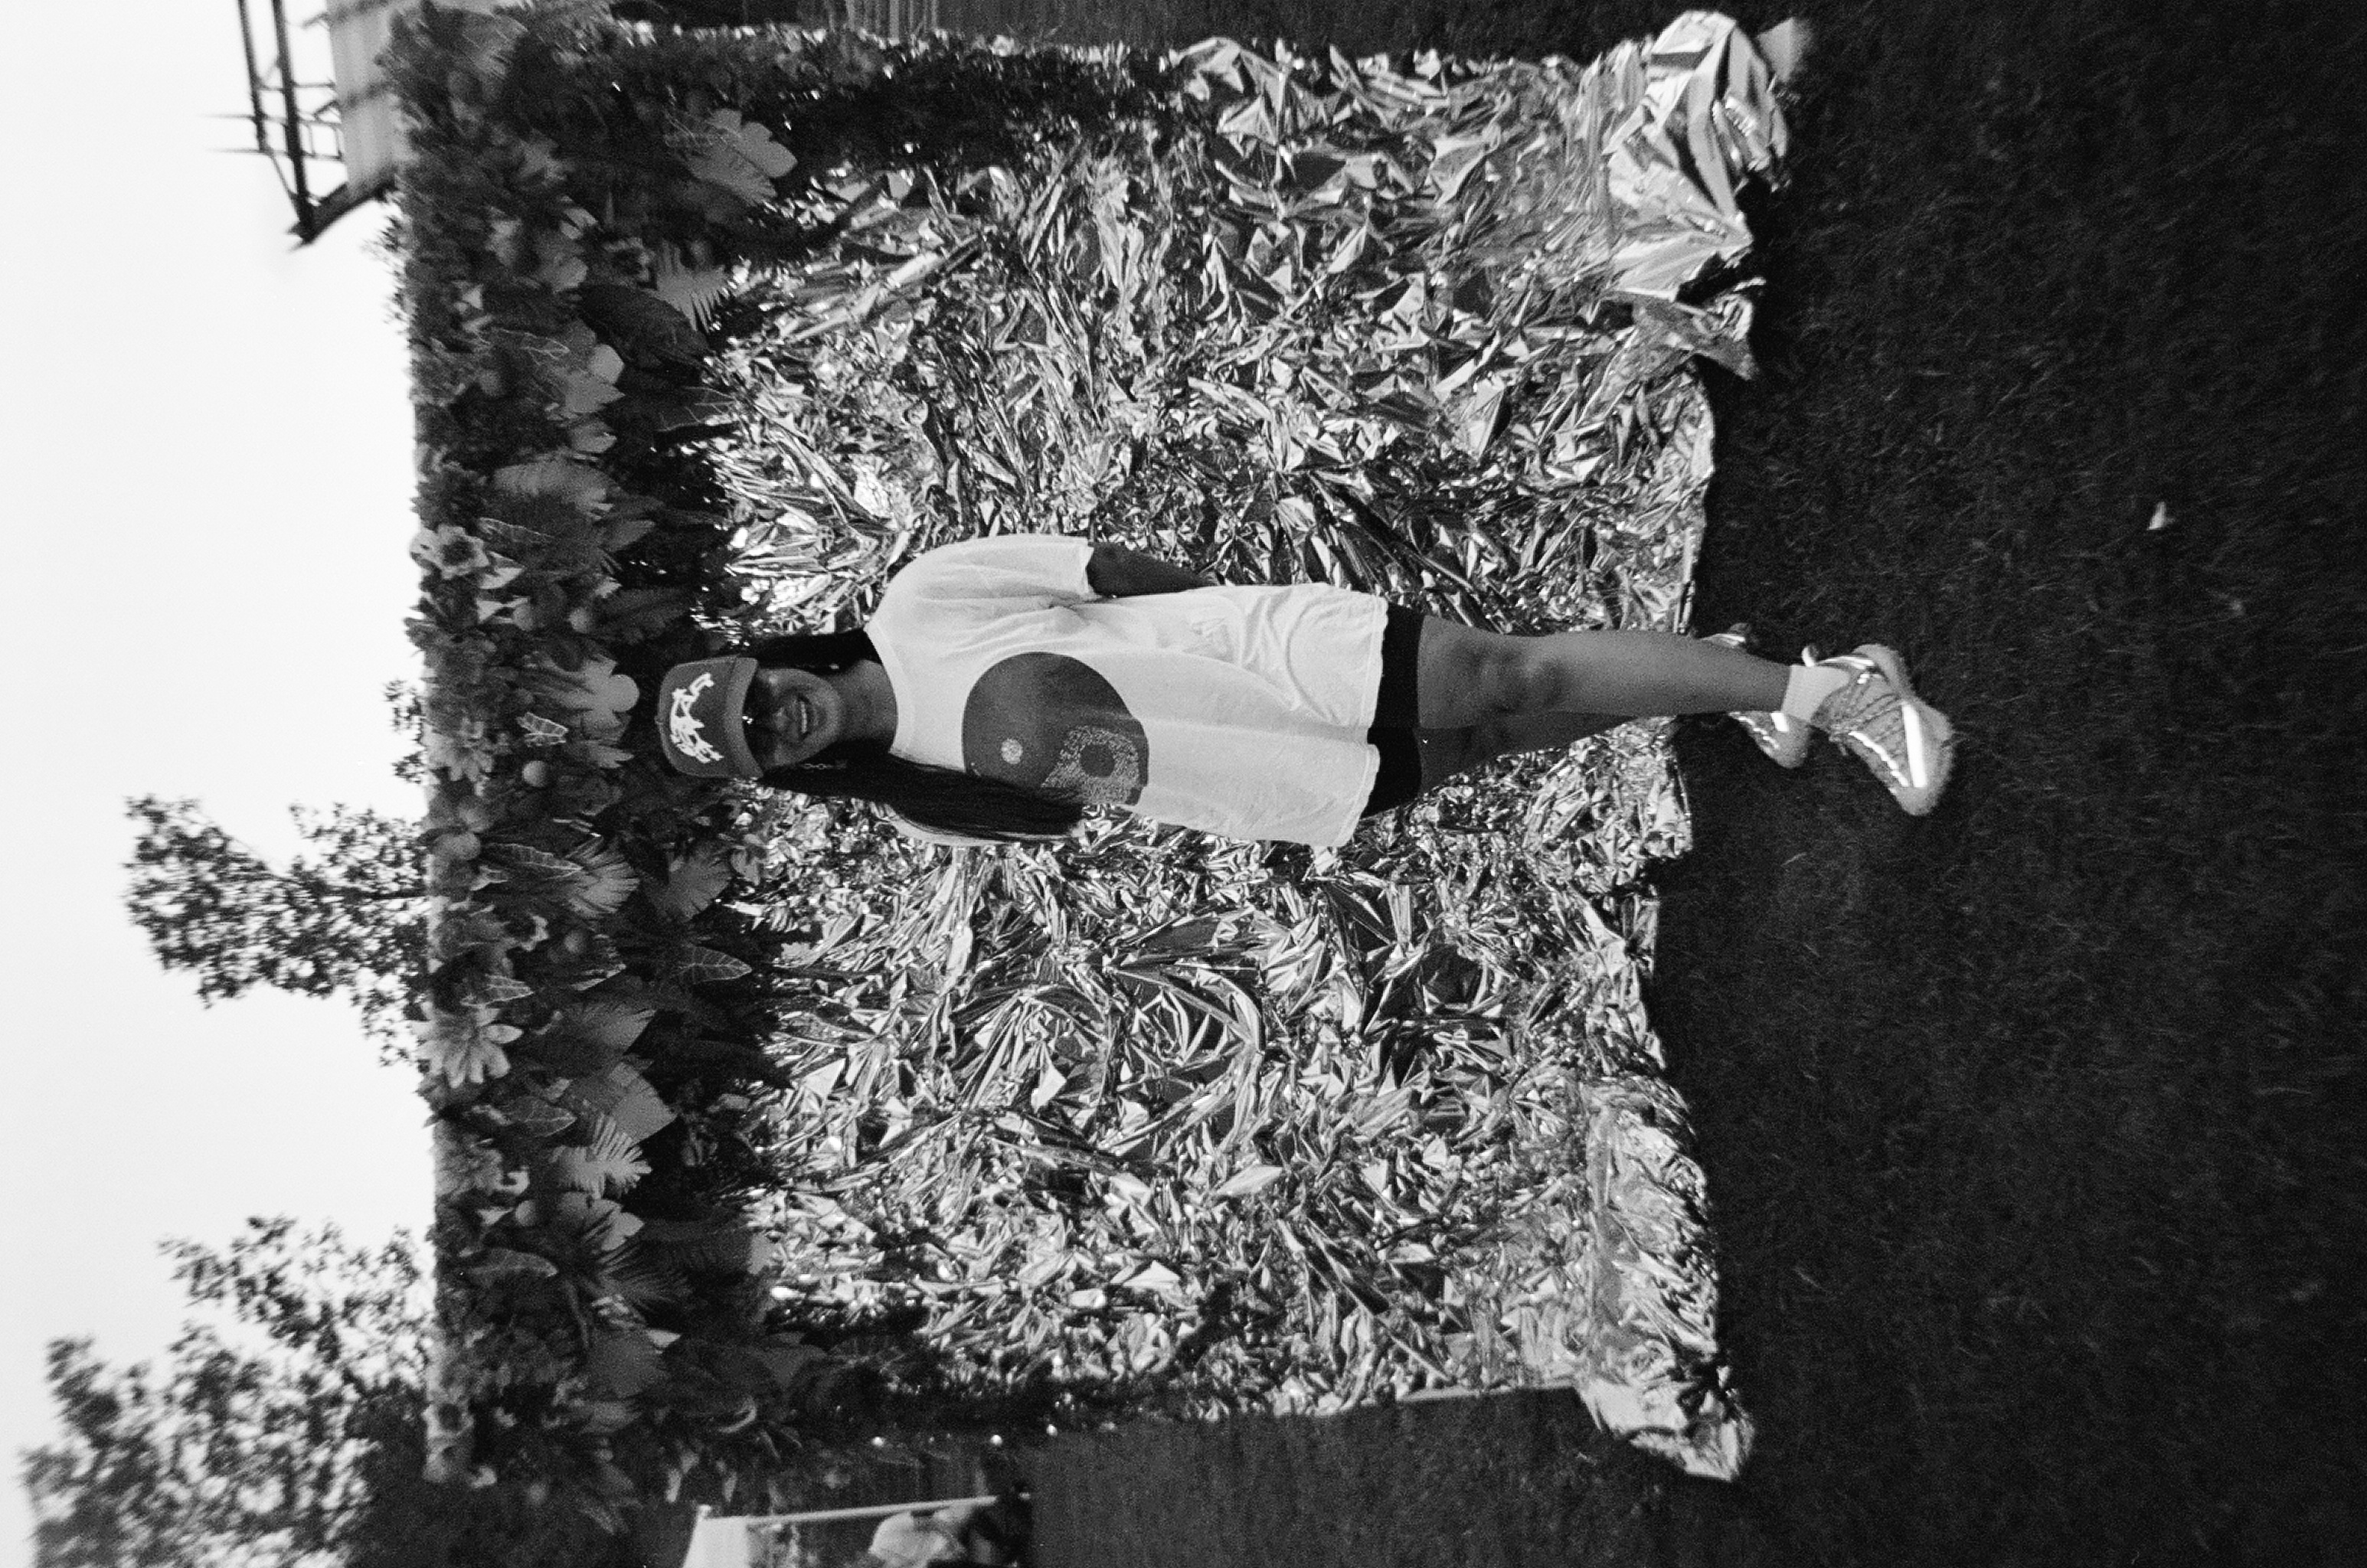
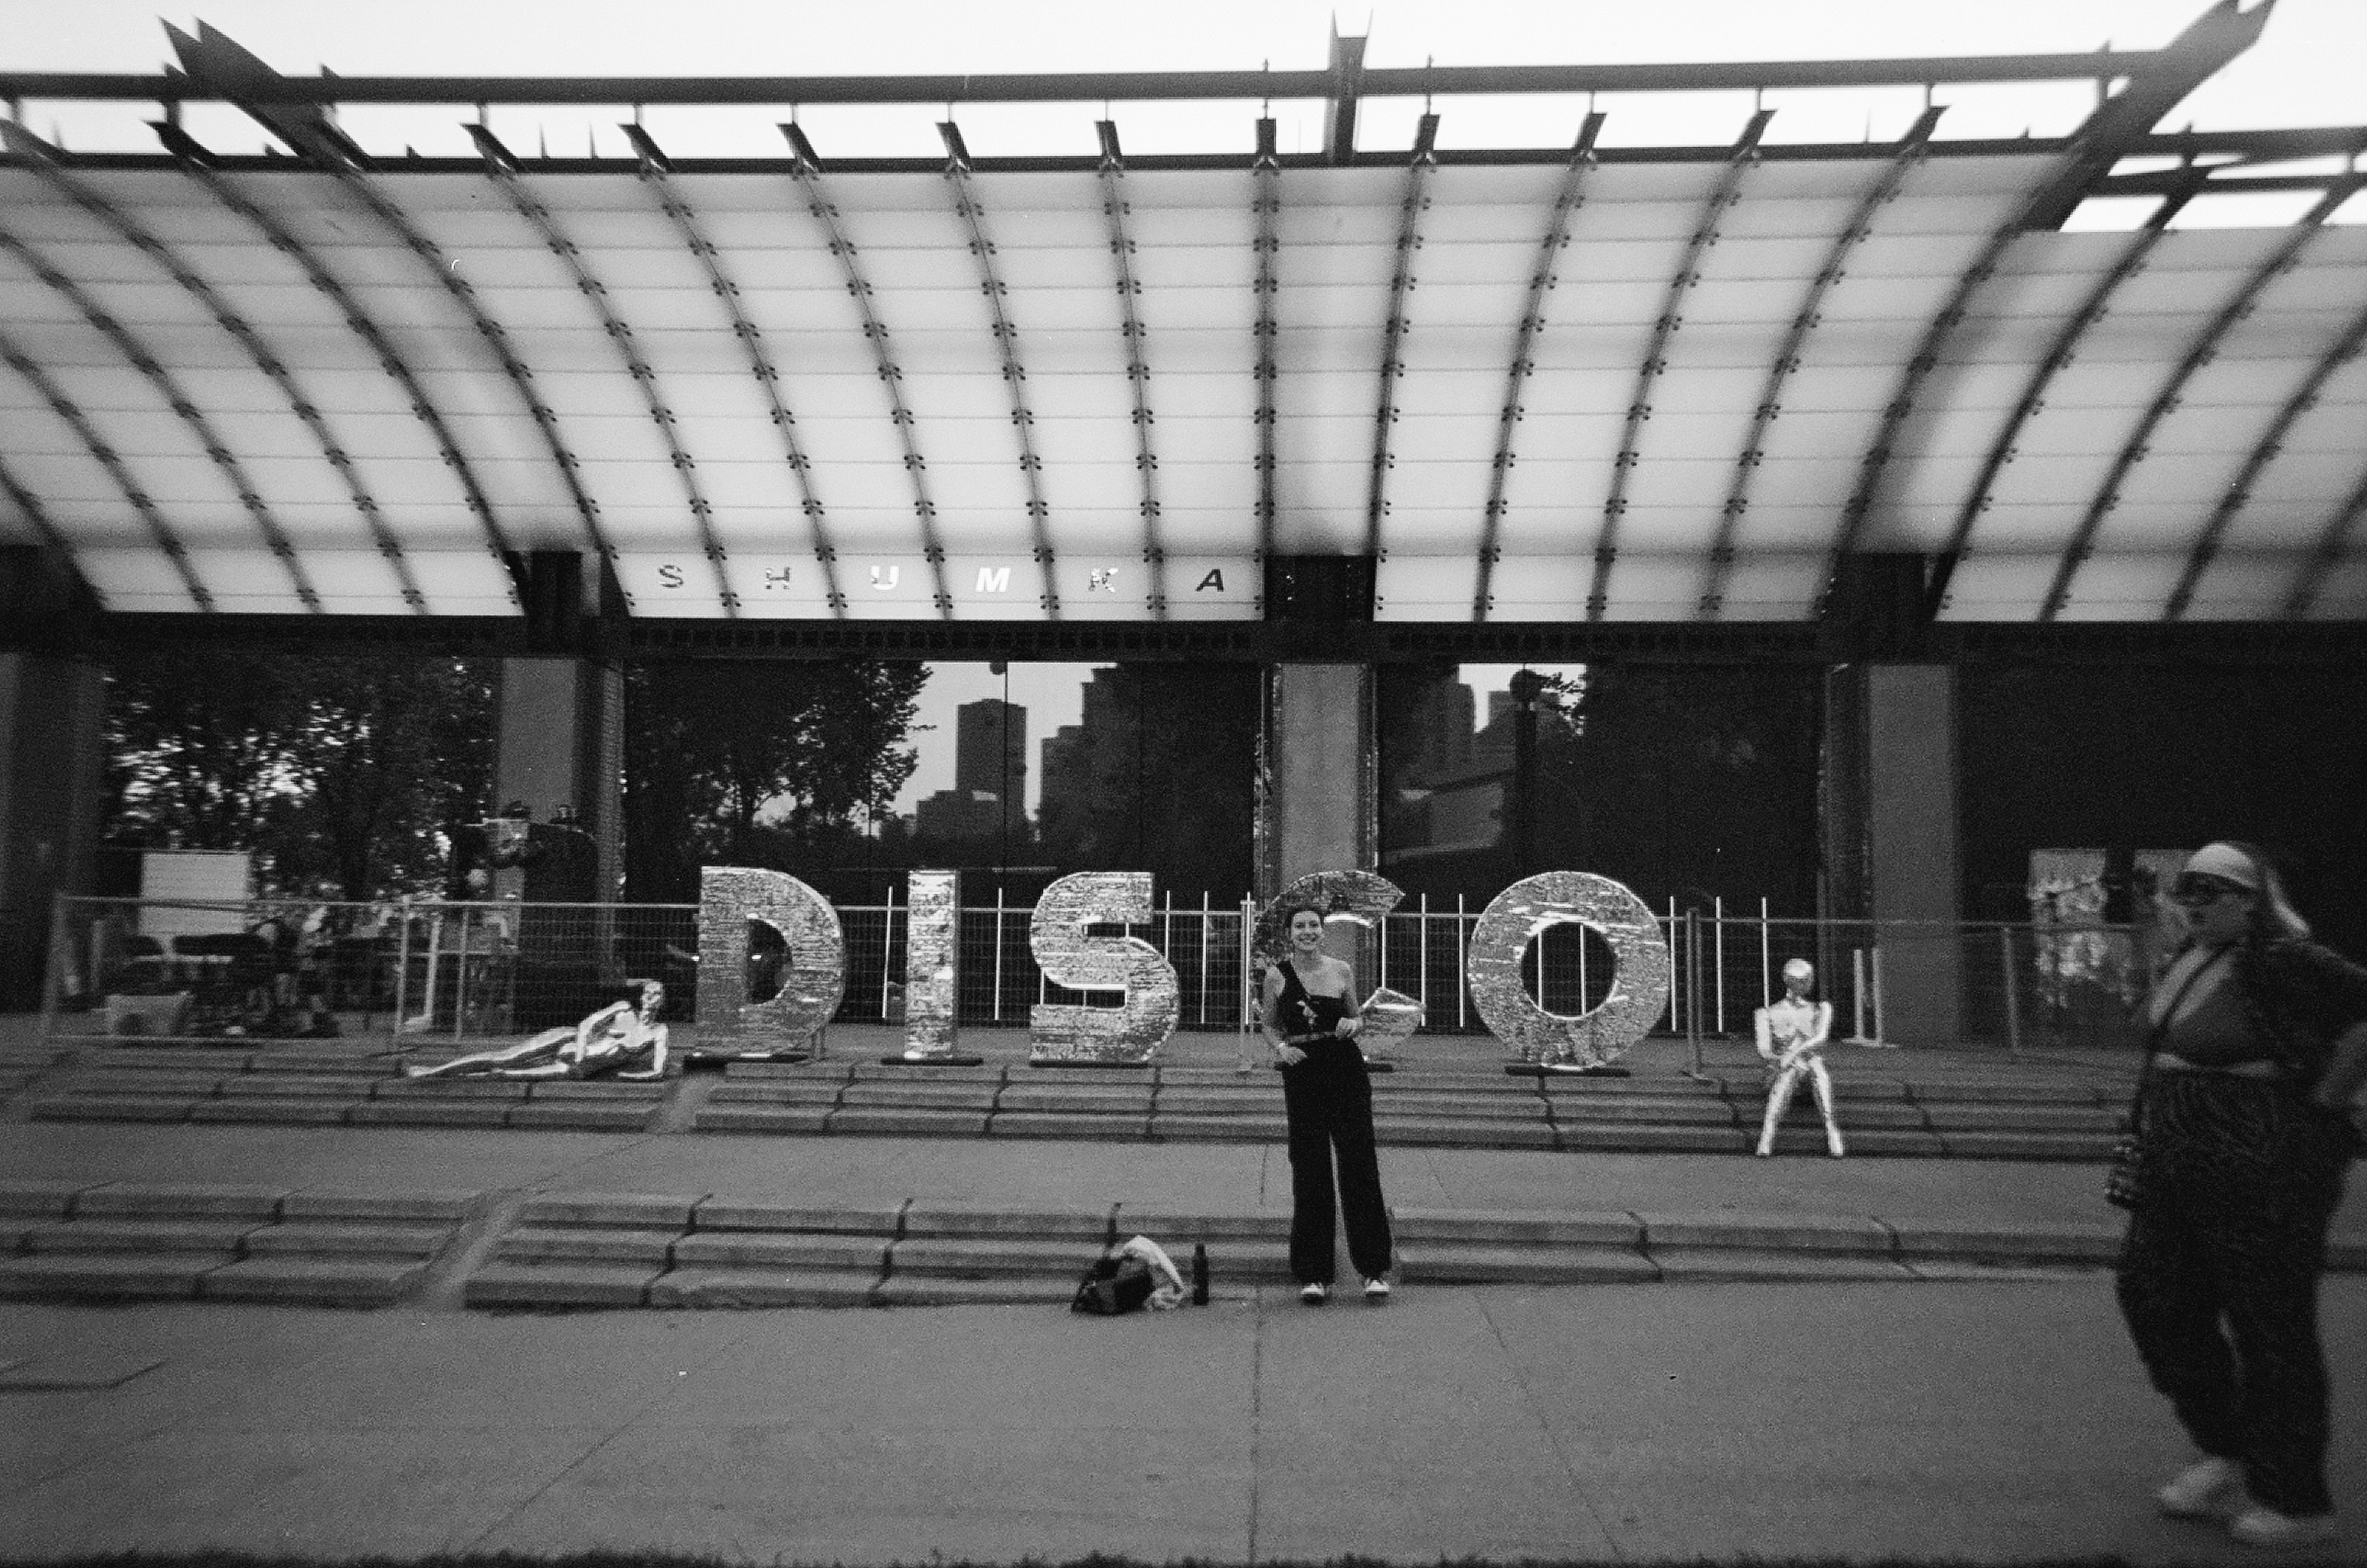
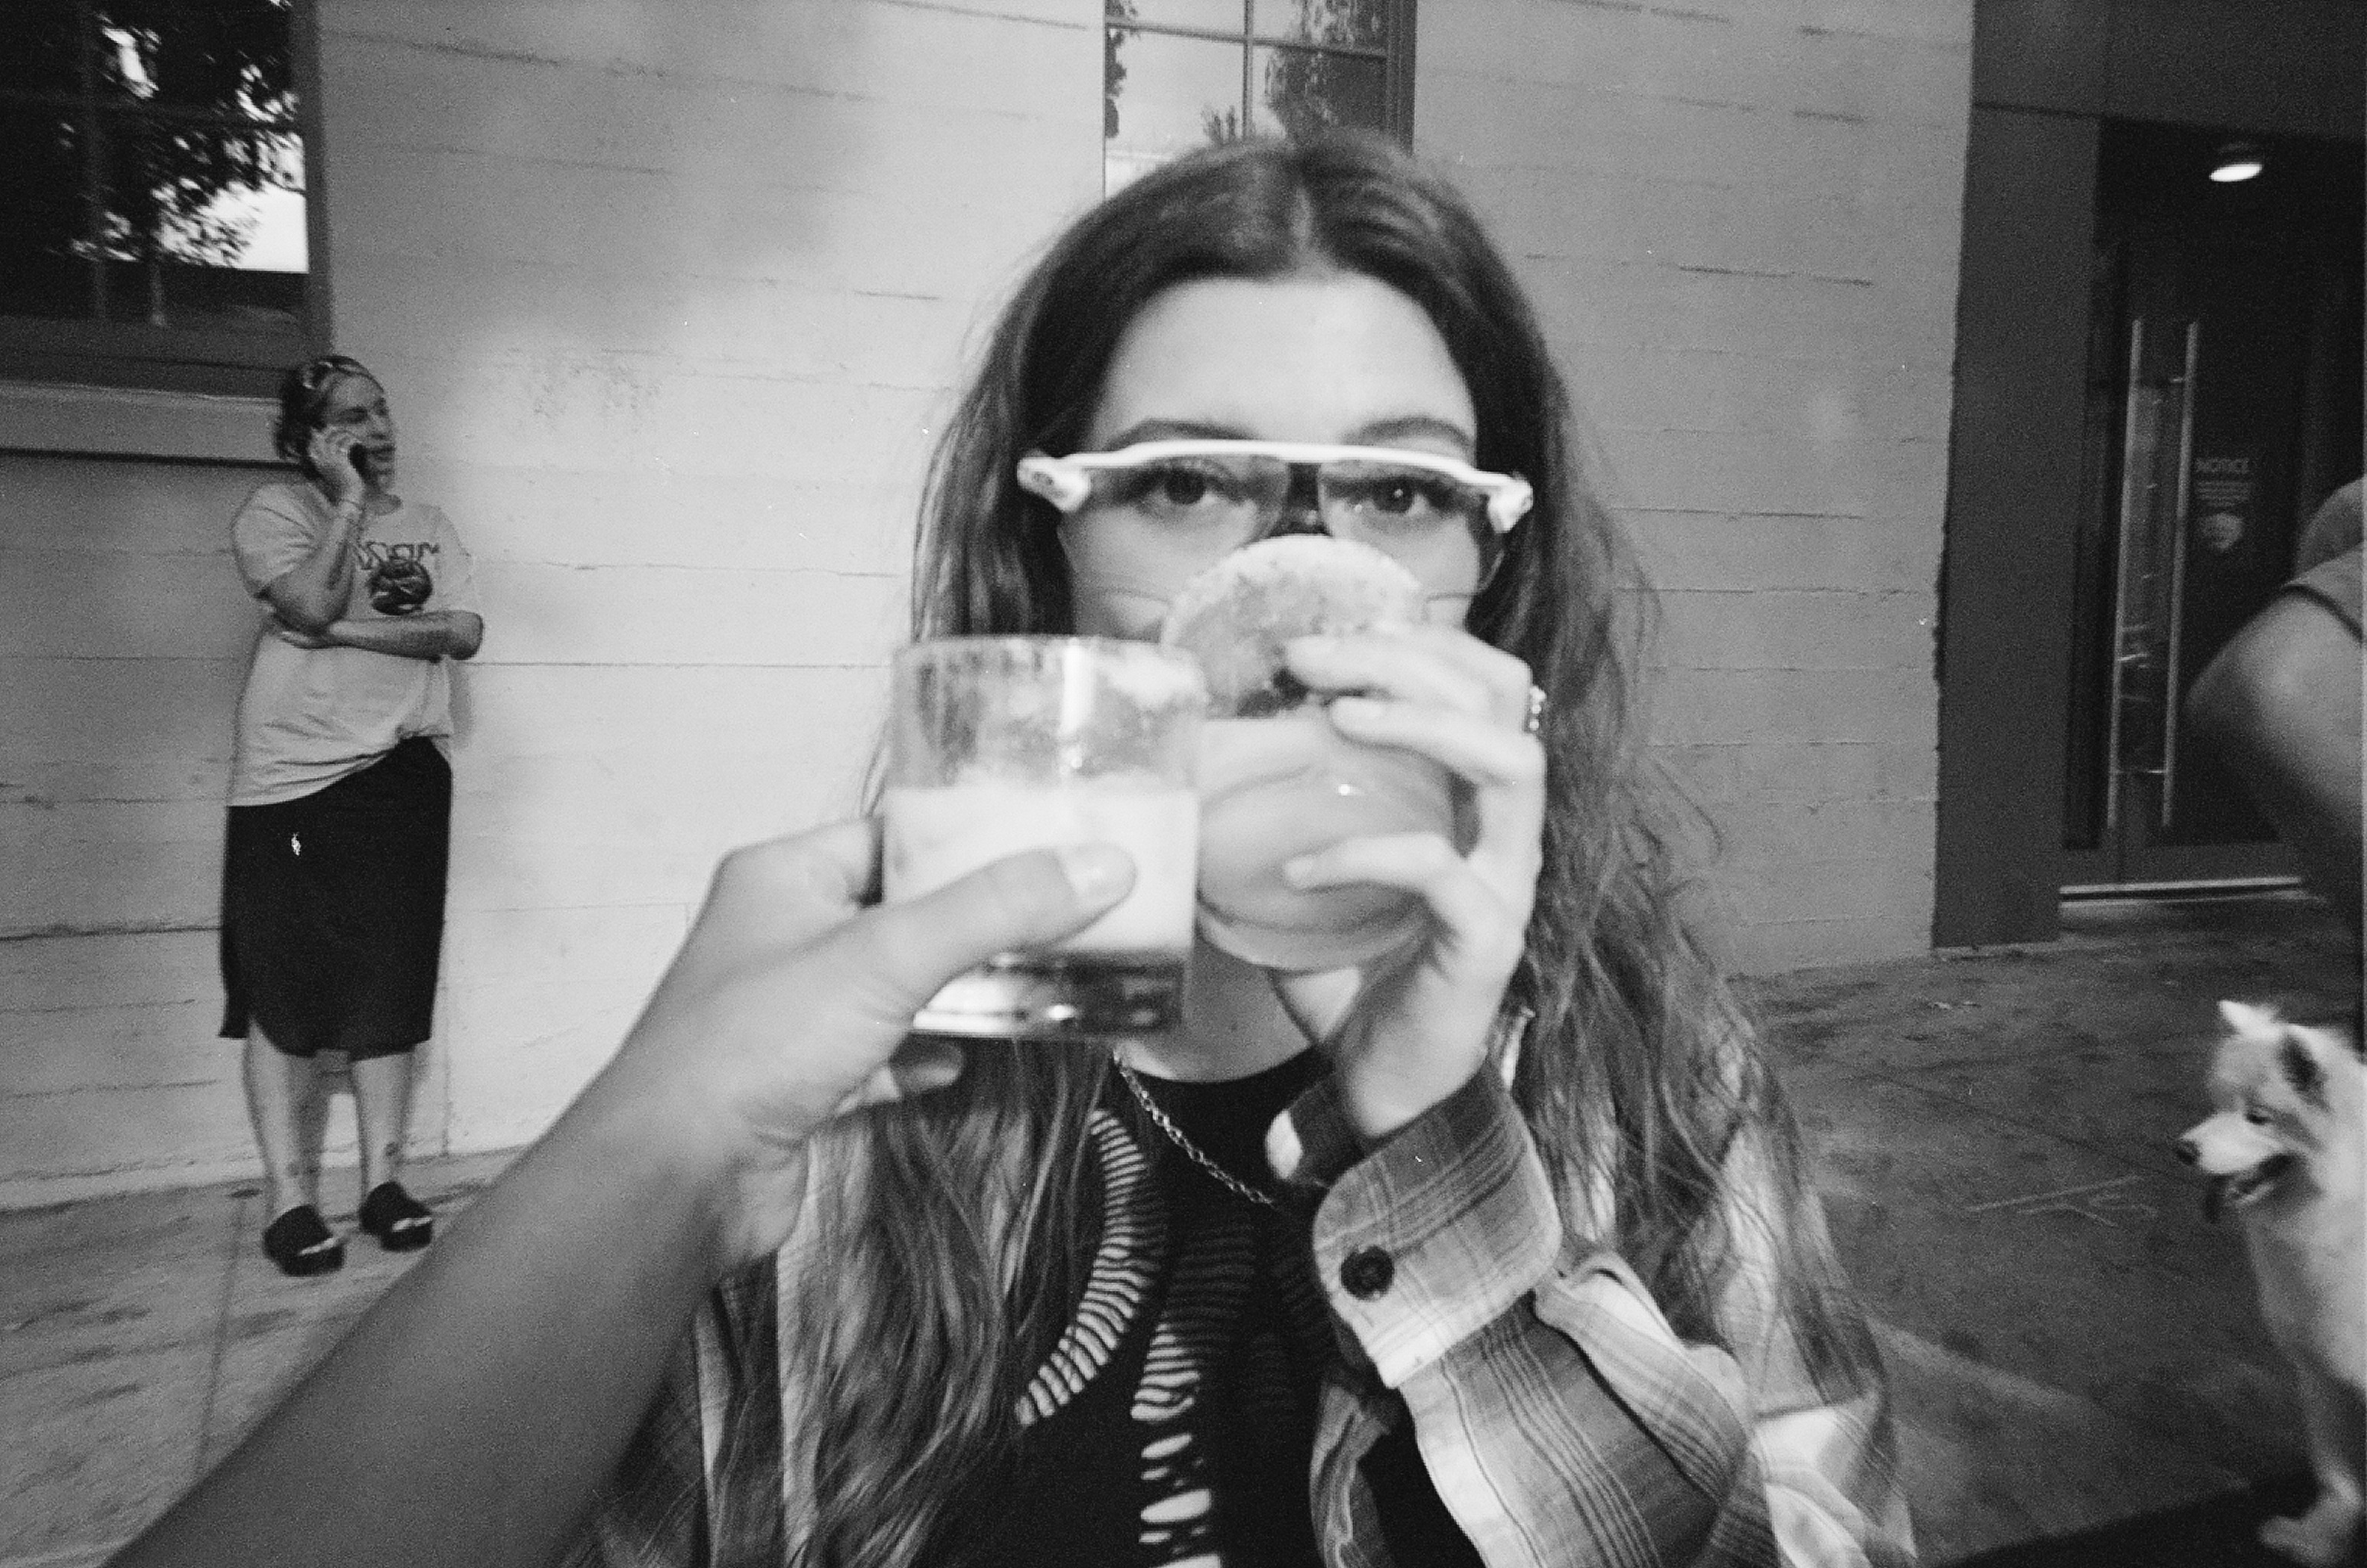
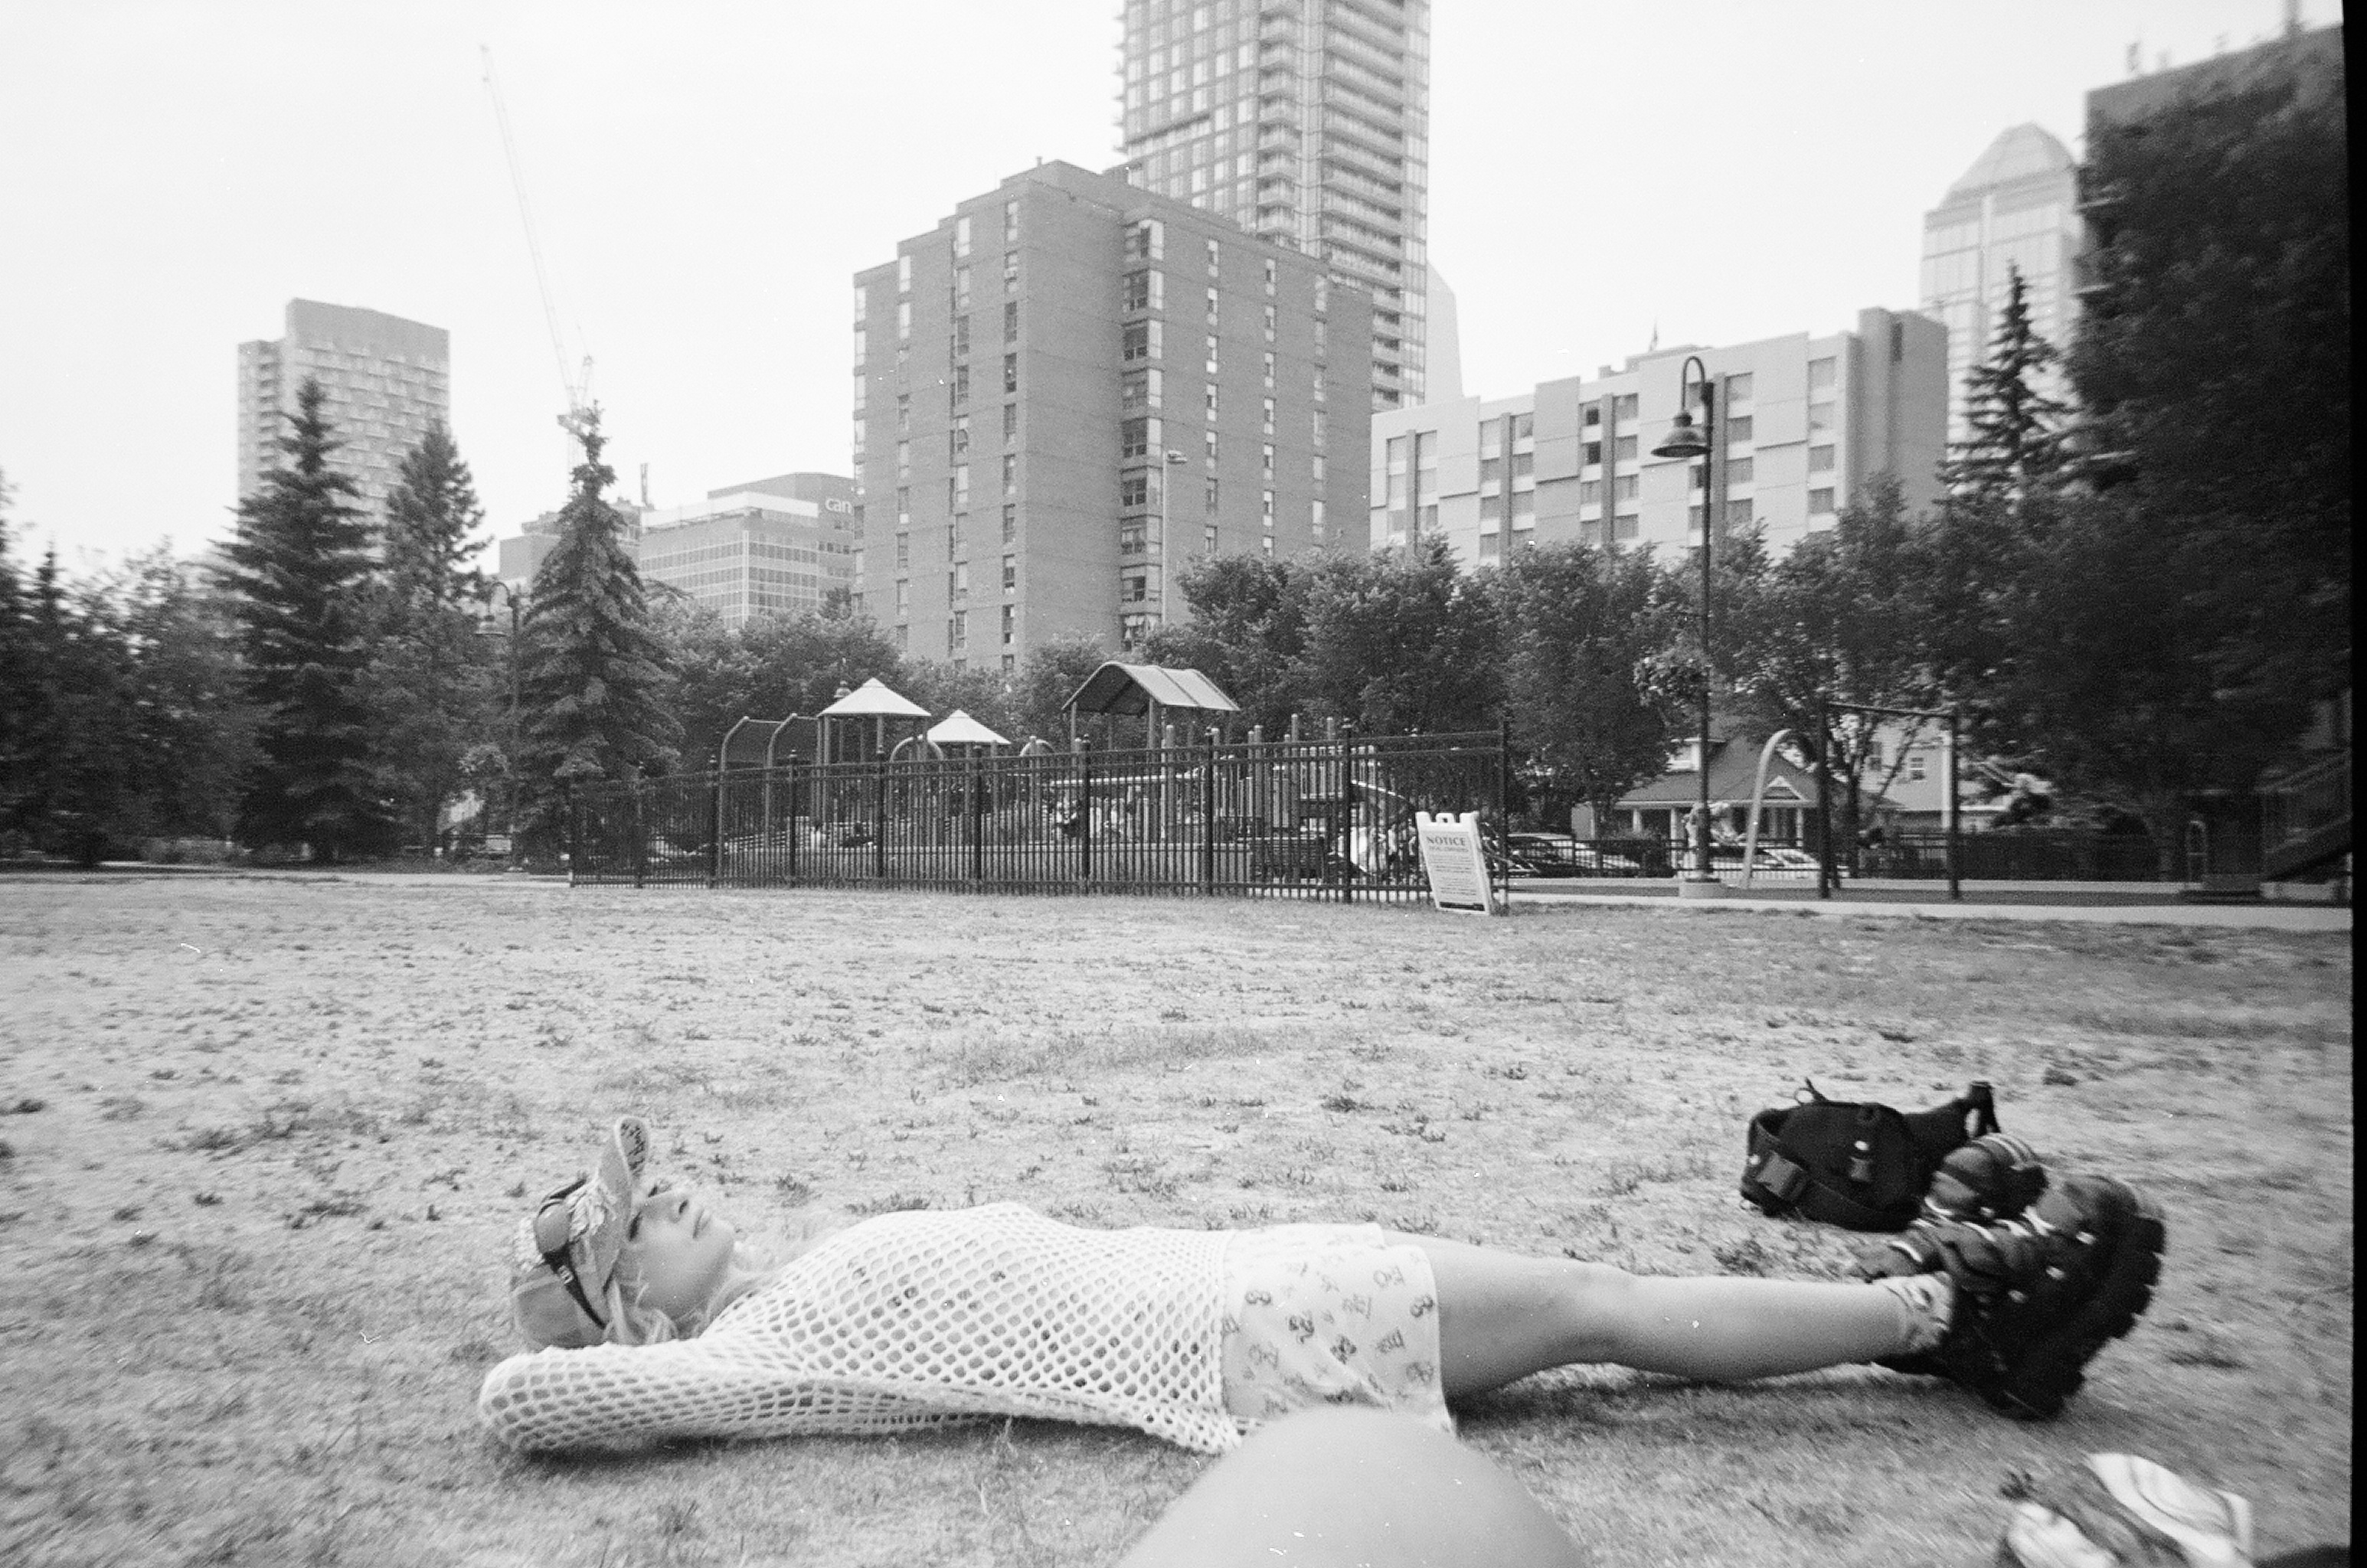
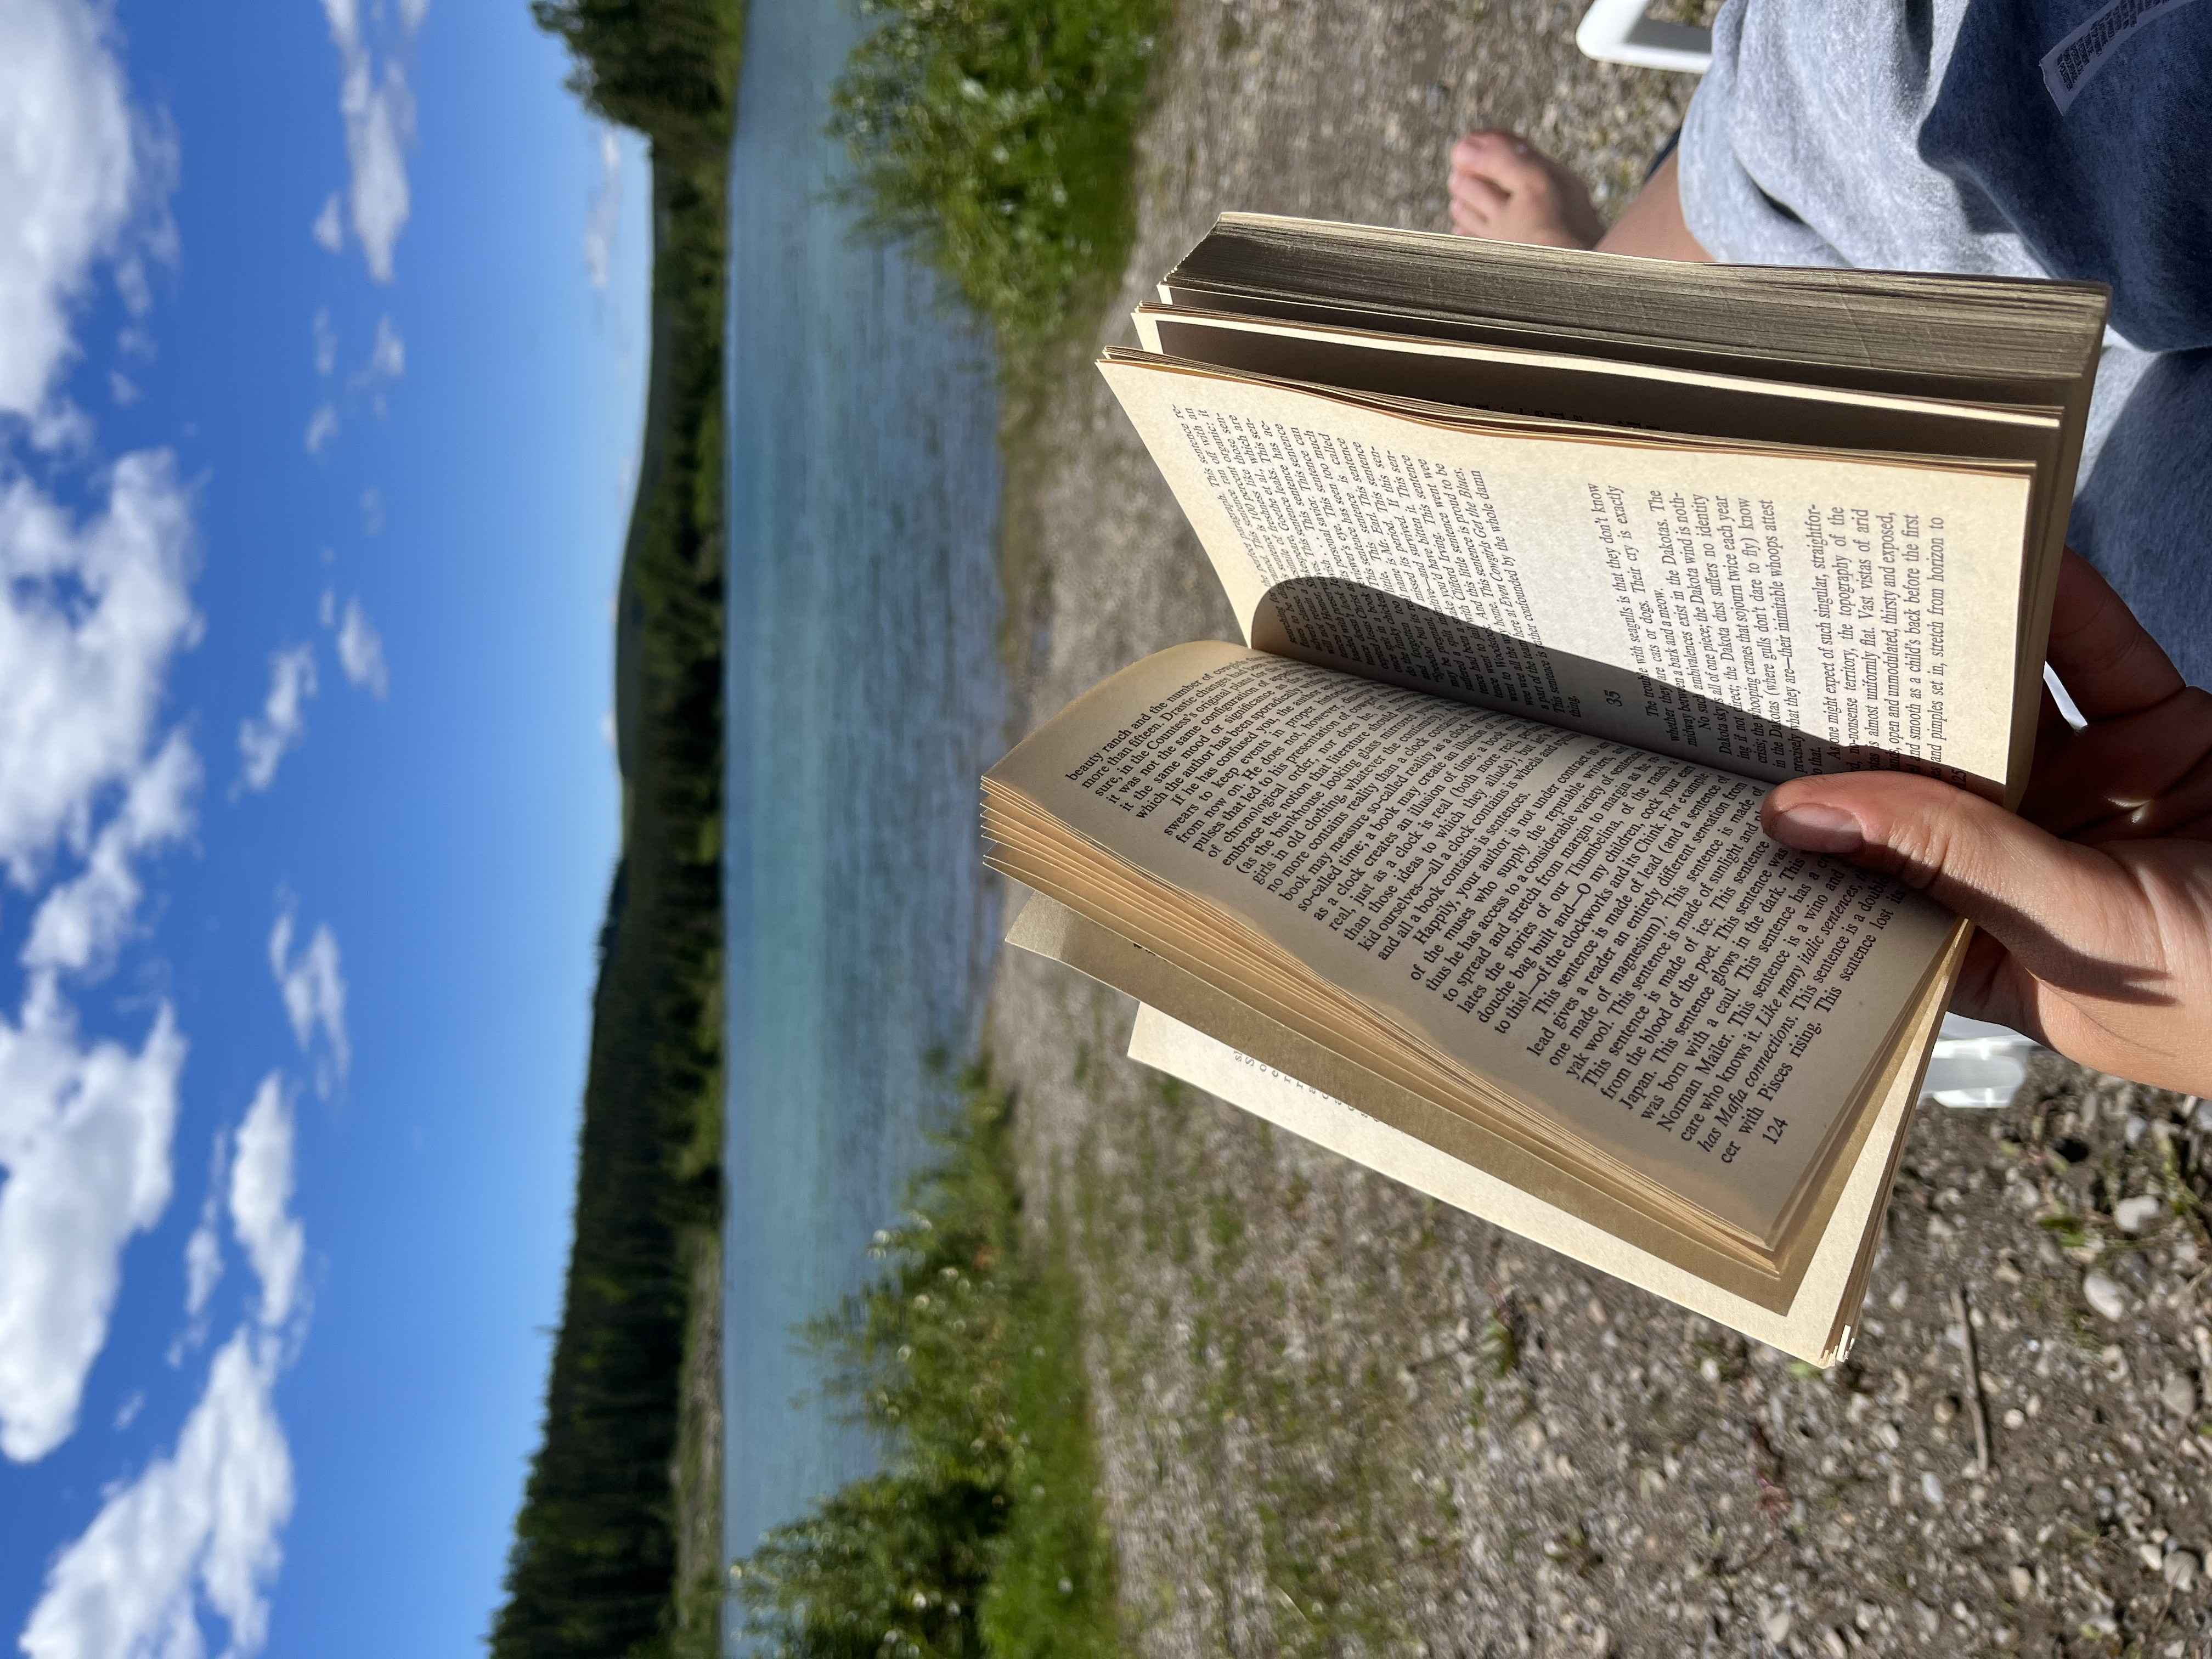
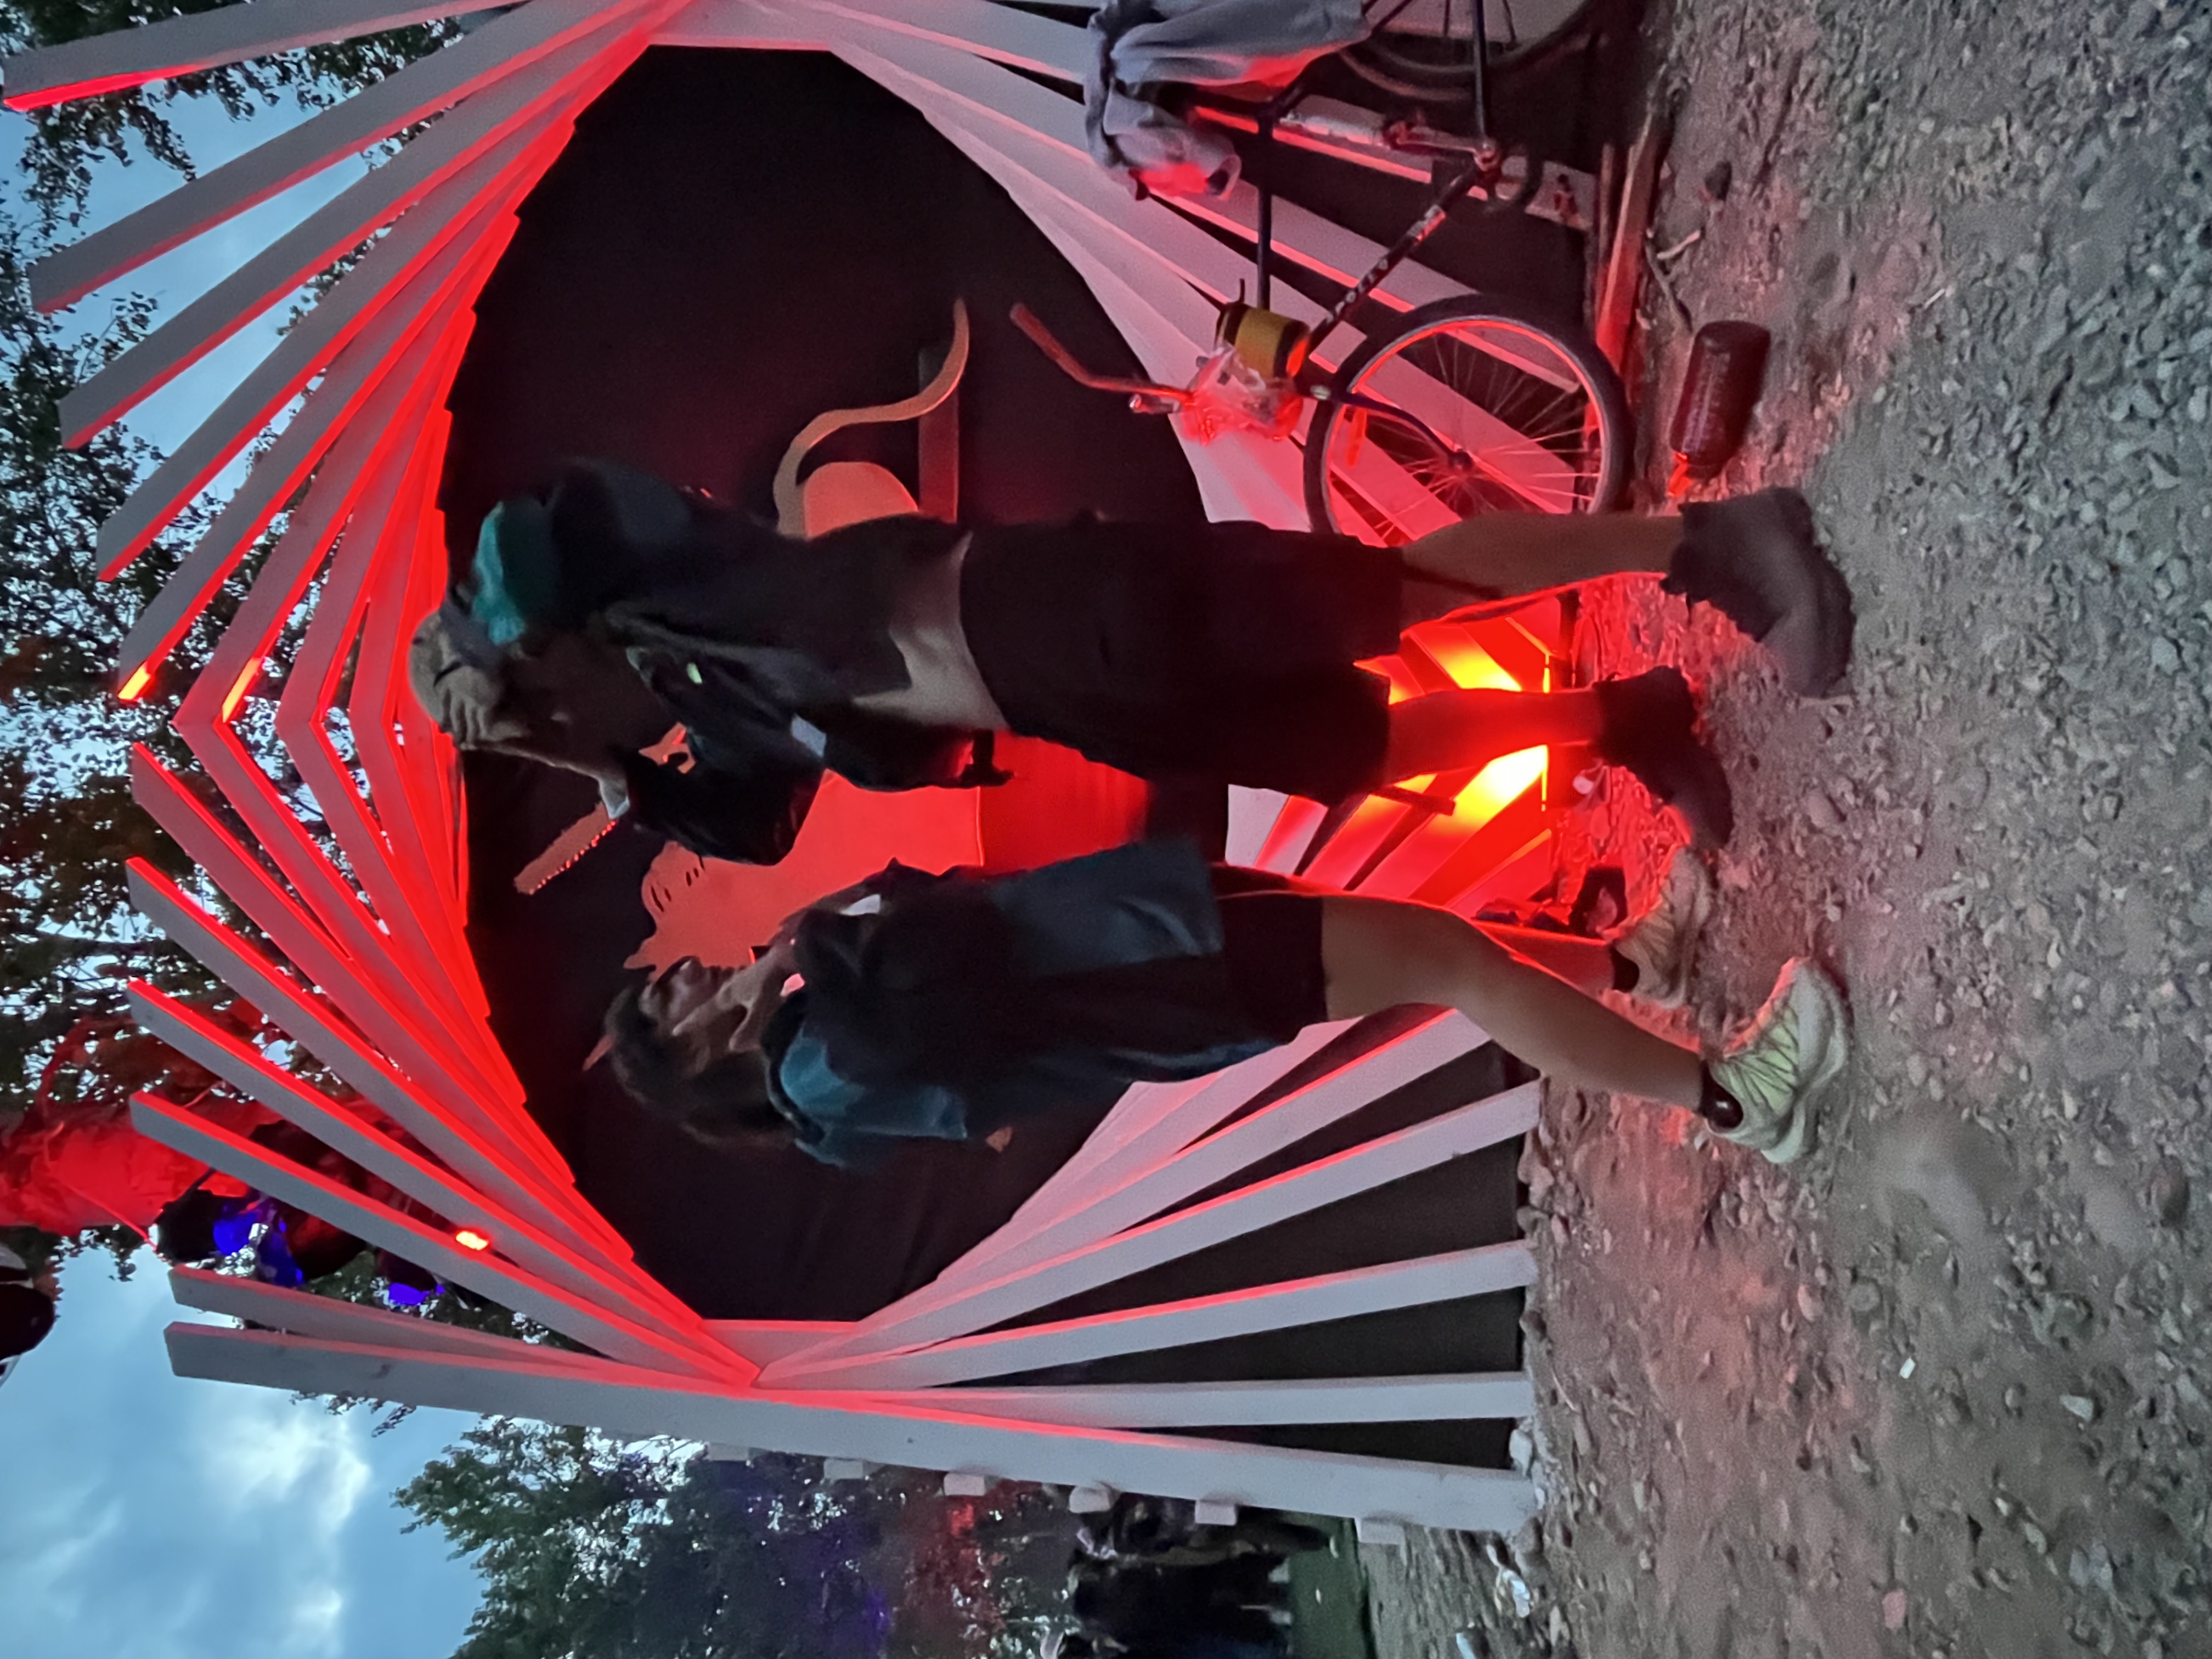
I felt like a Pokémon traininer this summer; collecting tracks and battling on the decks around the country. During all the excitement, I was hyped to host my neice Sophie from Austria! It was her first time in Canada and we had an absolute blast exploring Vancouver together her first week here. It was always sad seeing friends migrate from Edmonton to Van, but it was really nice seeing so many beautiful faces in an exciting, new city. This trip to Vancouver was my first one since 2019. Considering it’s an hour flight from Edmonton, that was long overdue. Think I need to book a few more flights out this winter becasue the fact that they have... PALM TREES in Canada... 365 days of the year... still an absolute shock for this prairie girl.
Our trip was so dope! Saw a lot of dear friends, checked off a bucket-list goal of biking the parameter of Stanley Park (one of the best days of my life!!), ate the best food of my life (literally..bad food does not exist in Van), caught a set by my the lovely Jessy Lanza, and ended up having a week packed full of livestreams at WWyY, Acceleration Radio, and BSide.Radio.
I really appreciate the importance of community radio and the connection it brings to the spaces they operate. Big shouts to the Wax When You Want crew for having me on your stream- so much positivity and fire tracks! Love to Acceleration Radio and Apex Twink for the fun B2B (and thanks for having me for your 5 Year Anniversary Rave!) Infinite gratitude to BSide.Radio- the framework you’ve built for your community in a few short years is absolutely incredible.
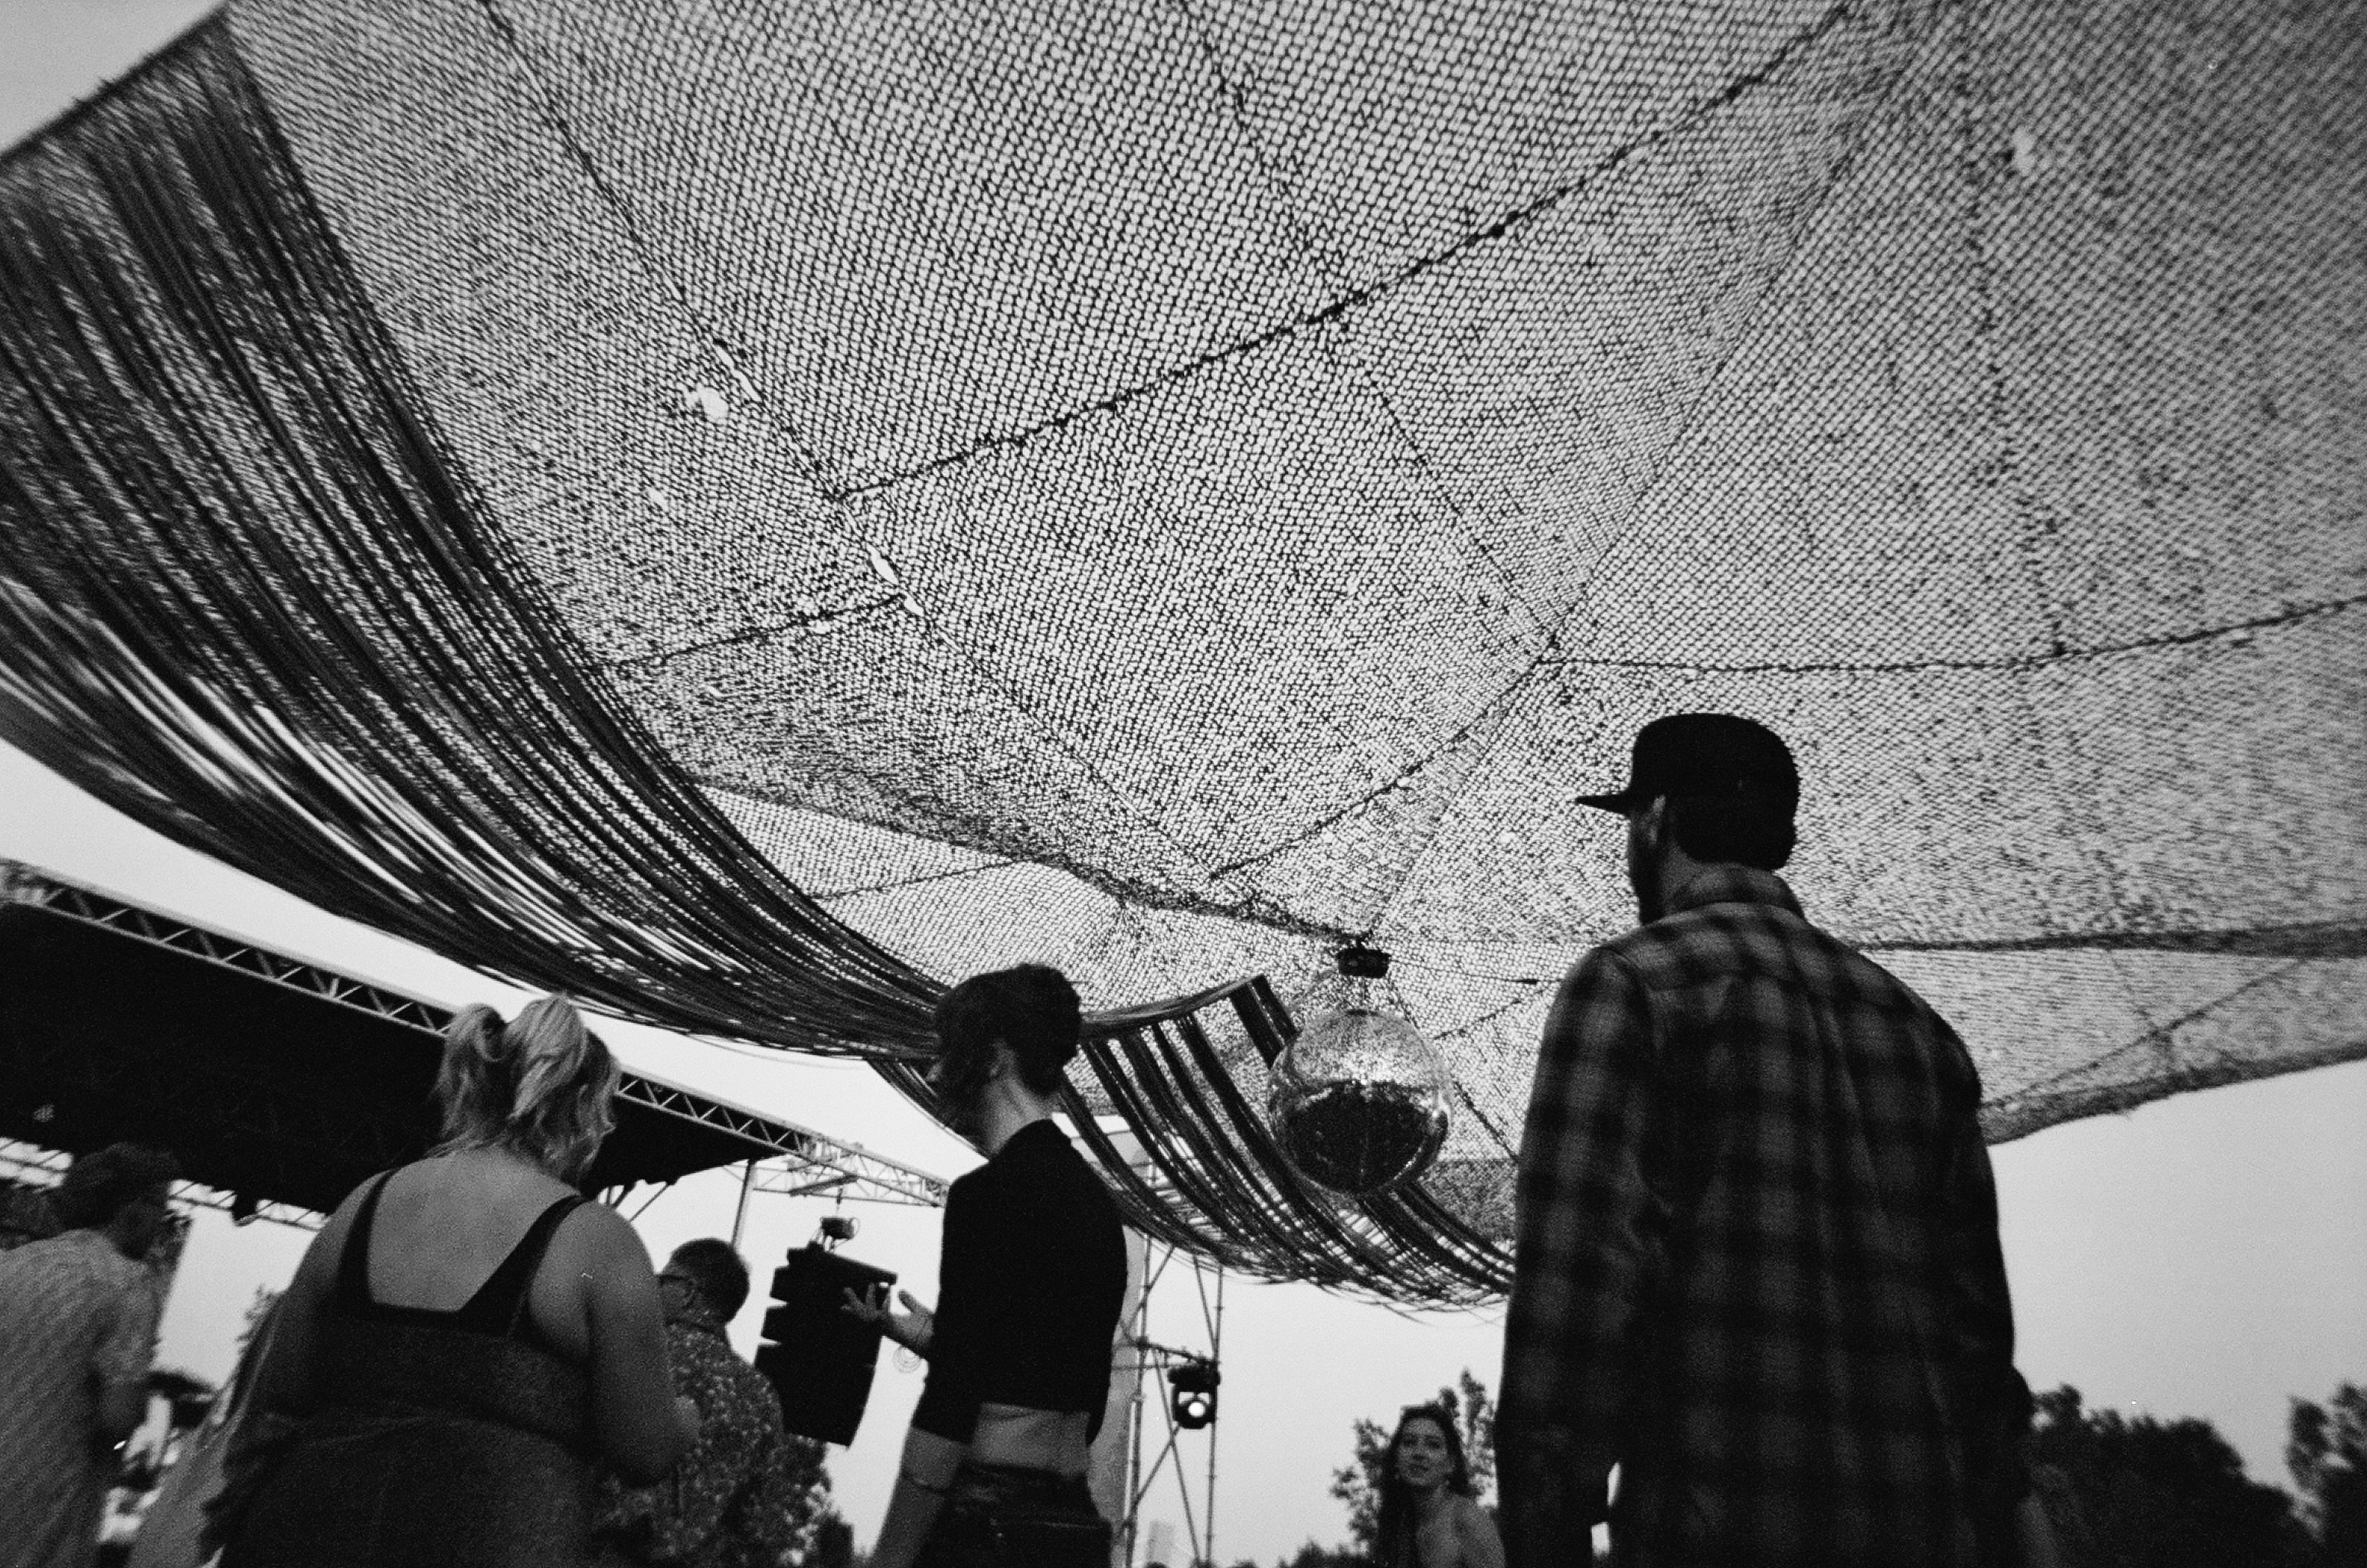
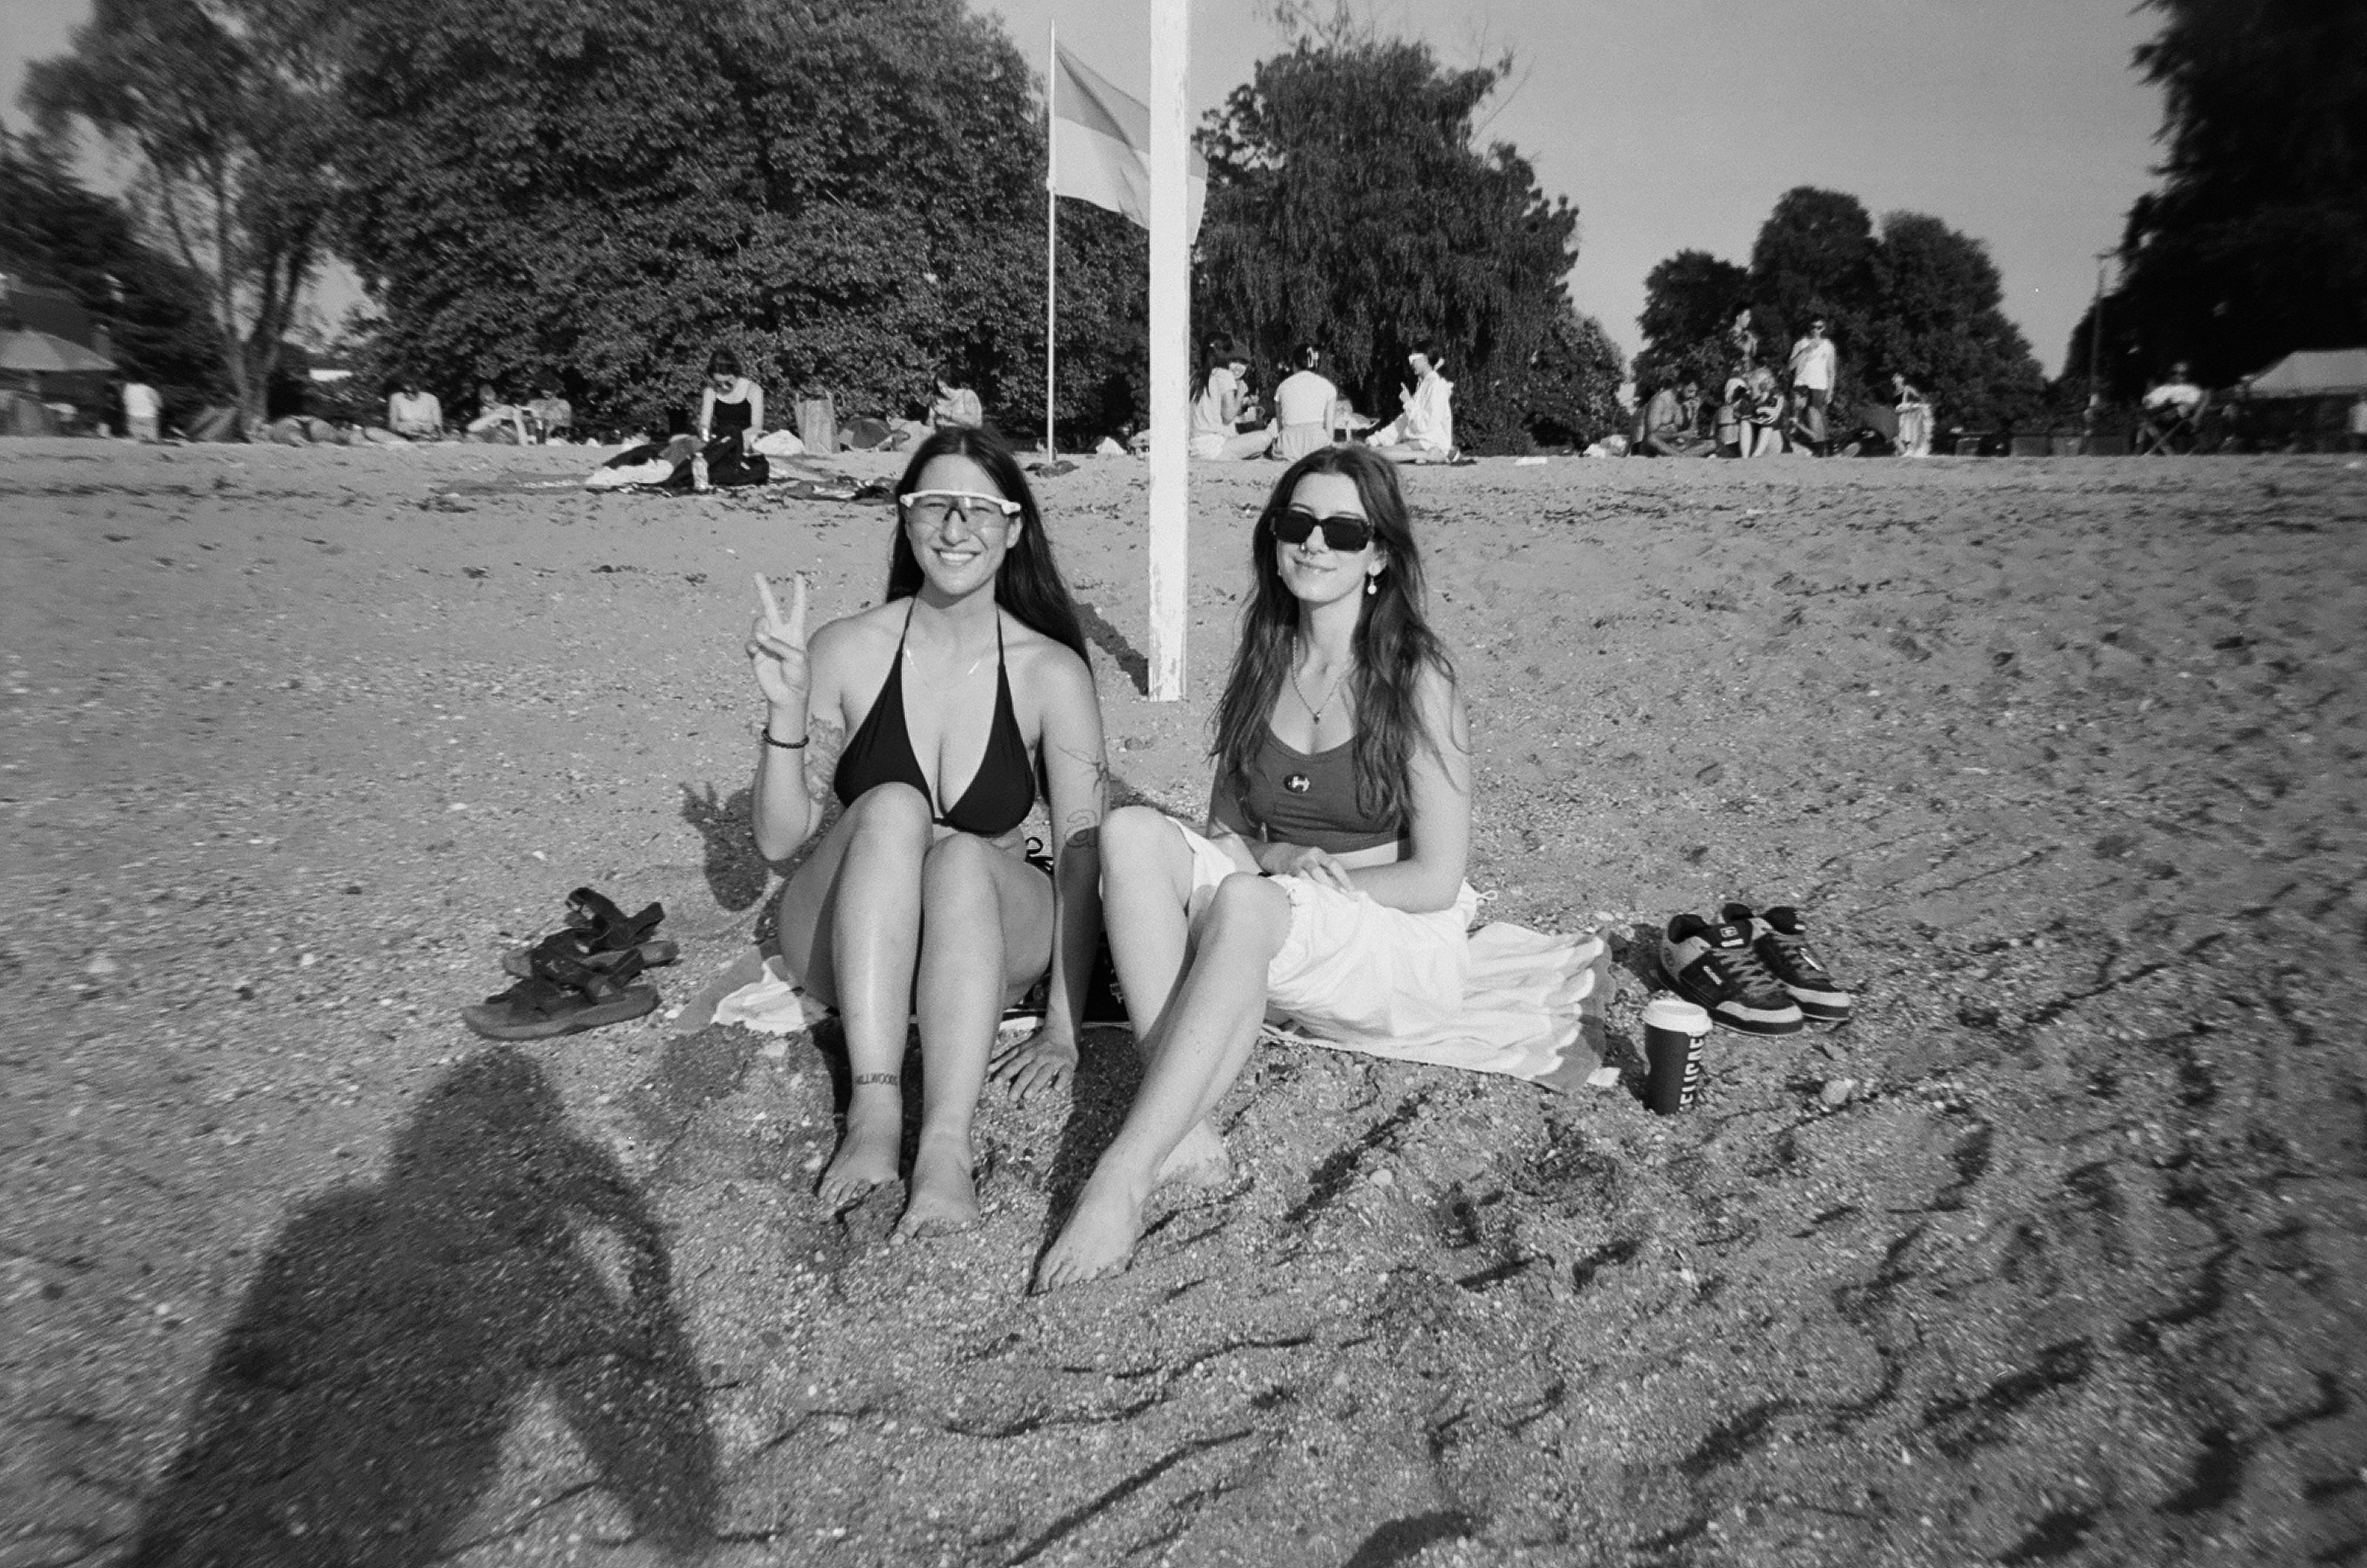
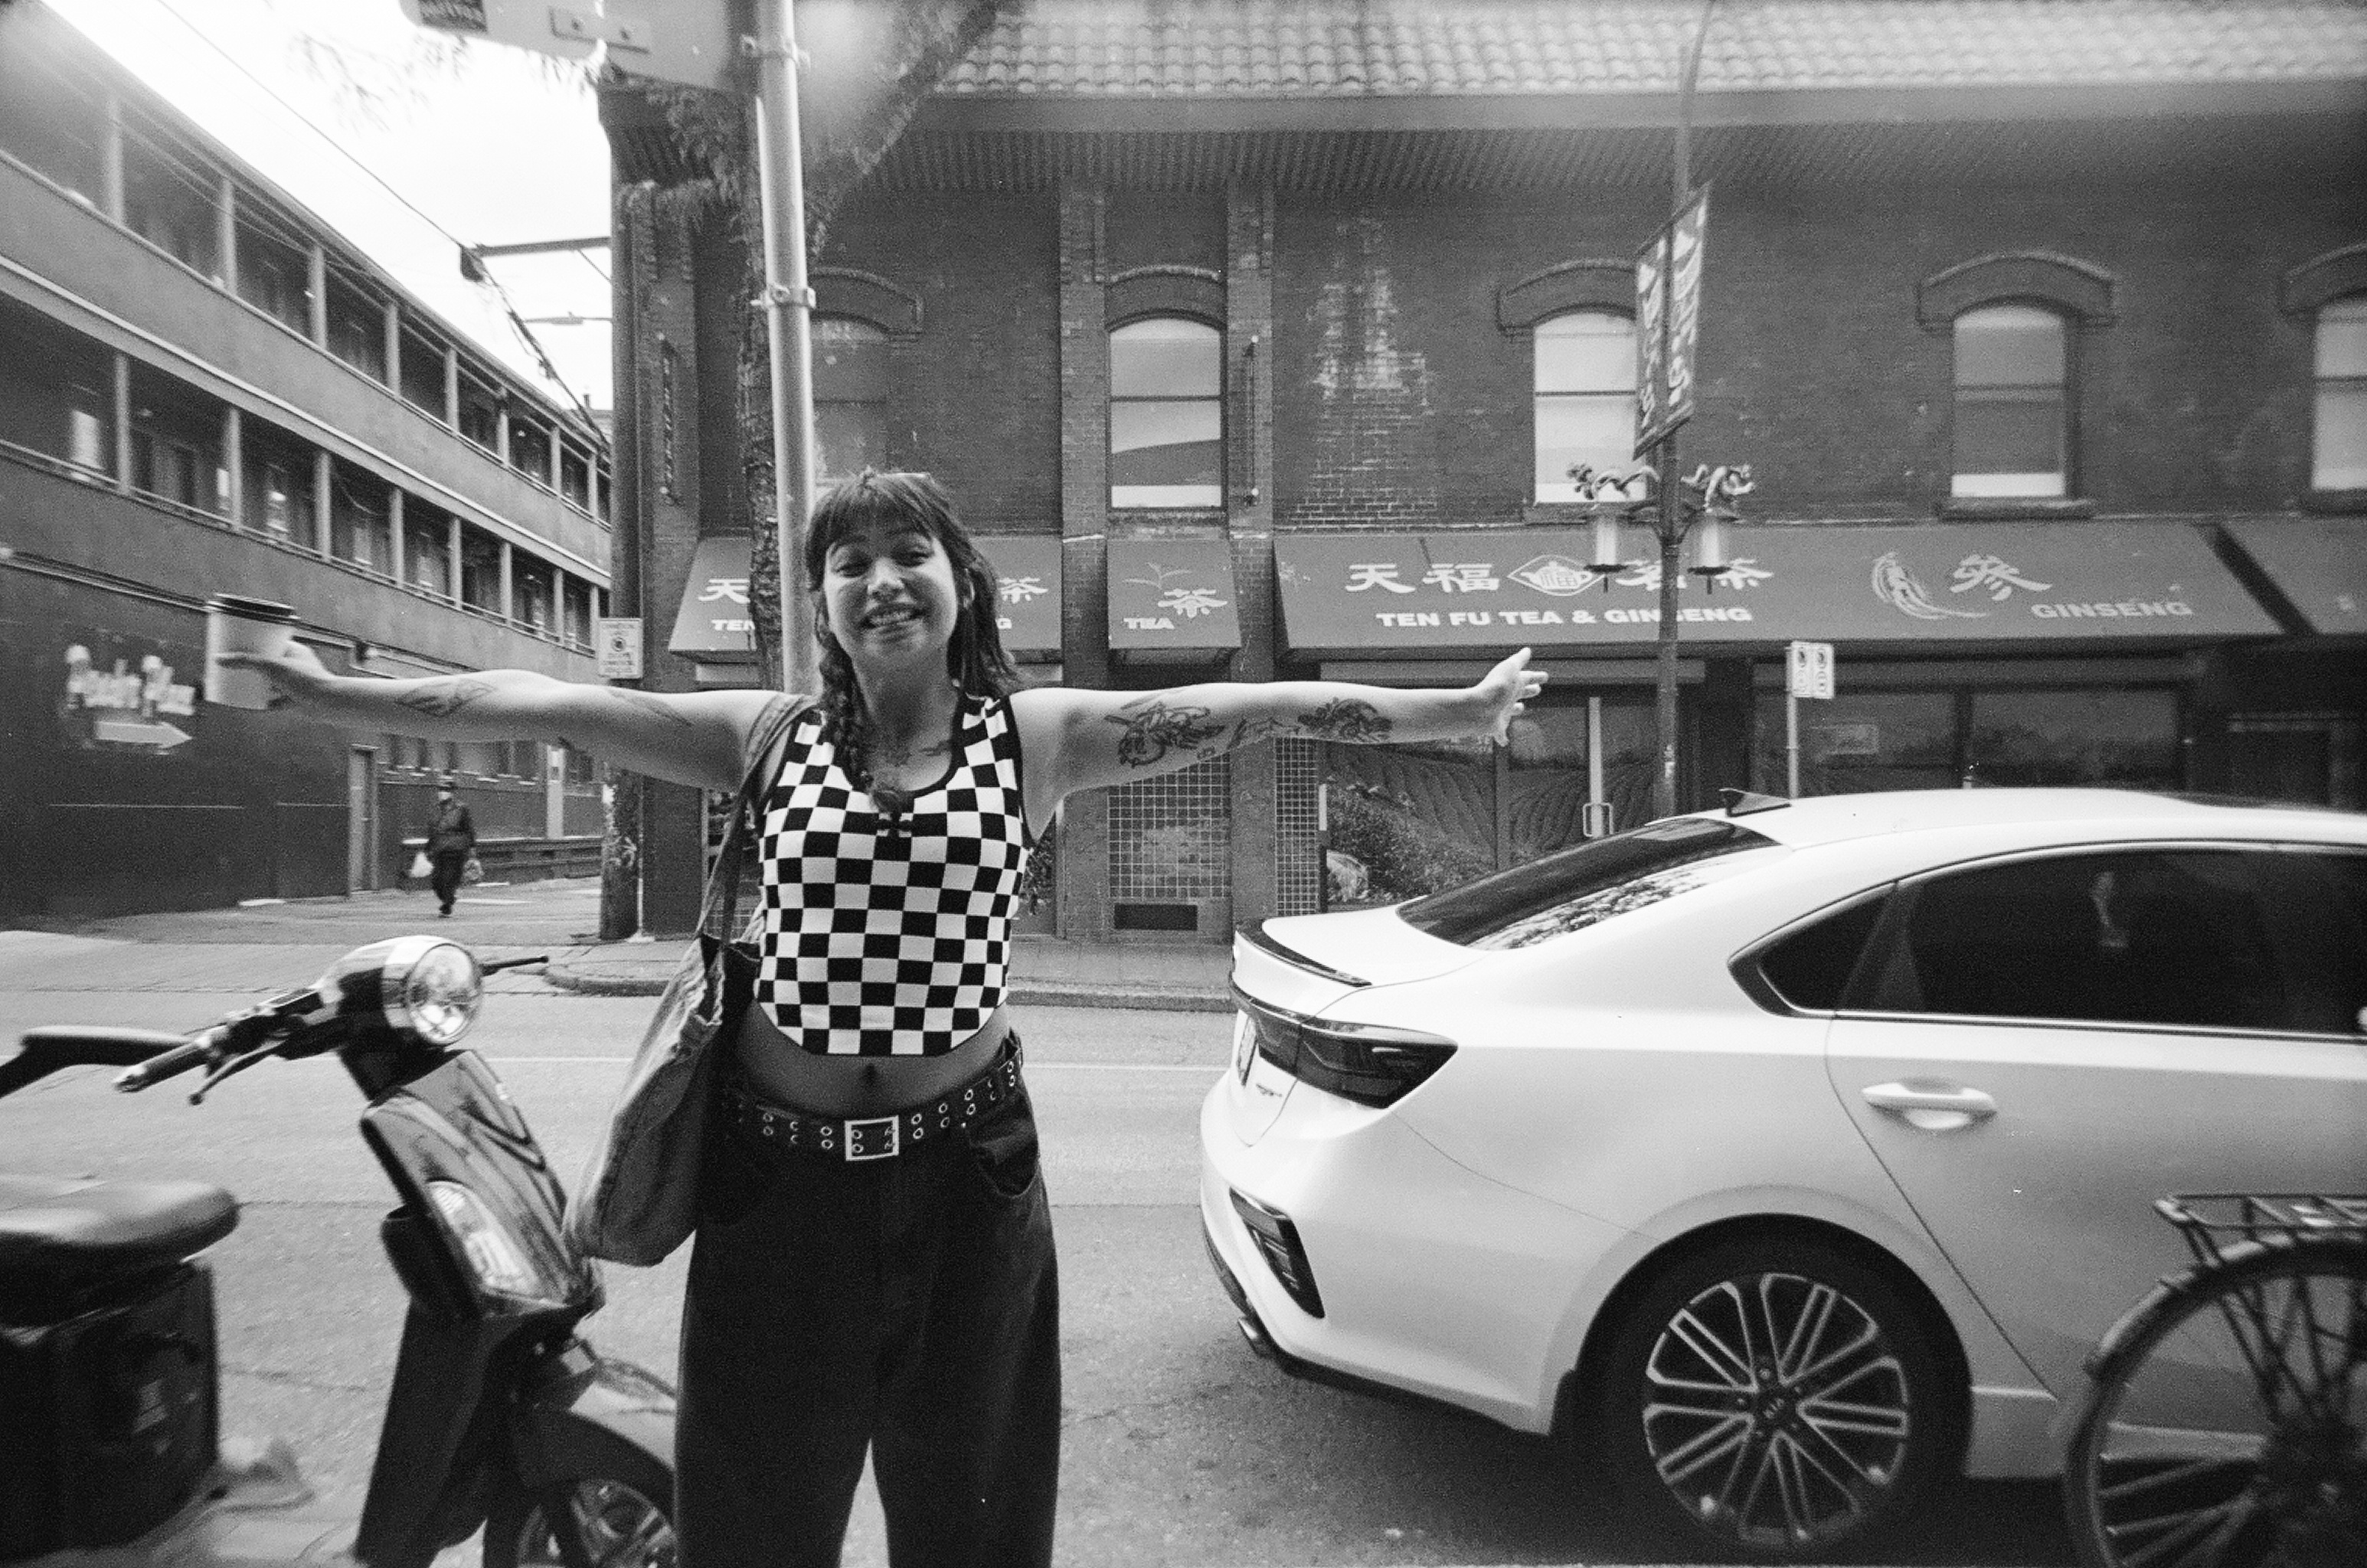
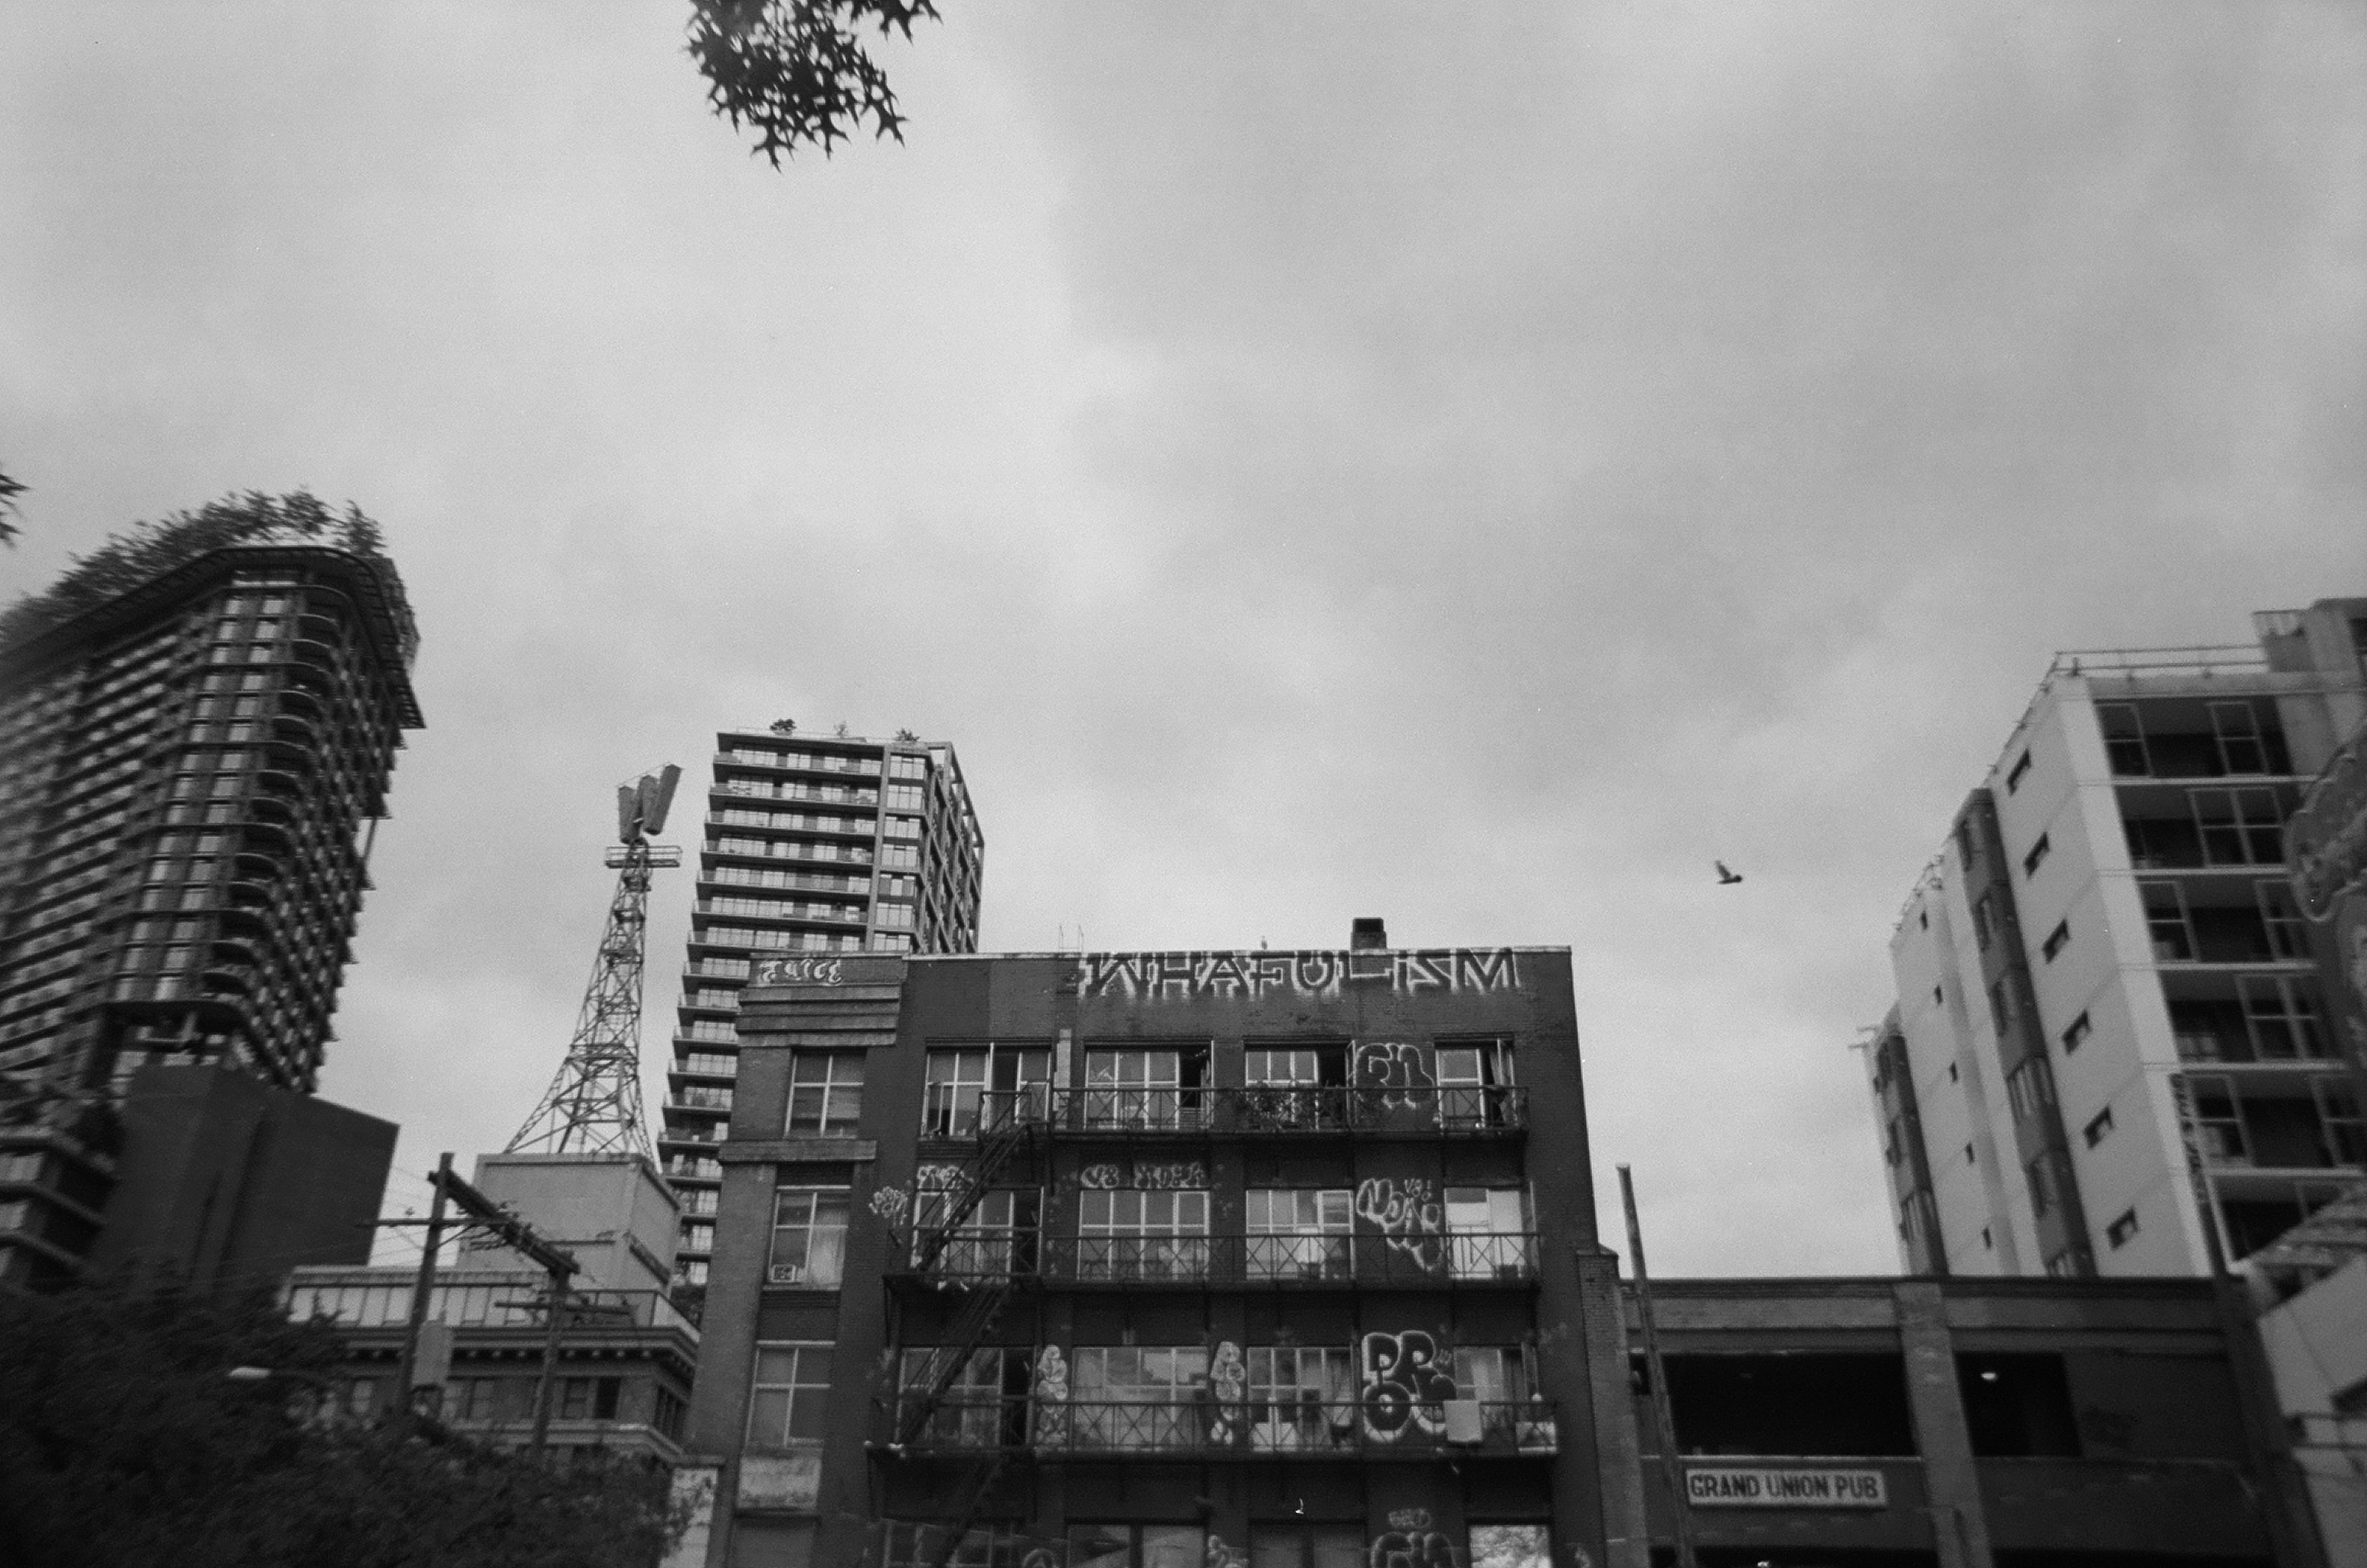
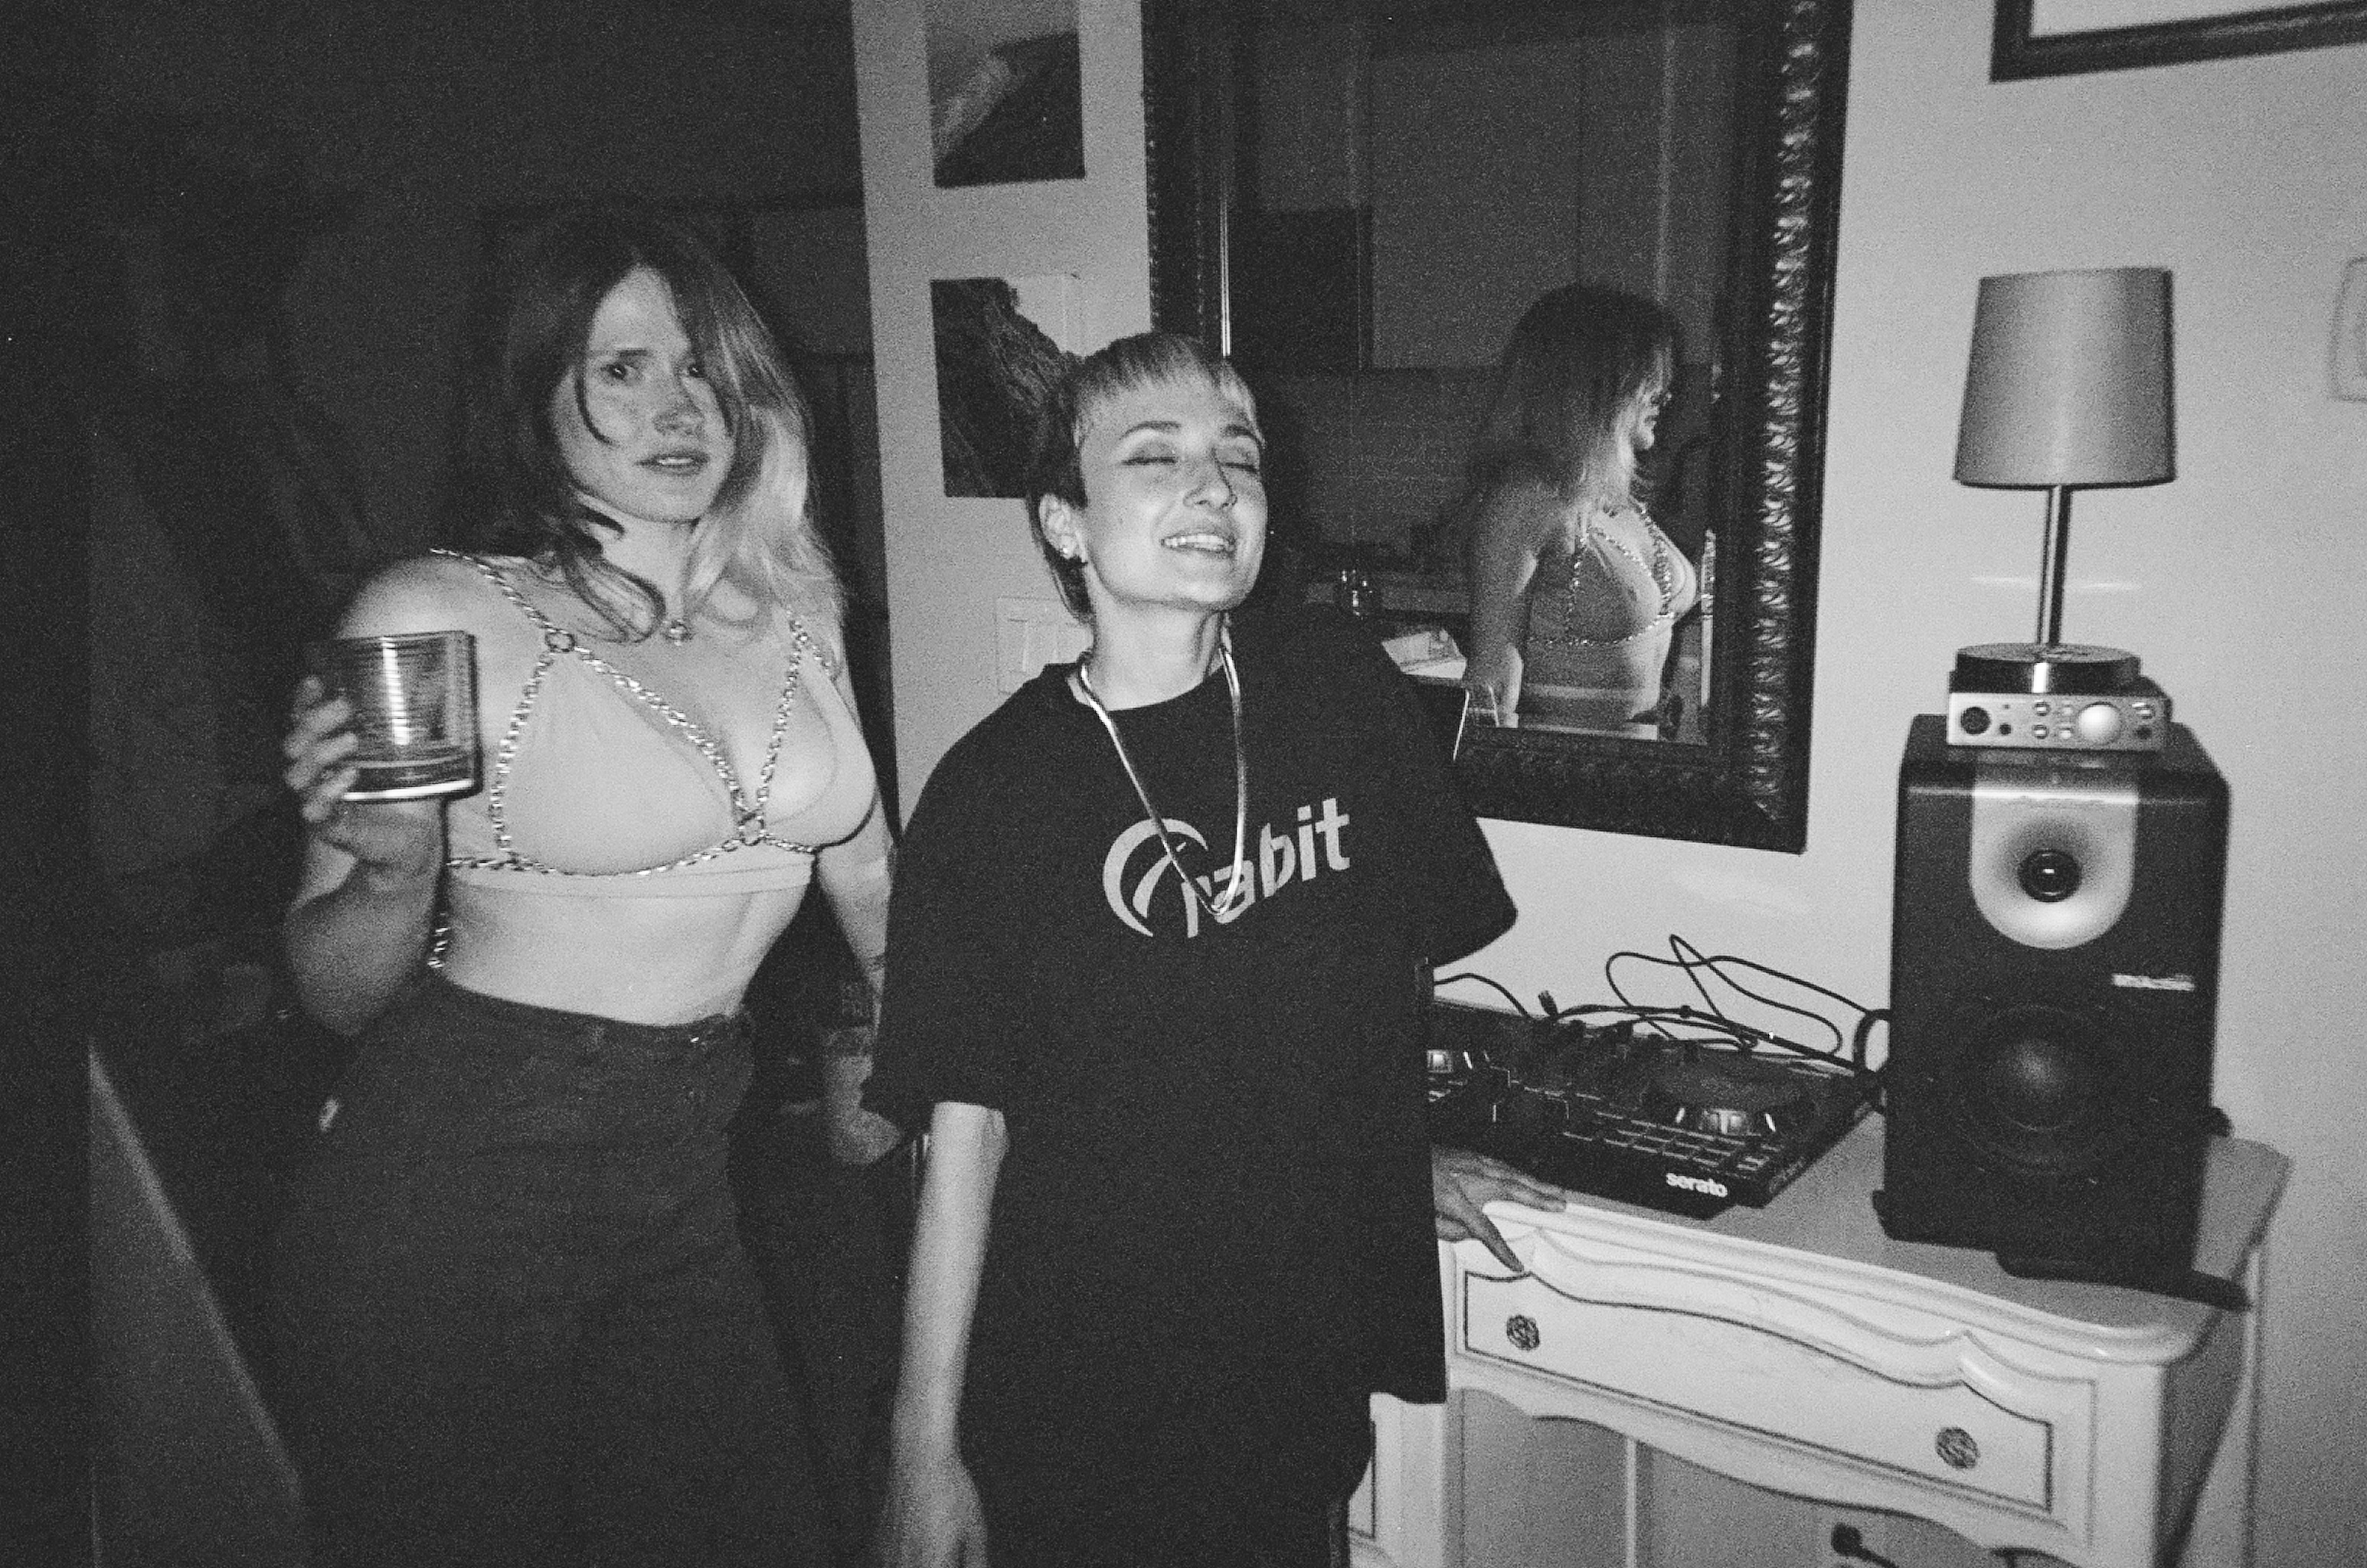
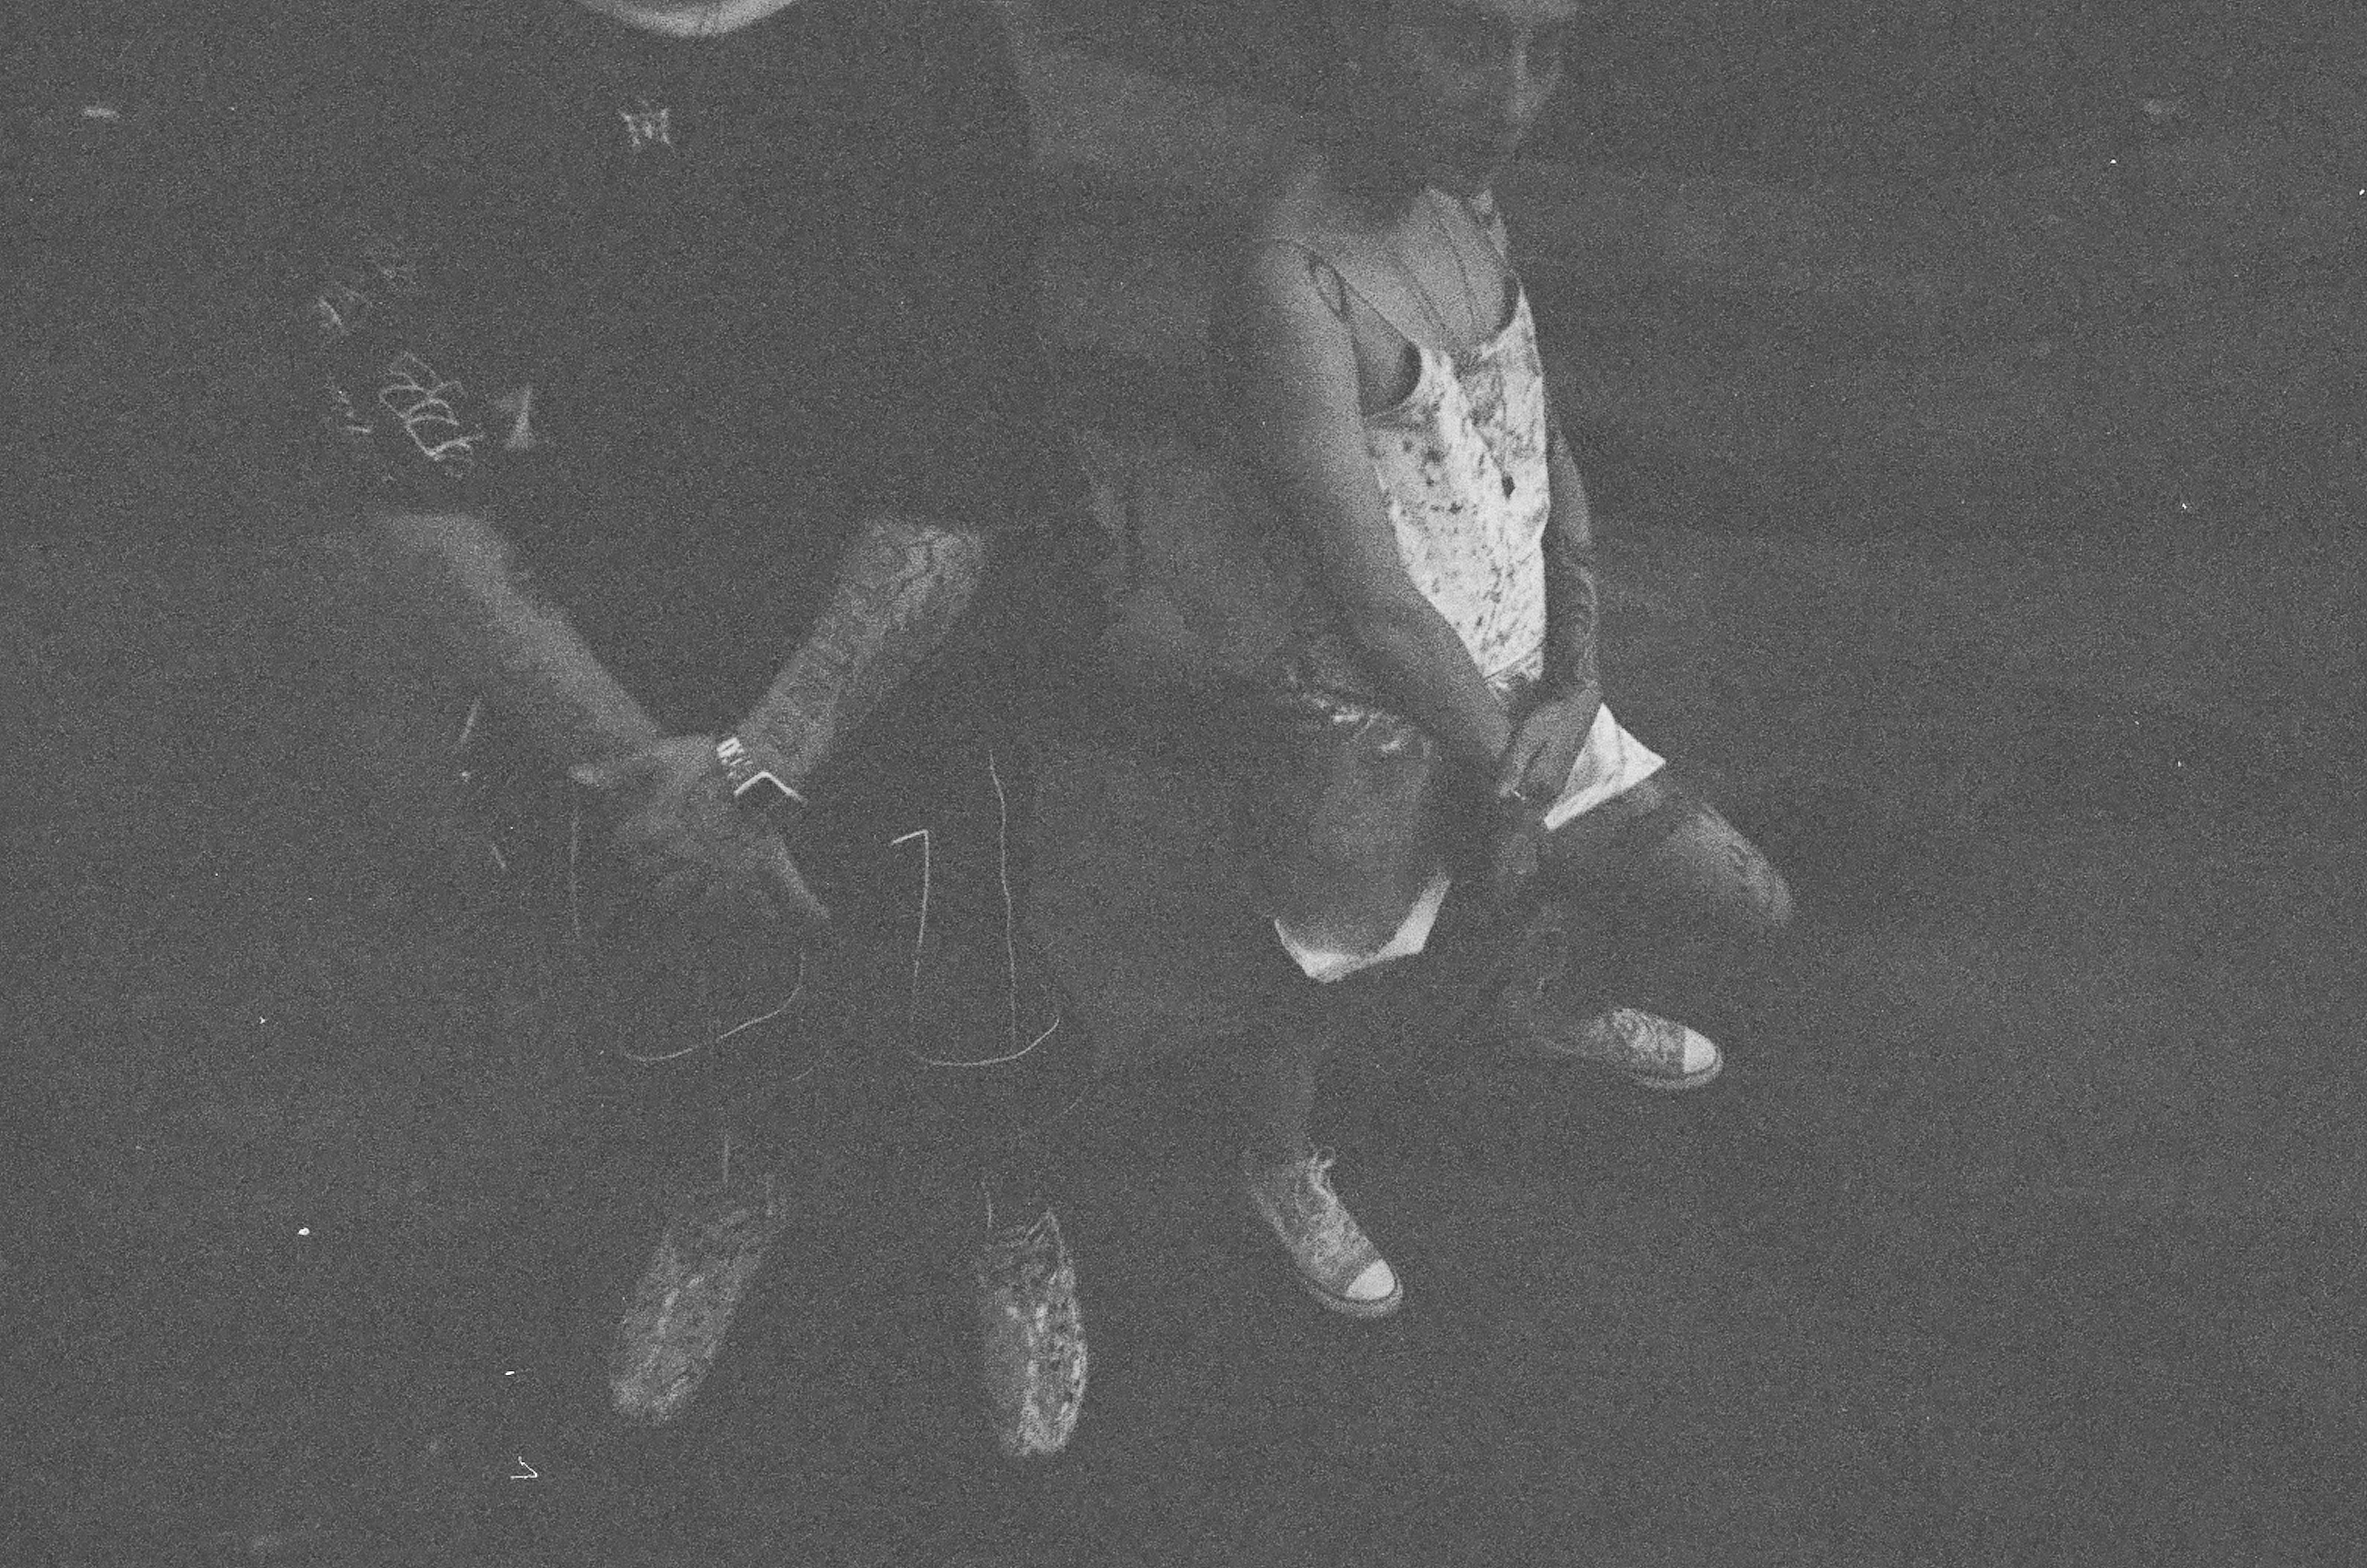
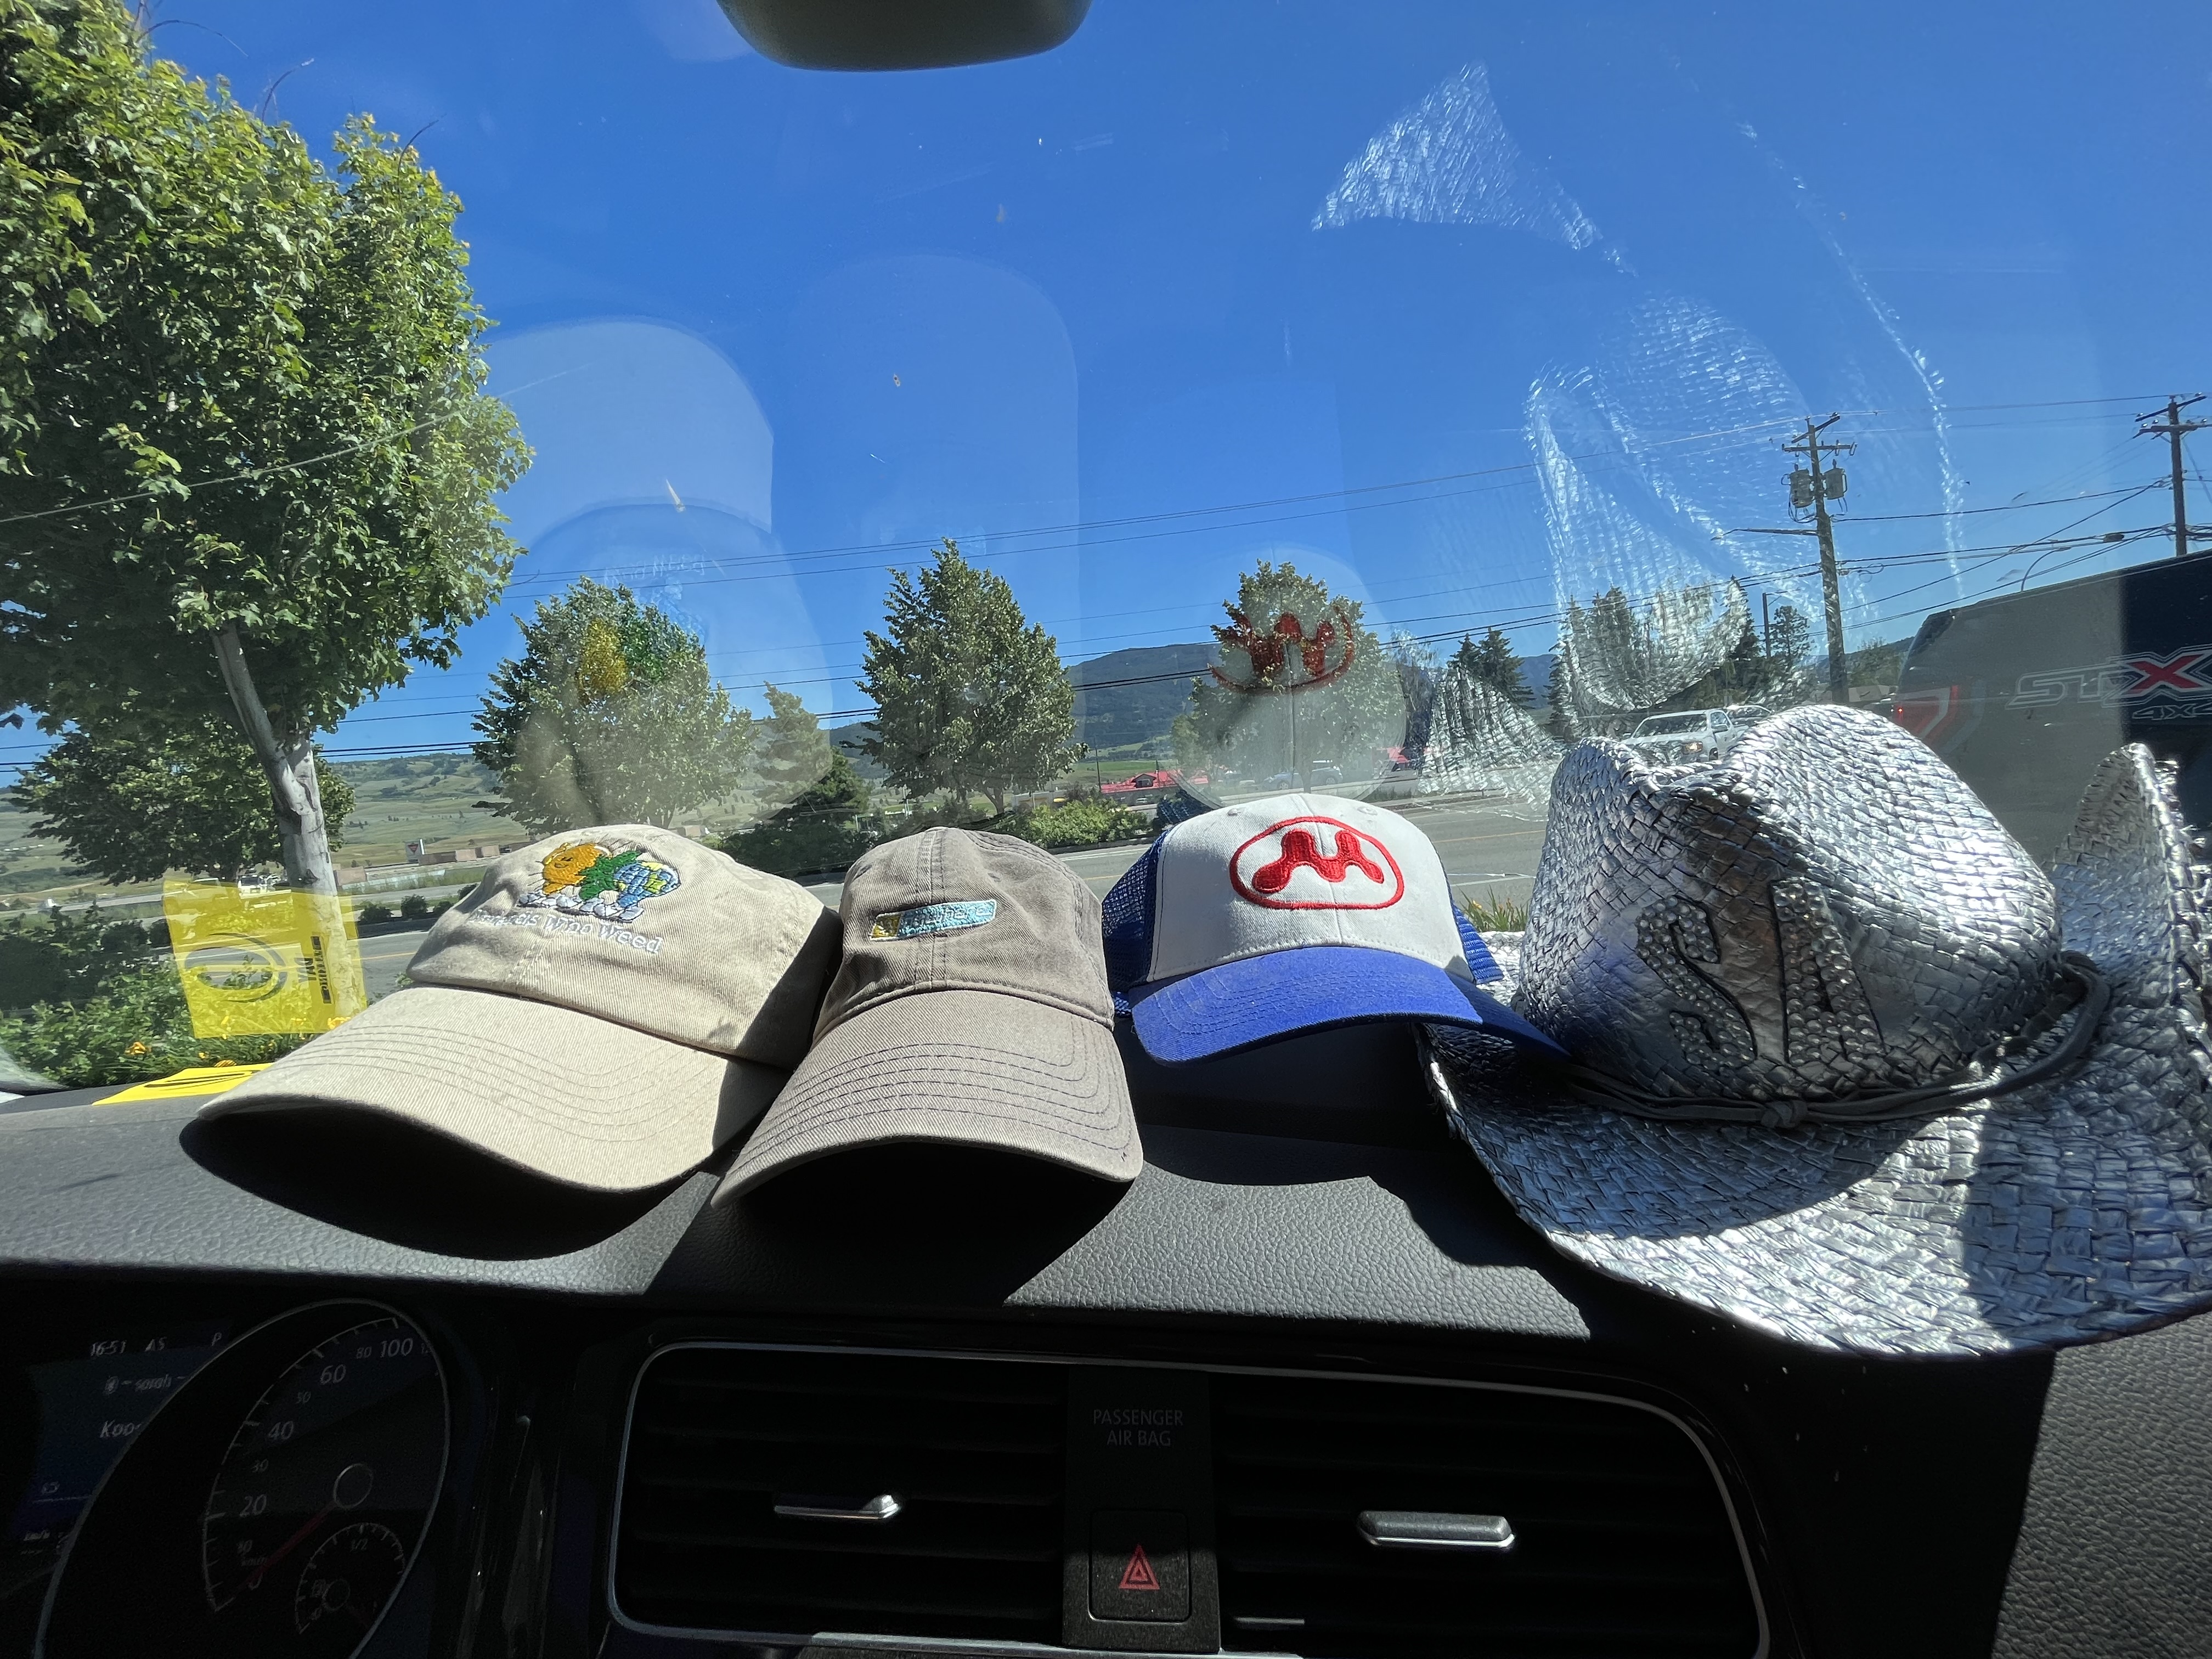
Here are some 35mms from Sophie’s first week here:

xo,
hj.
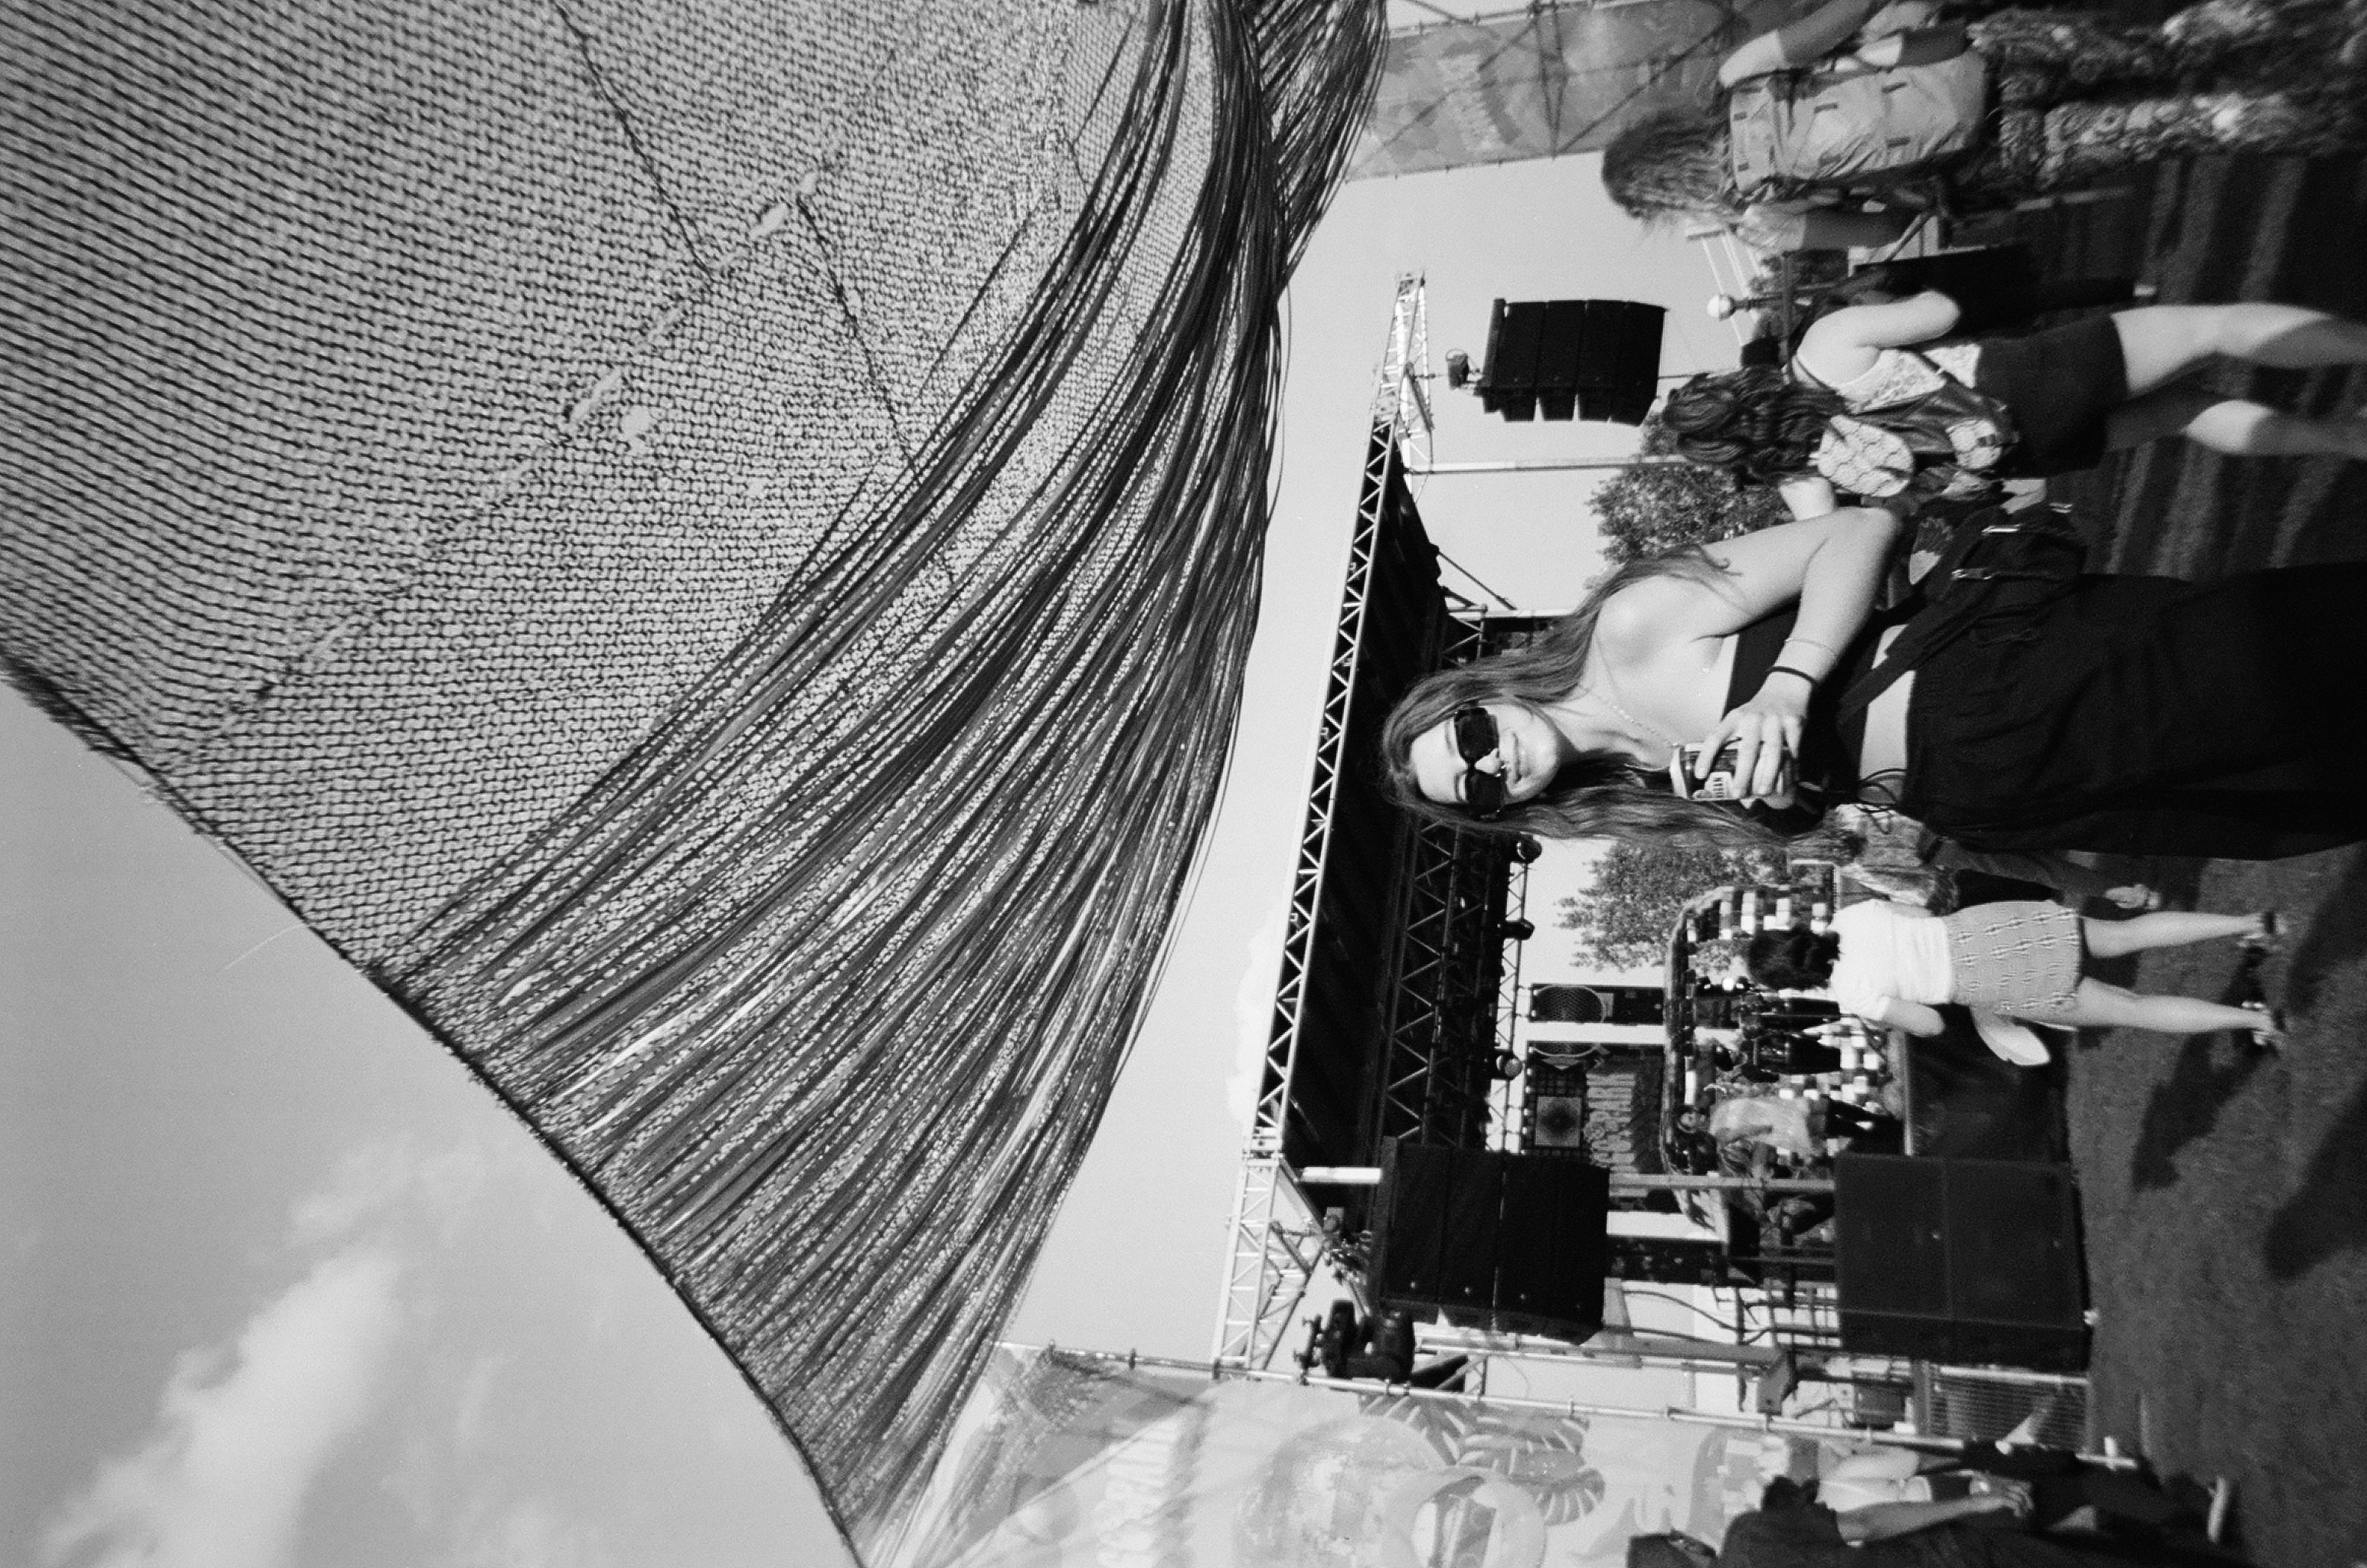
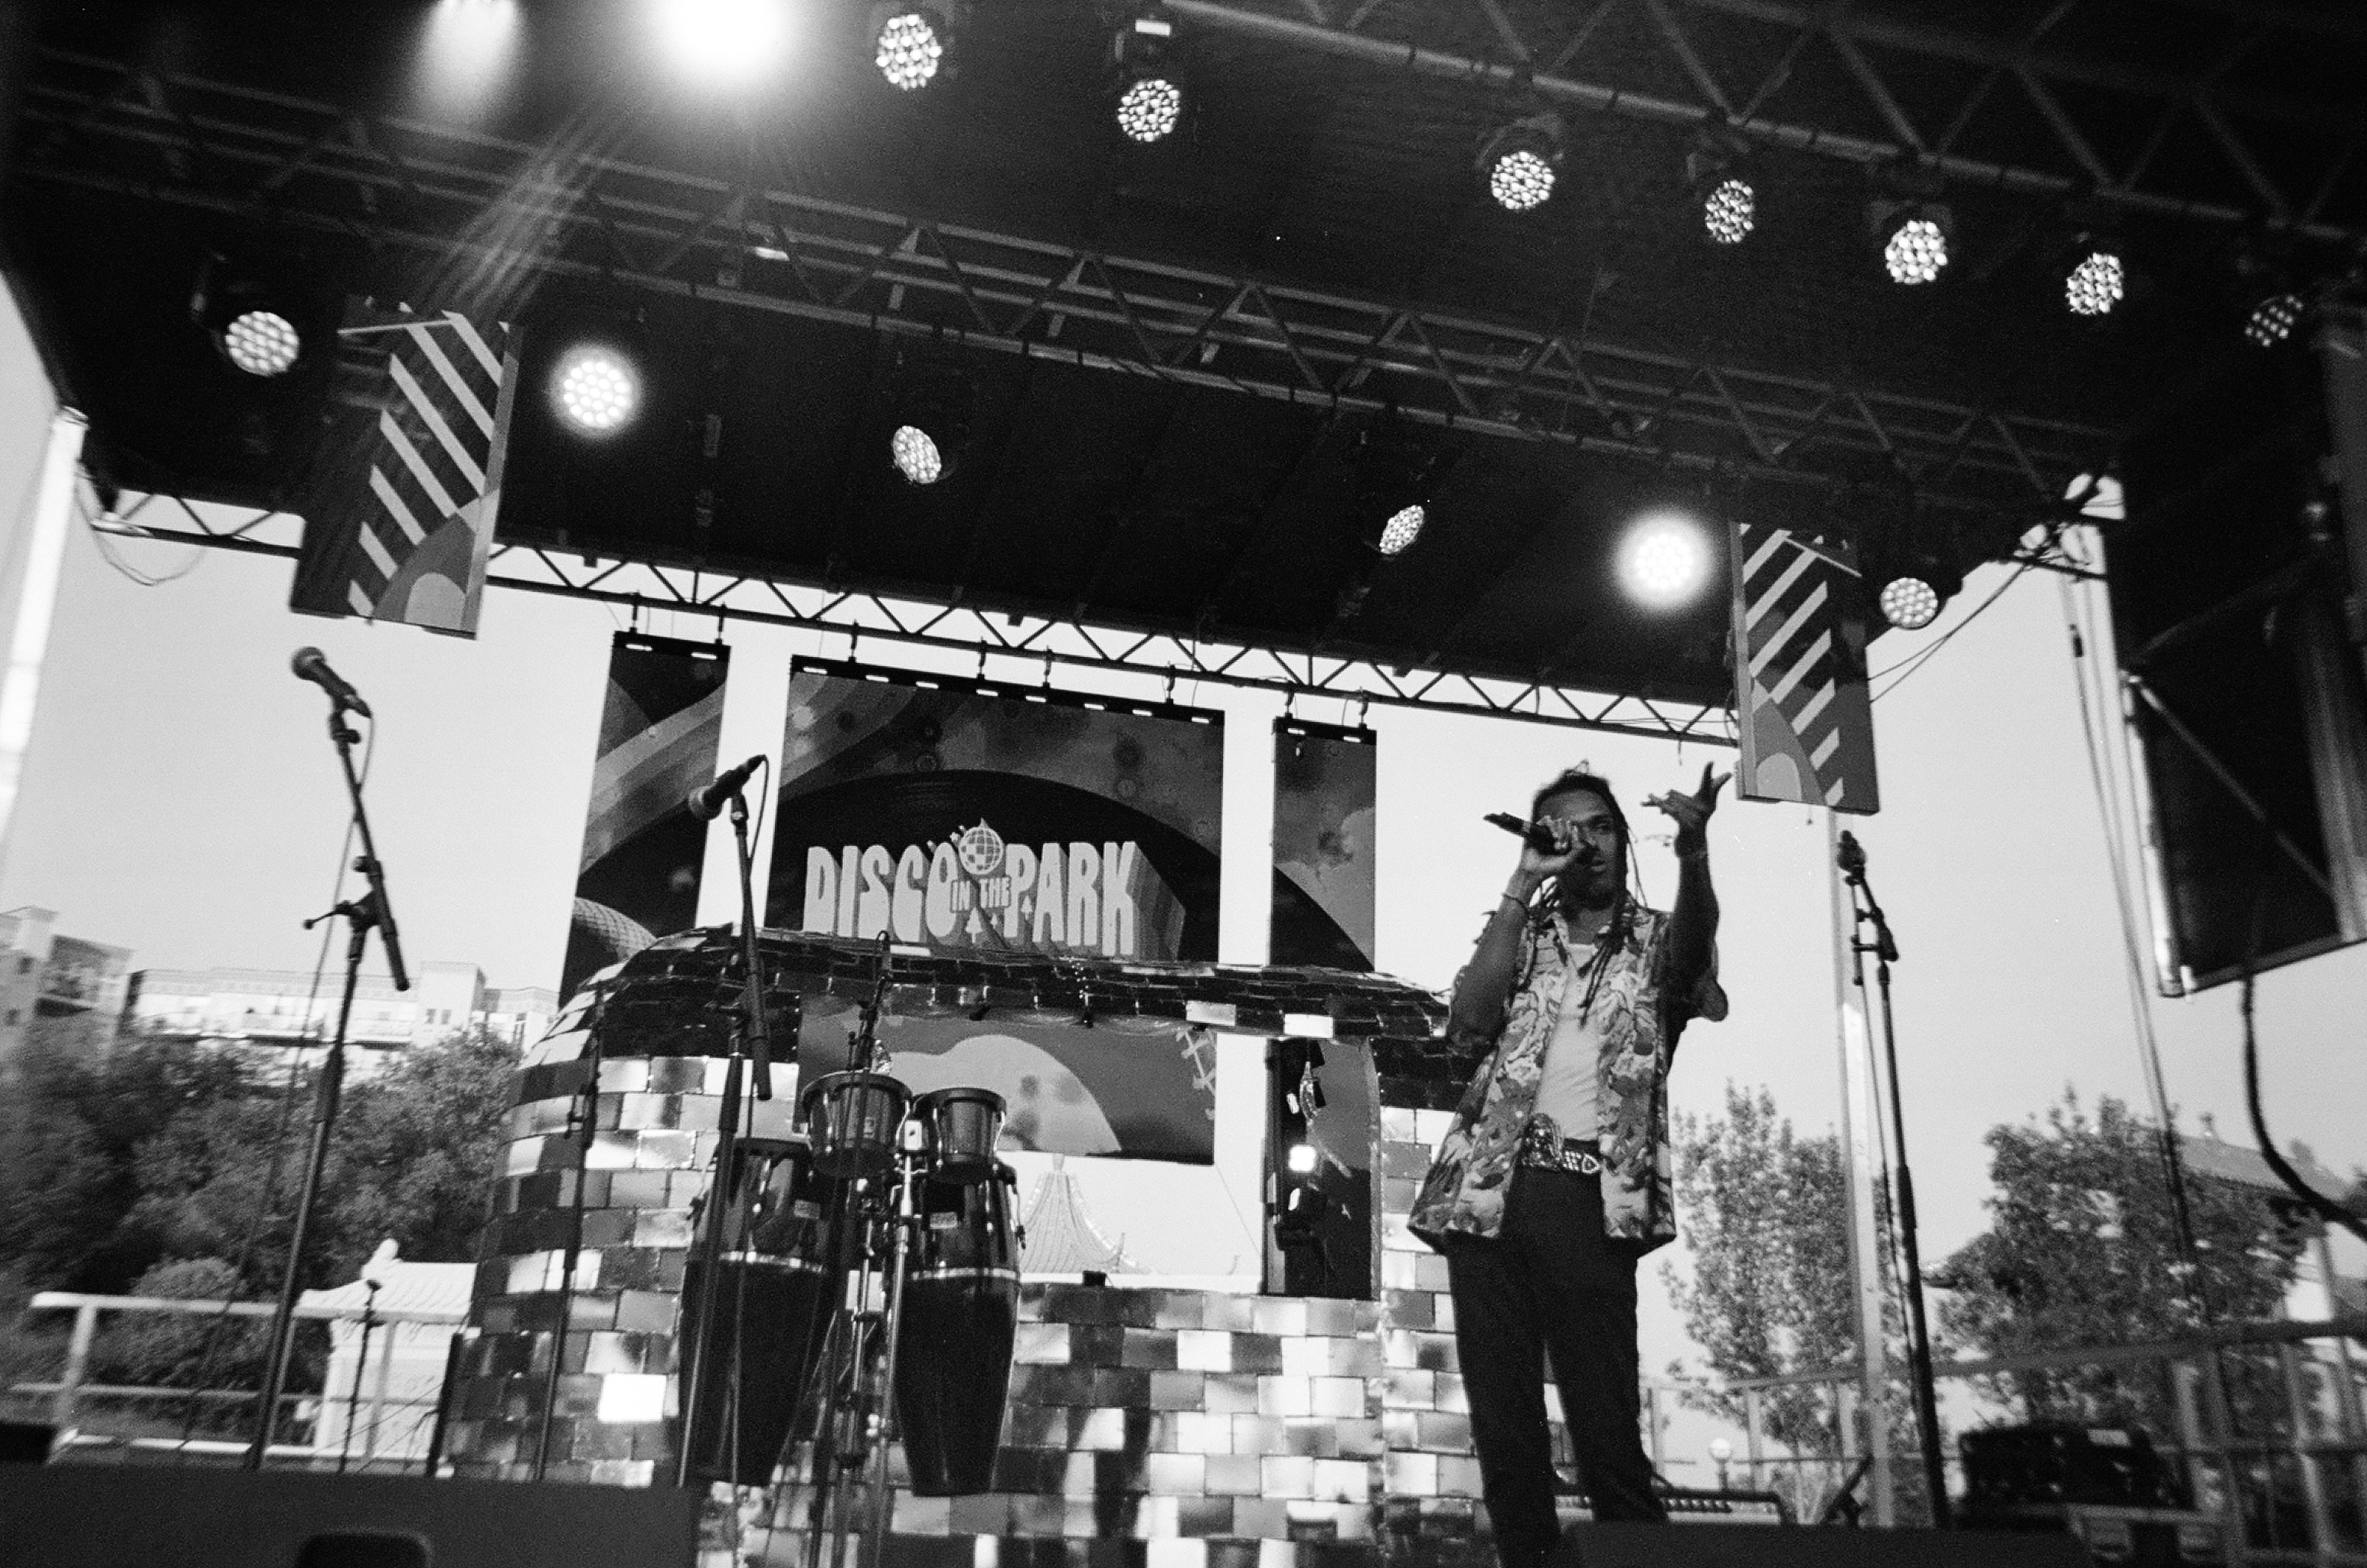
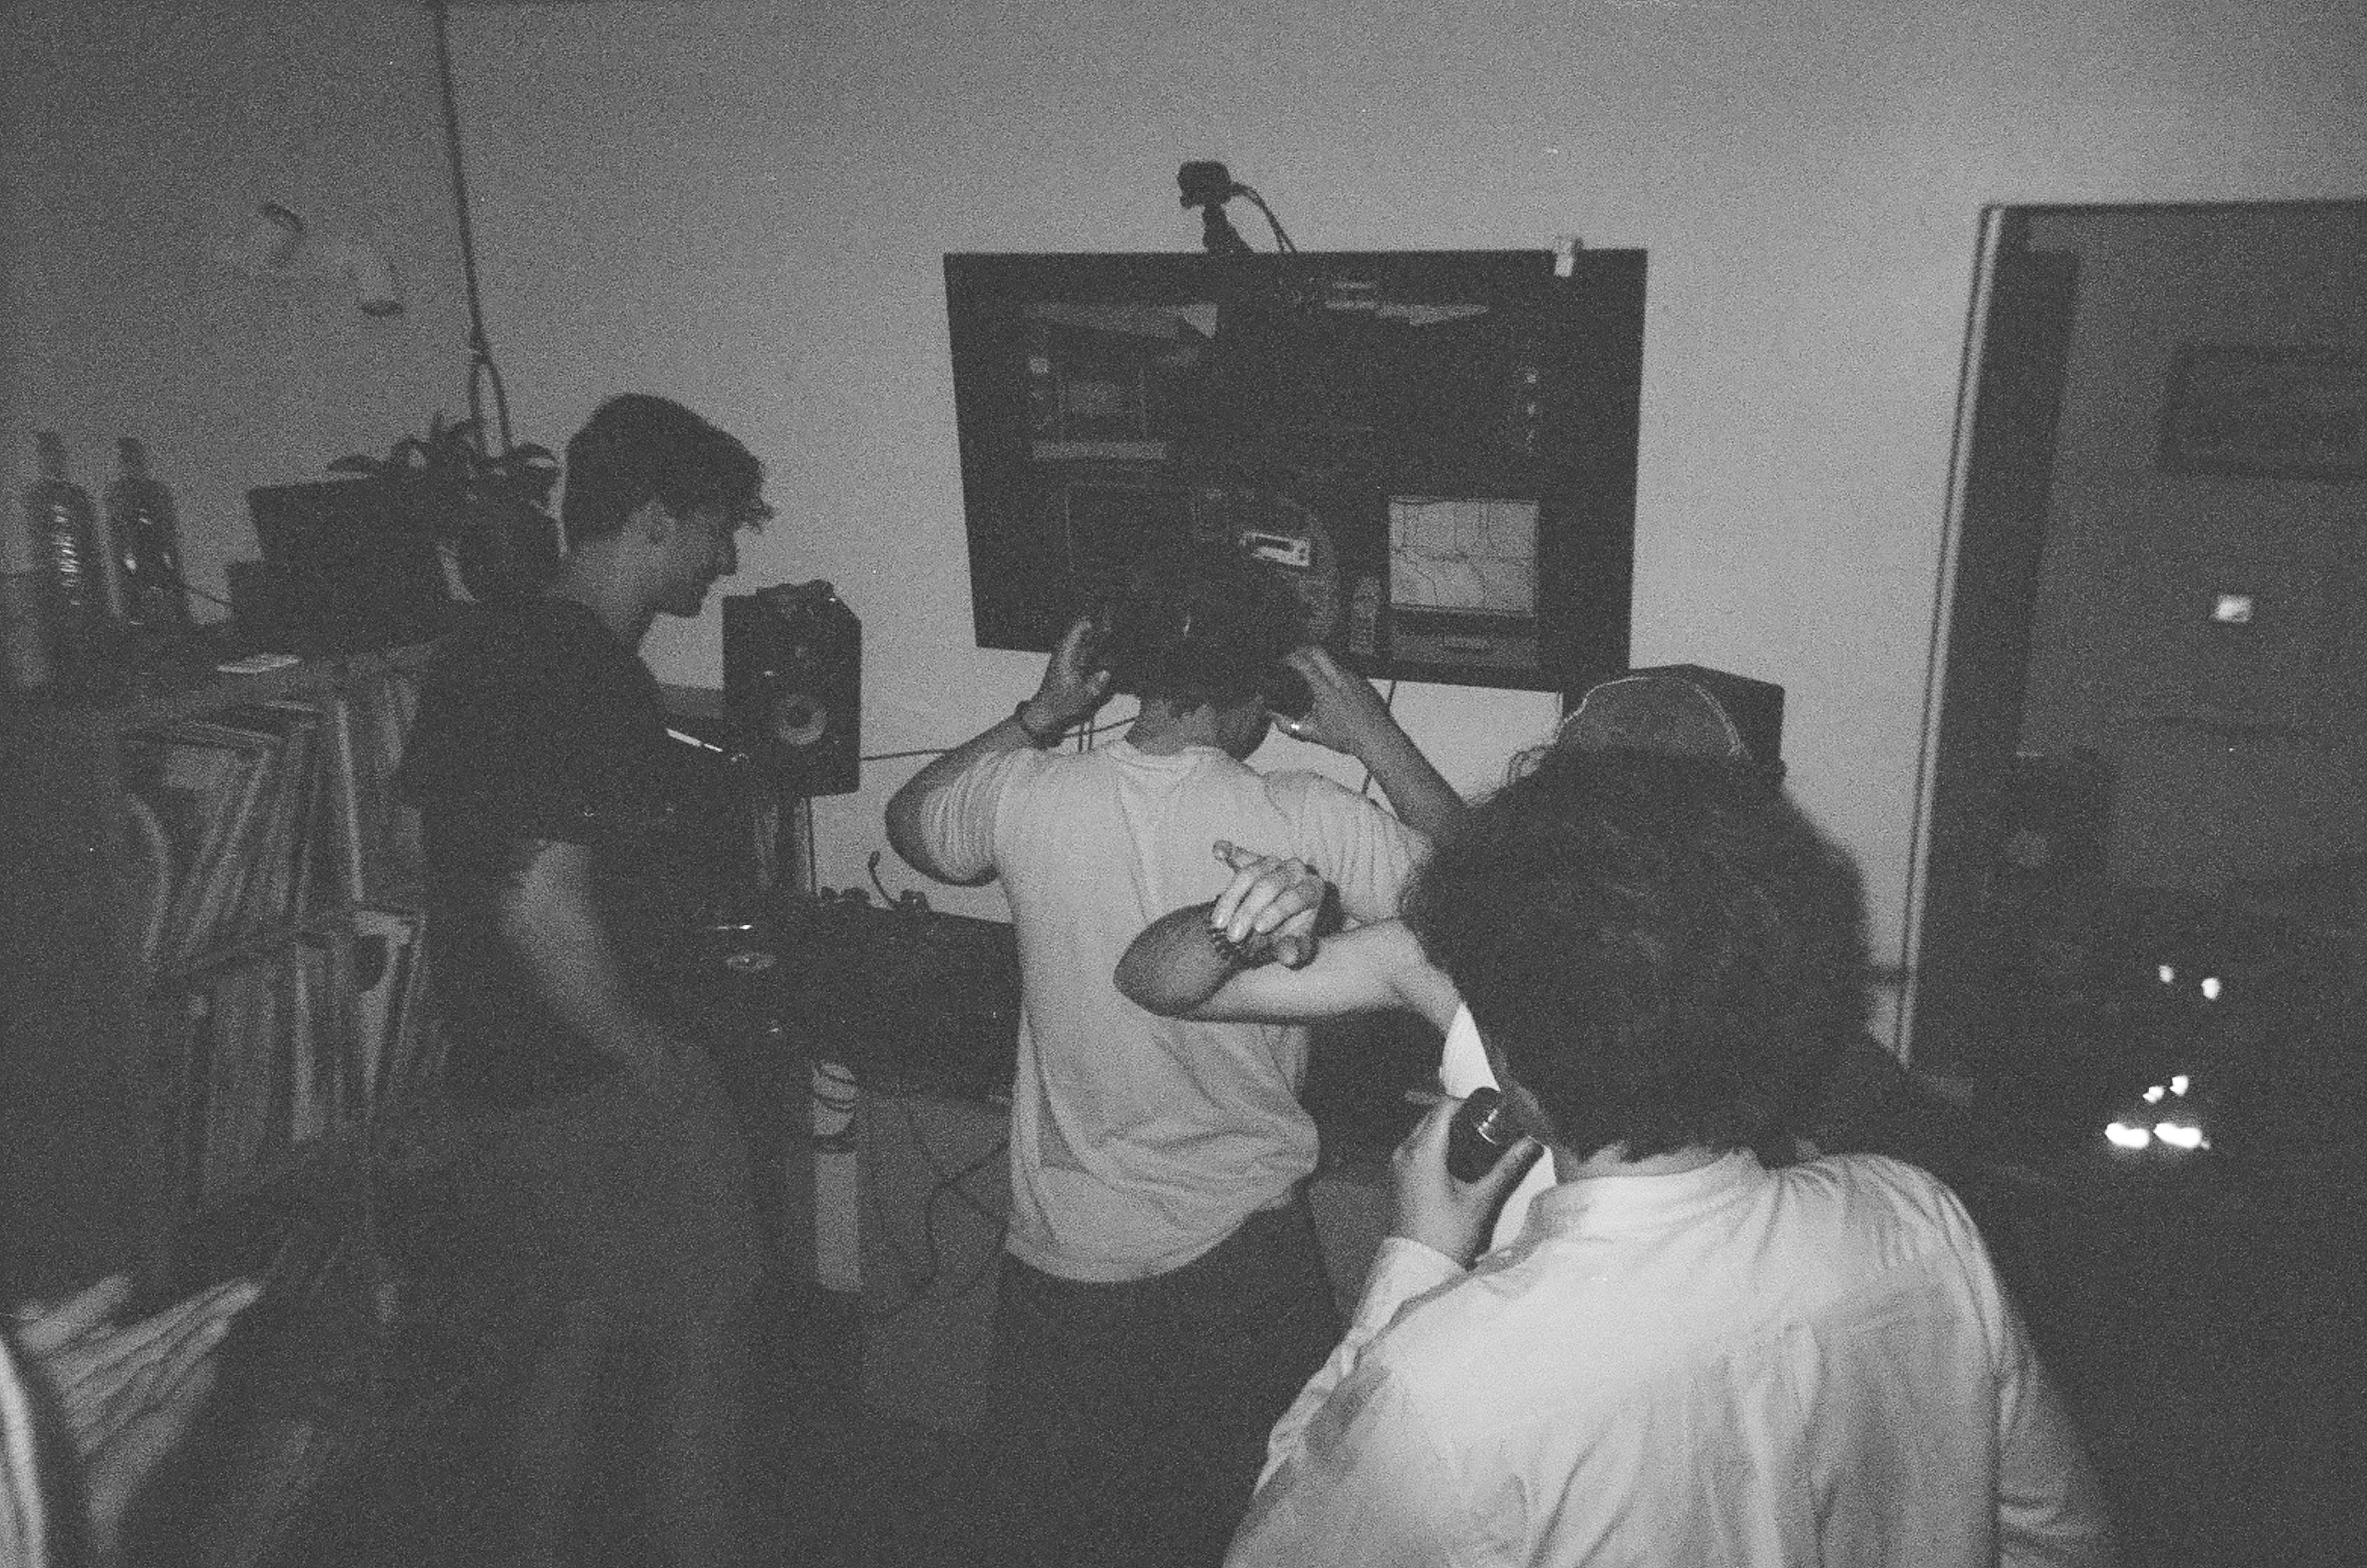
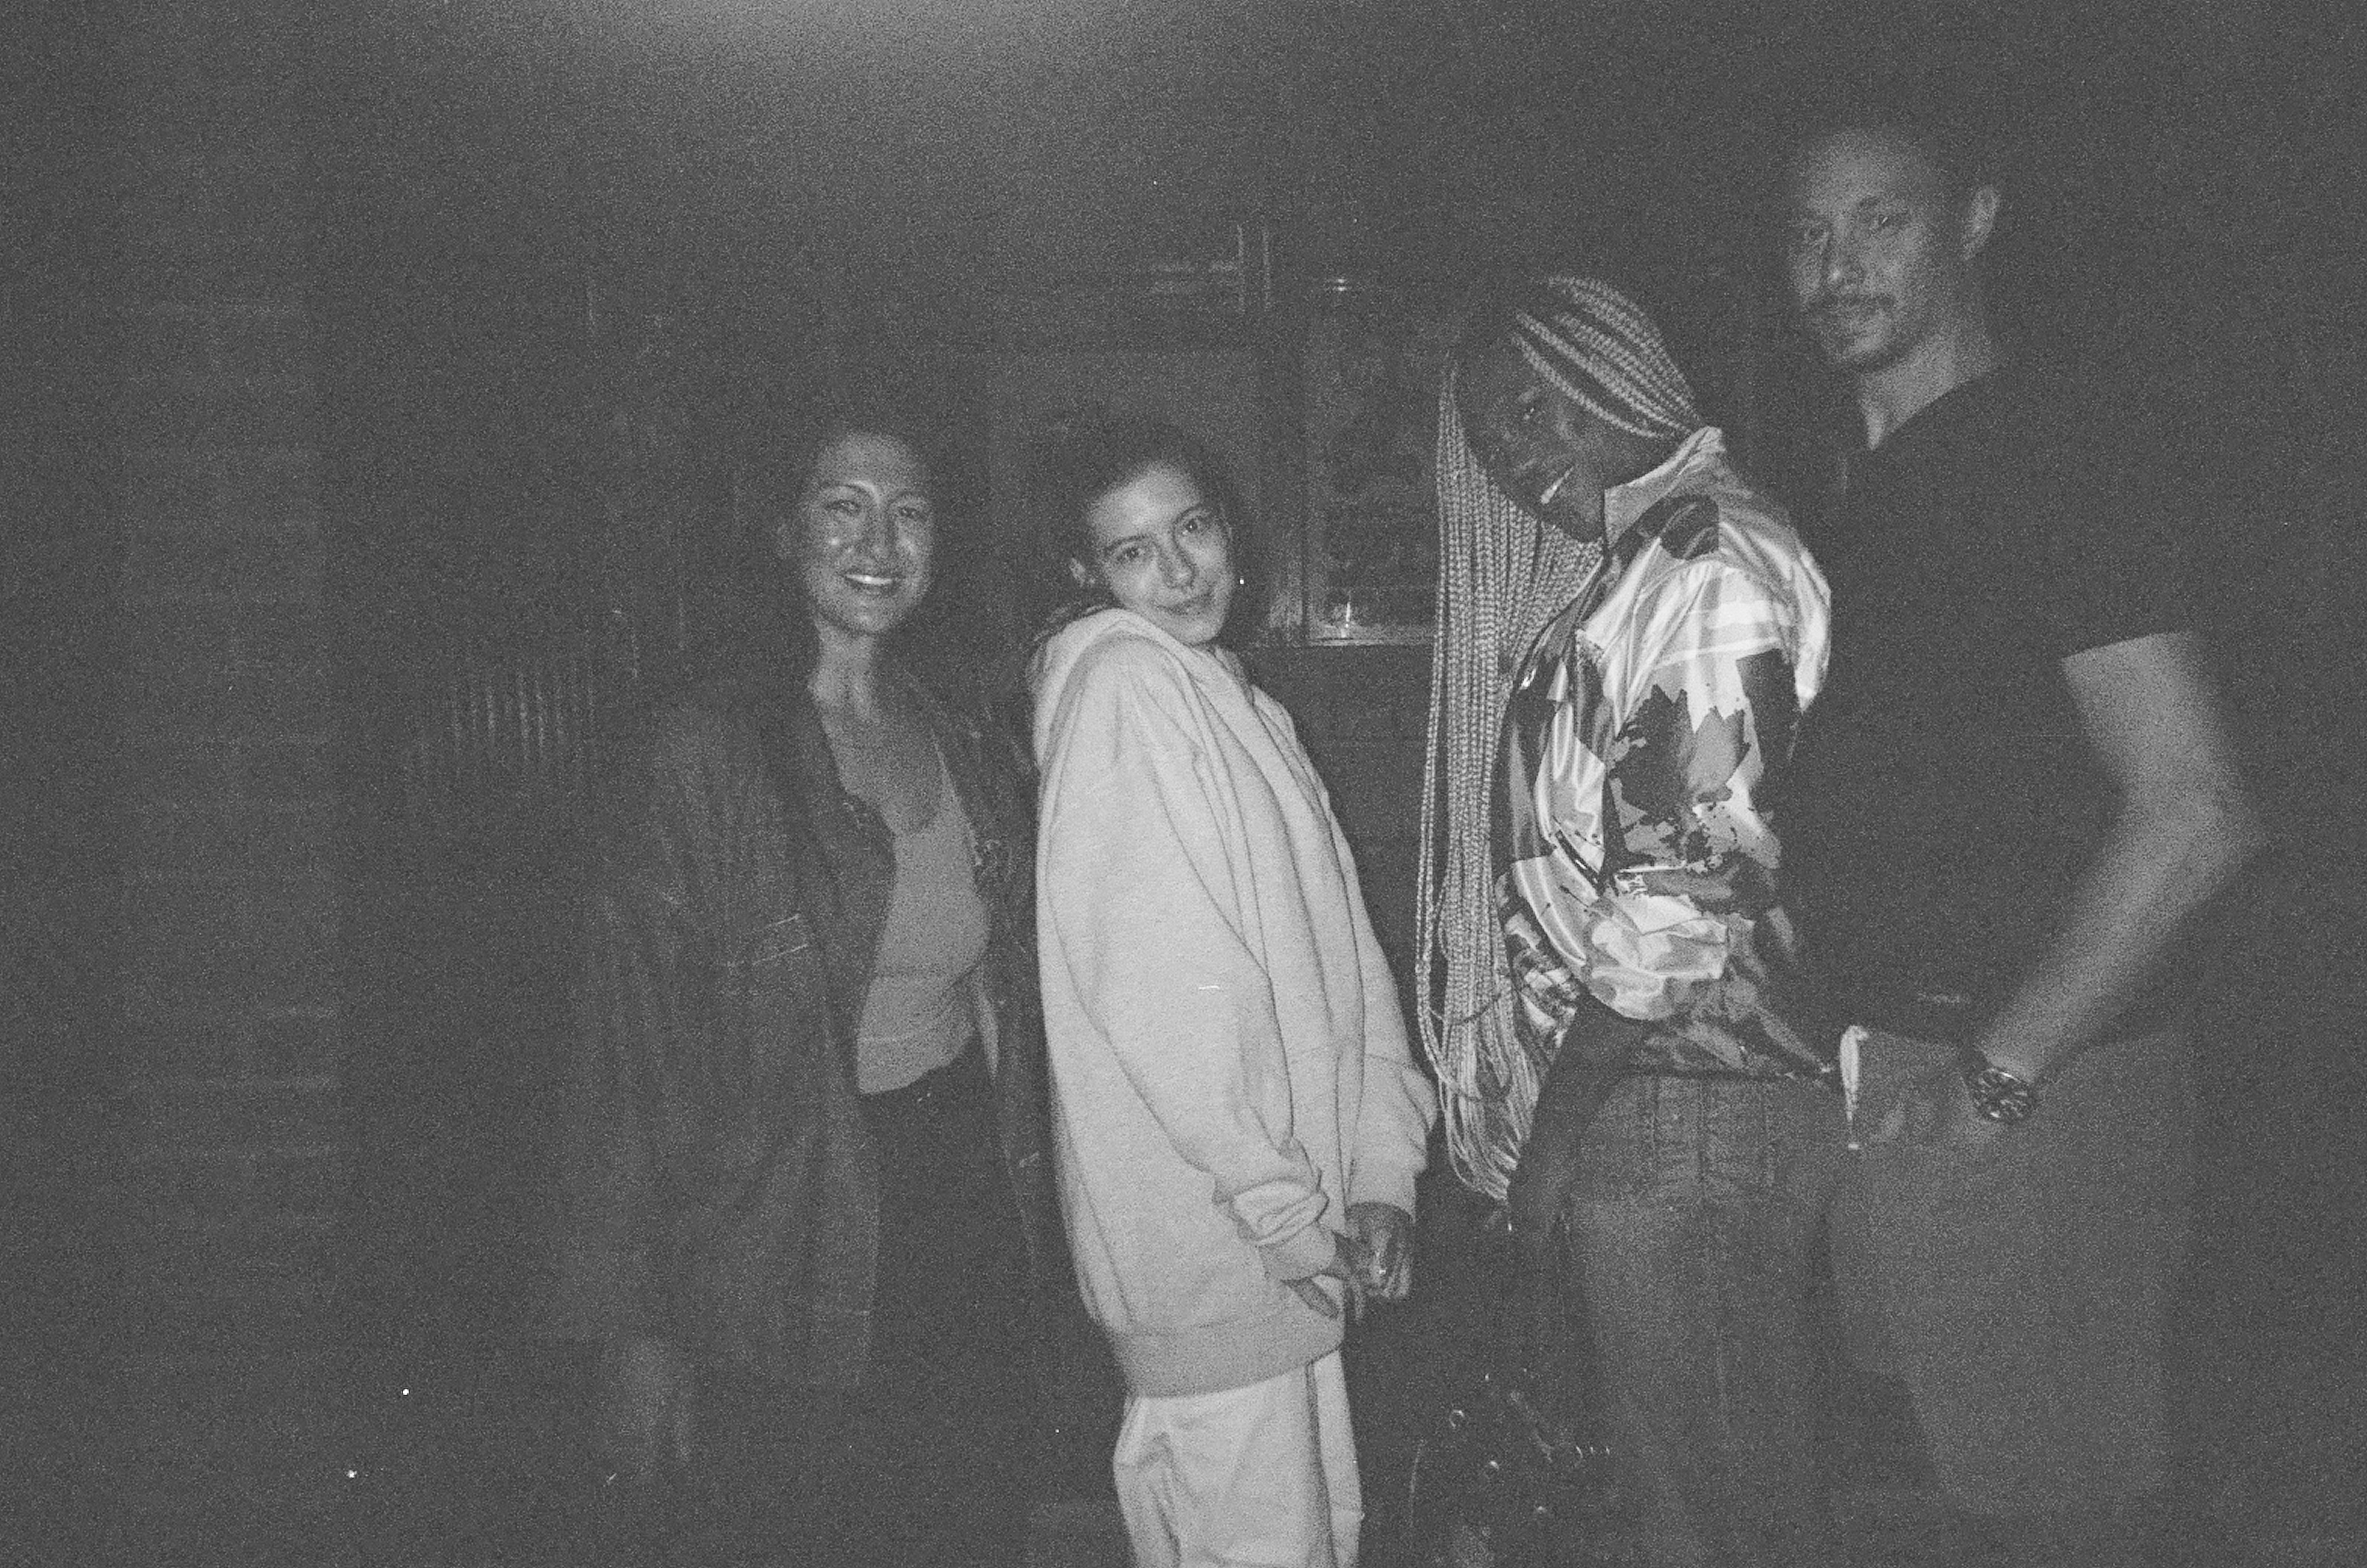
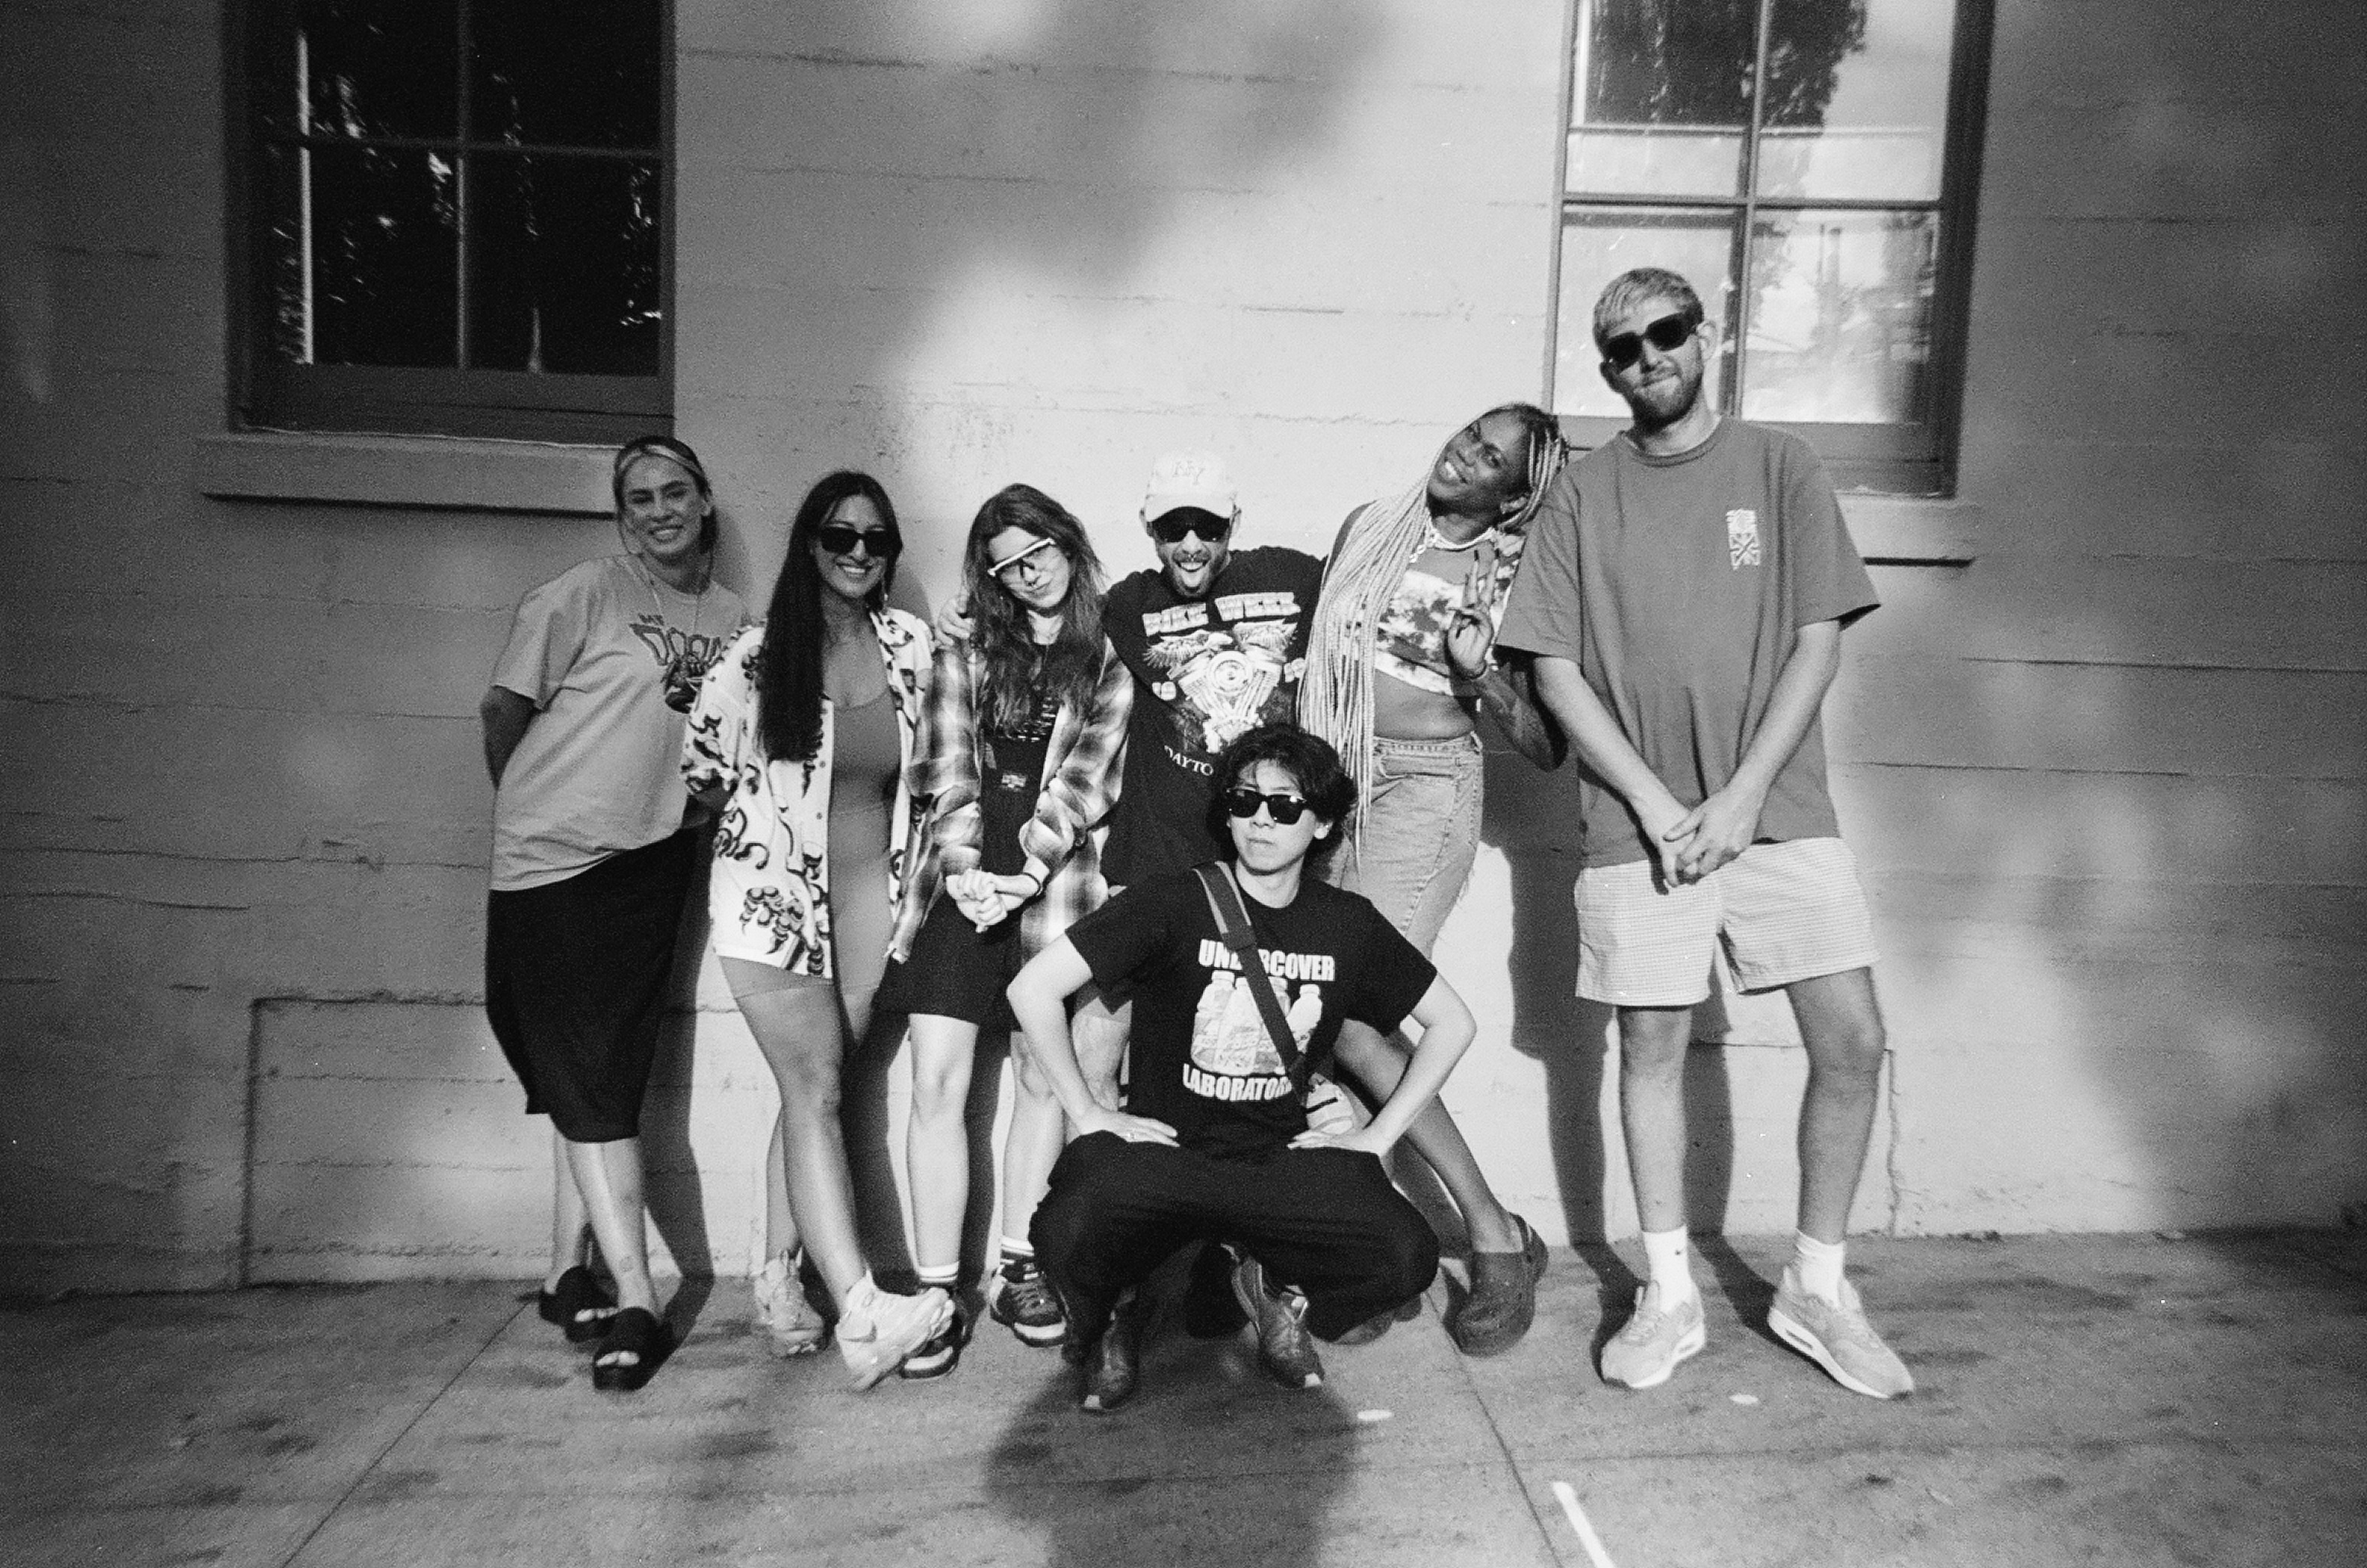
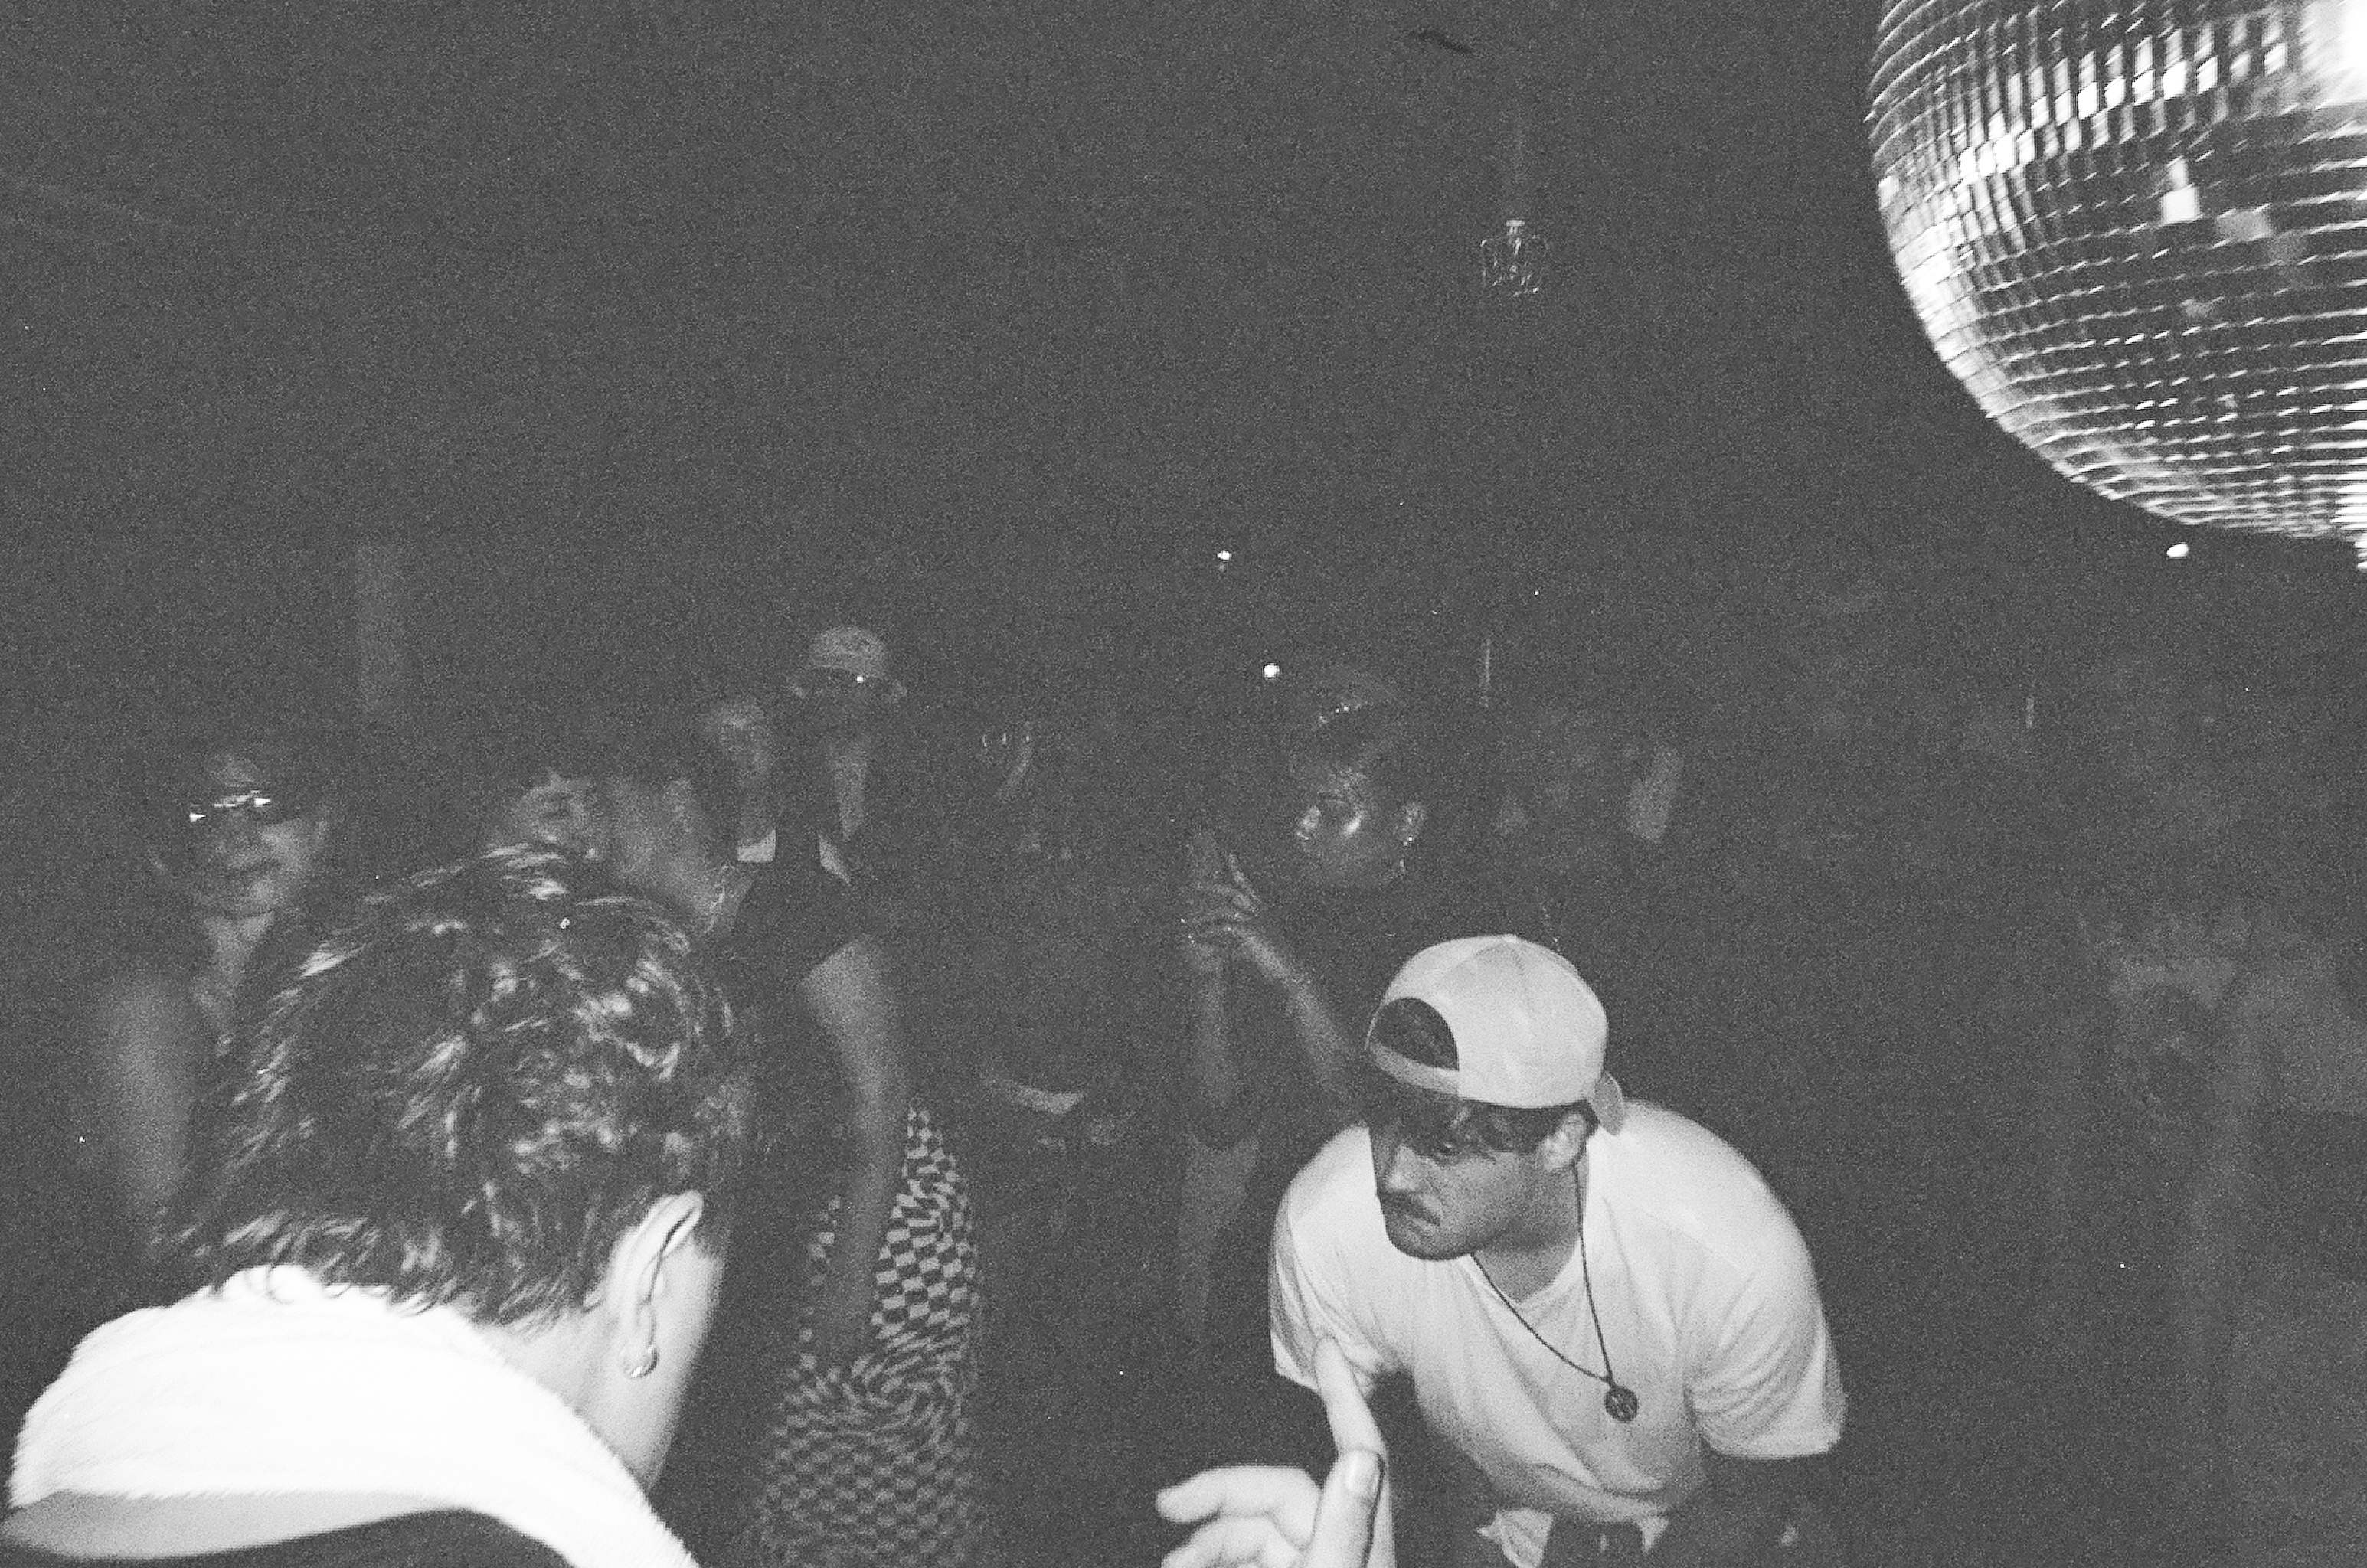
It’s been awhile since my last post and I’m planning some recaps. Wanted to share some snaps from INTERLOCK (Calgary) show back in June, 2023.
INTERLOCK is a club night celebrating high energy and amazing vibes, started by homies Visev and Cerdin. I was hyped they asked me to play their second iteration of the event because I am such huge fans of their production and was an instant fan when I heard them play in Edmonton last winter. It was a great weekend! Roadtripped down with a few of the homies- it was a great way to start off the summer.
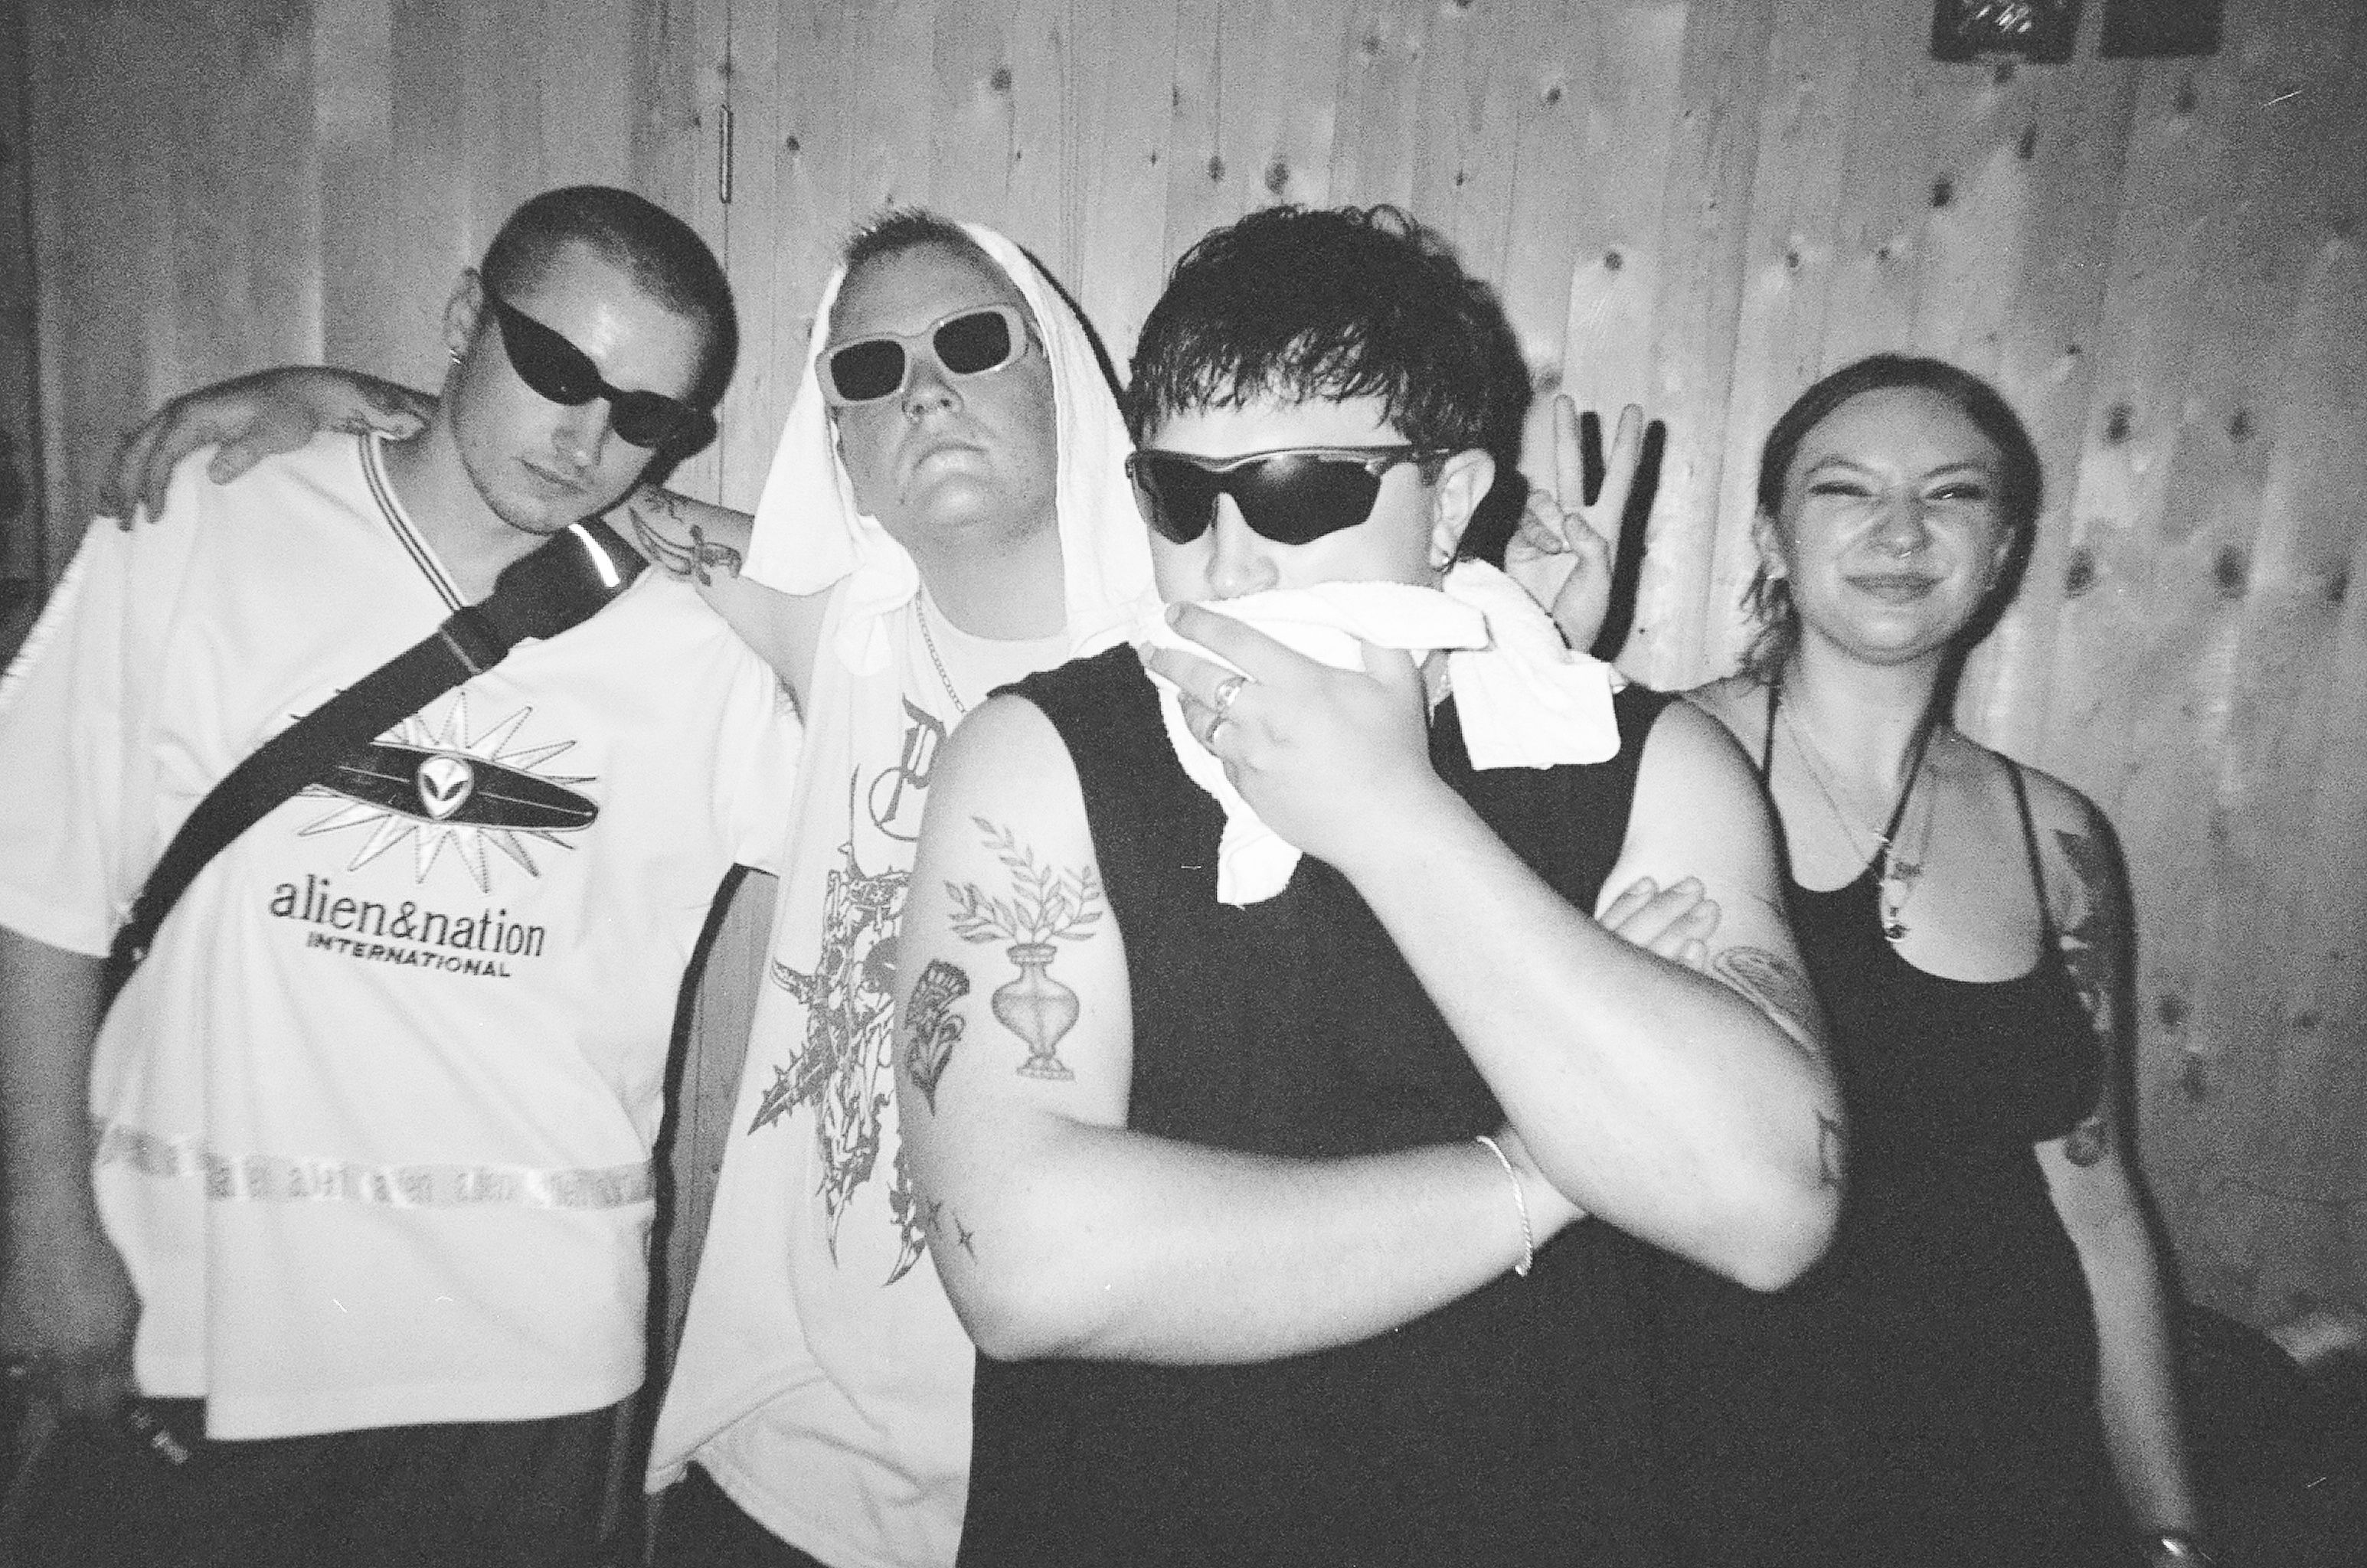
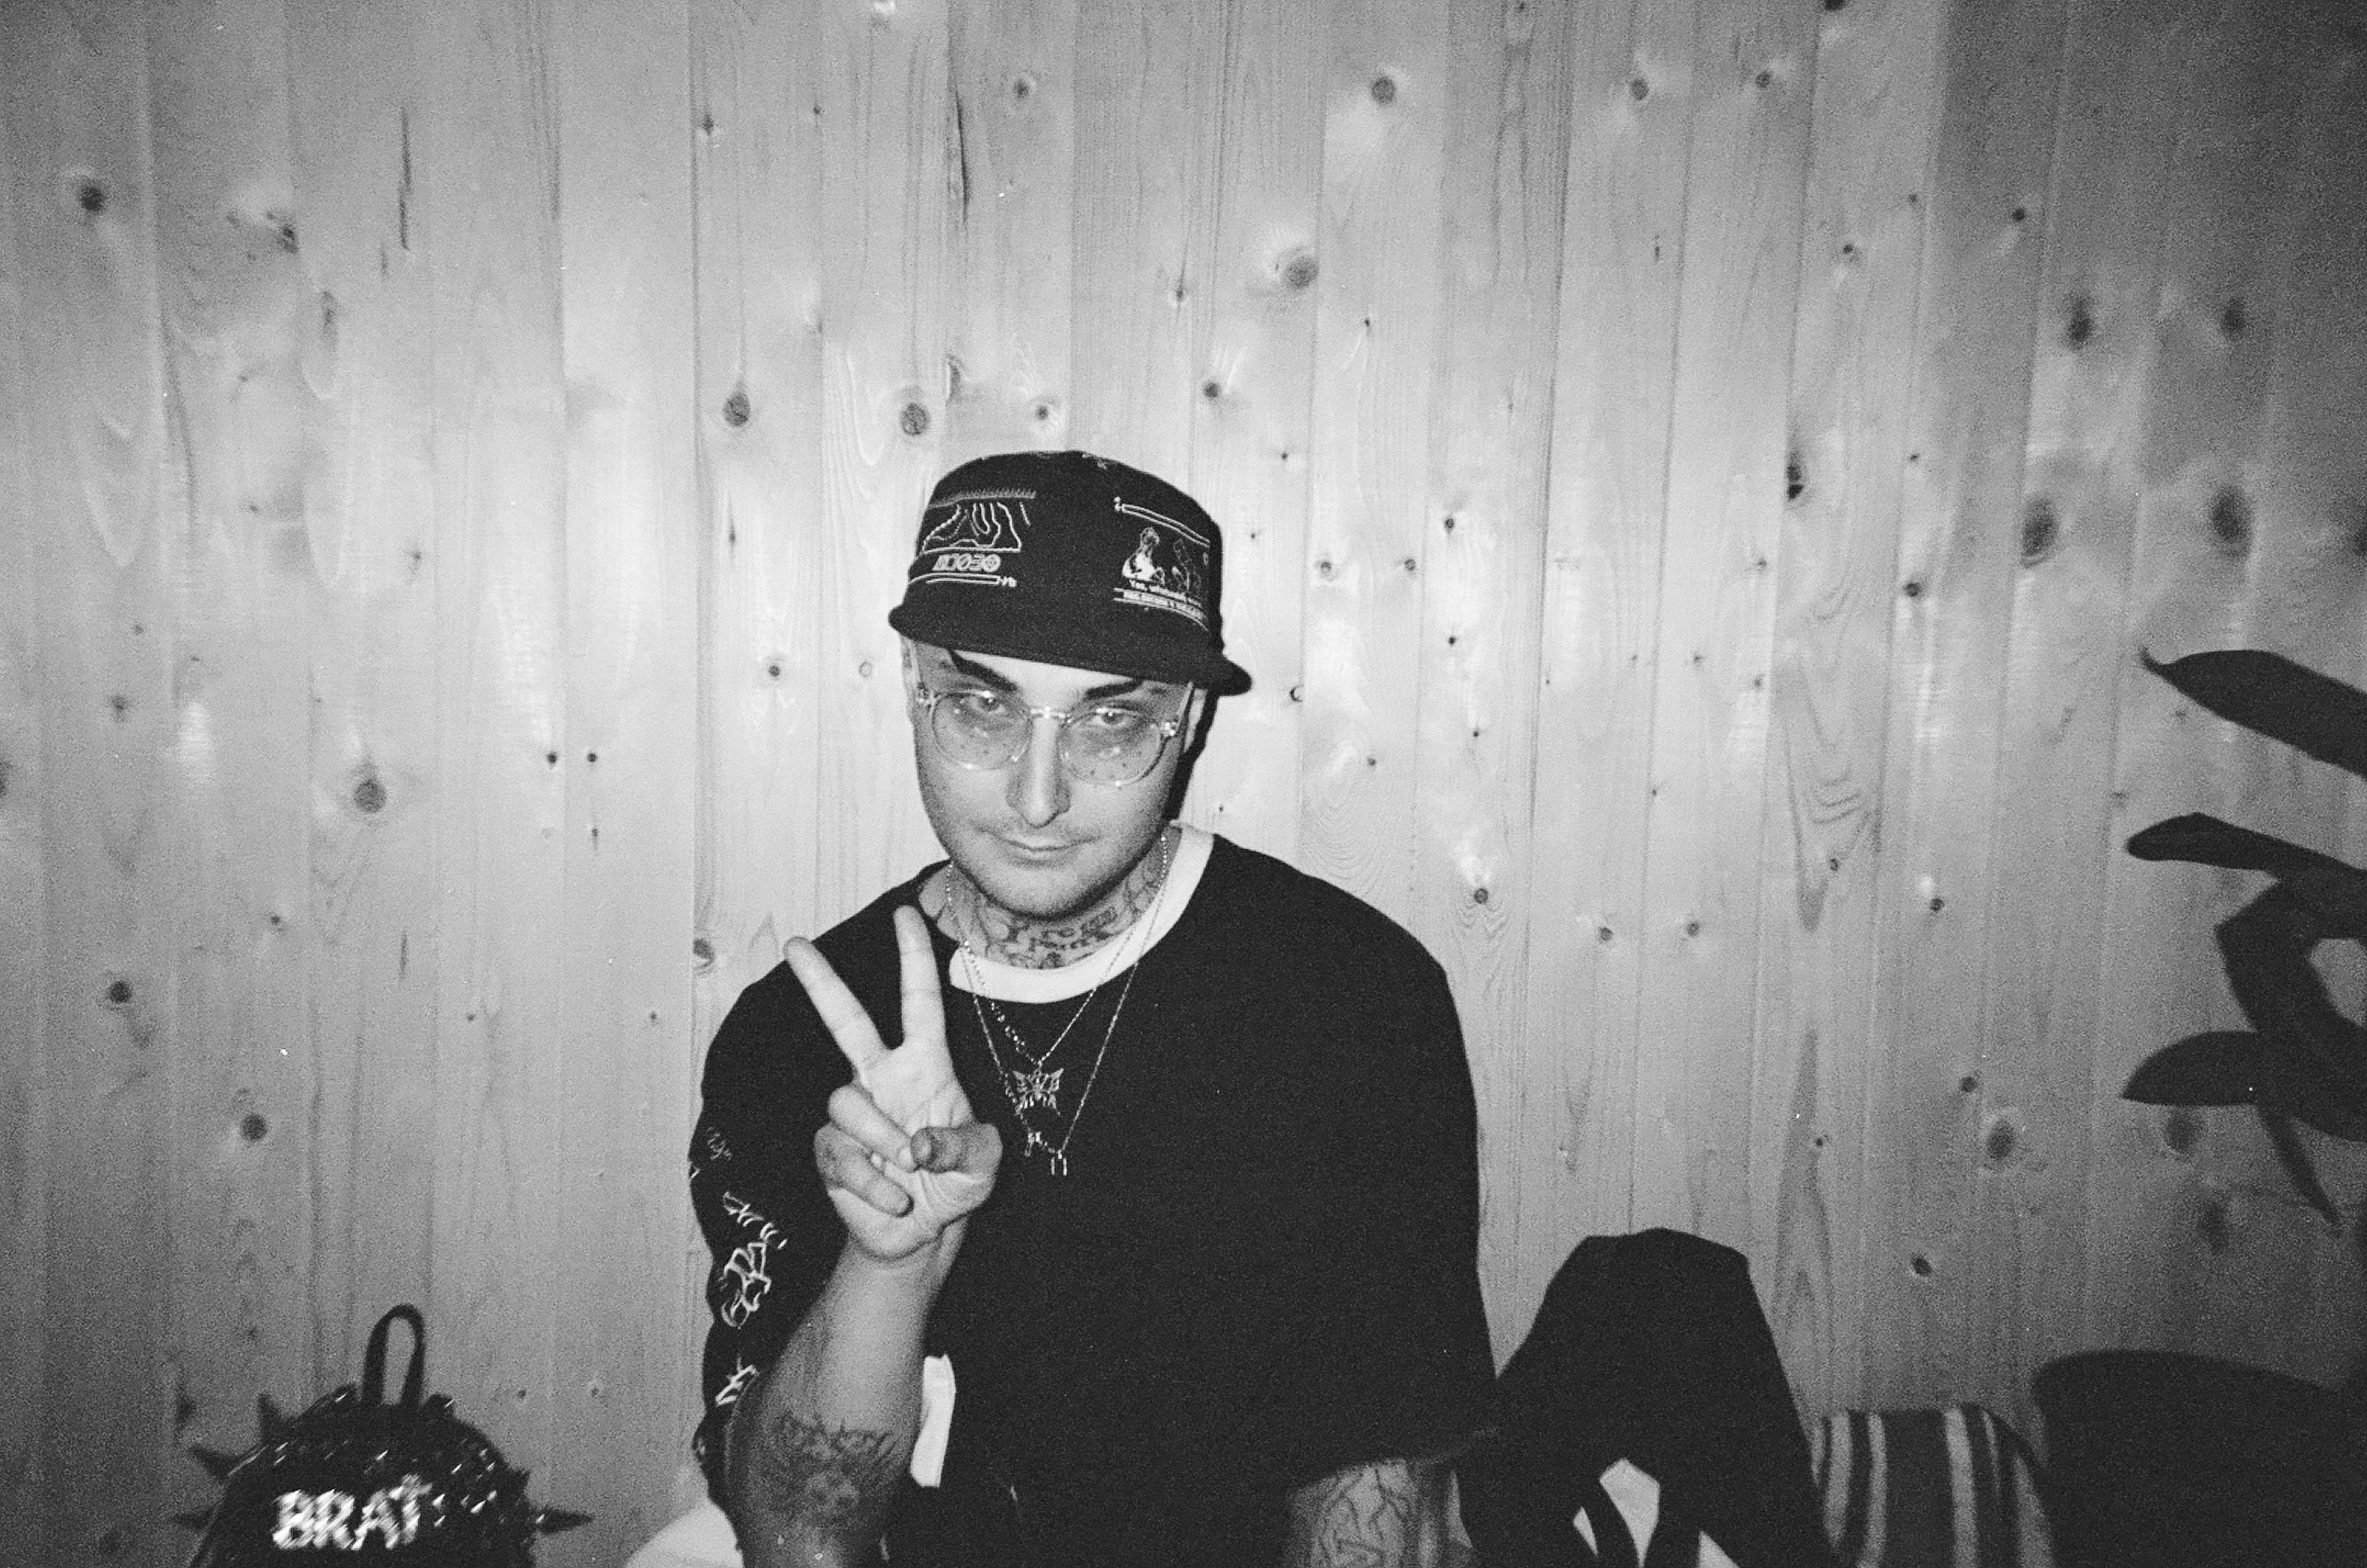
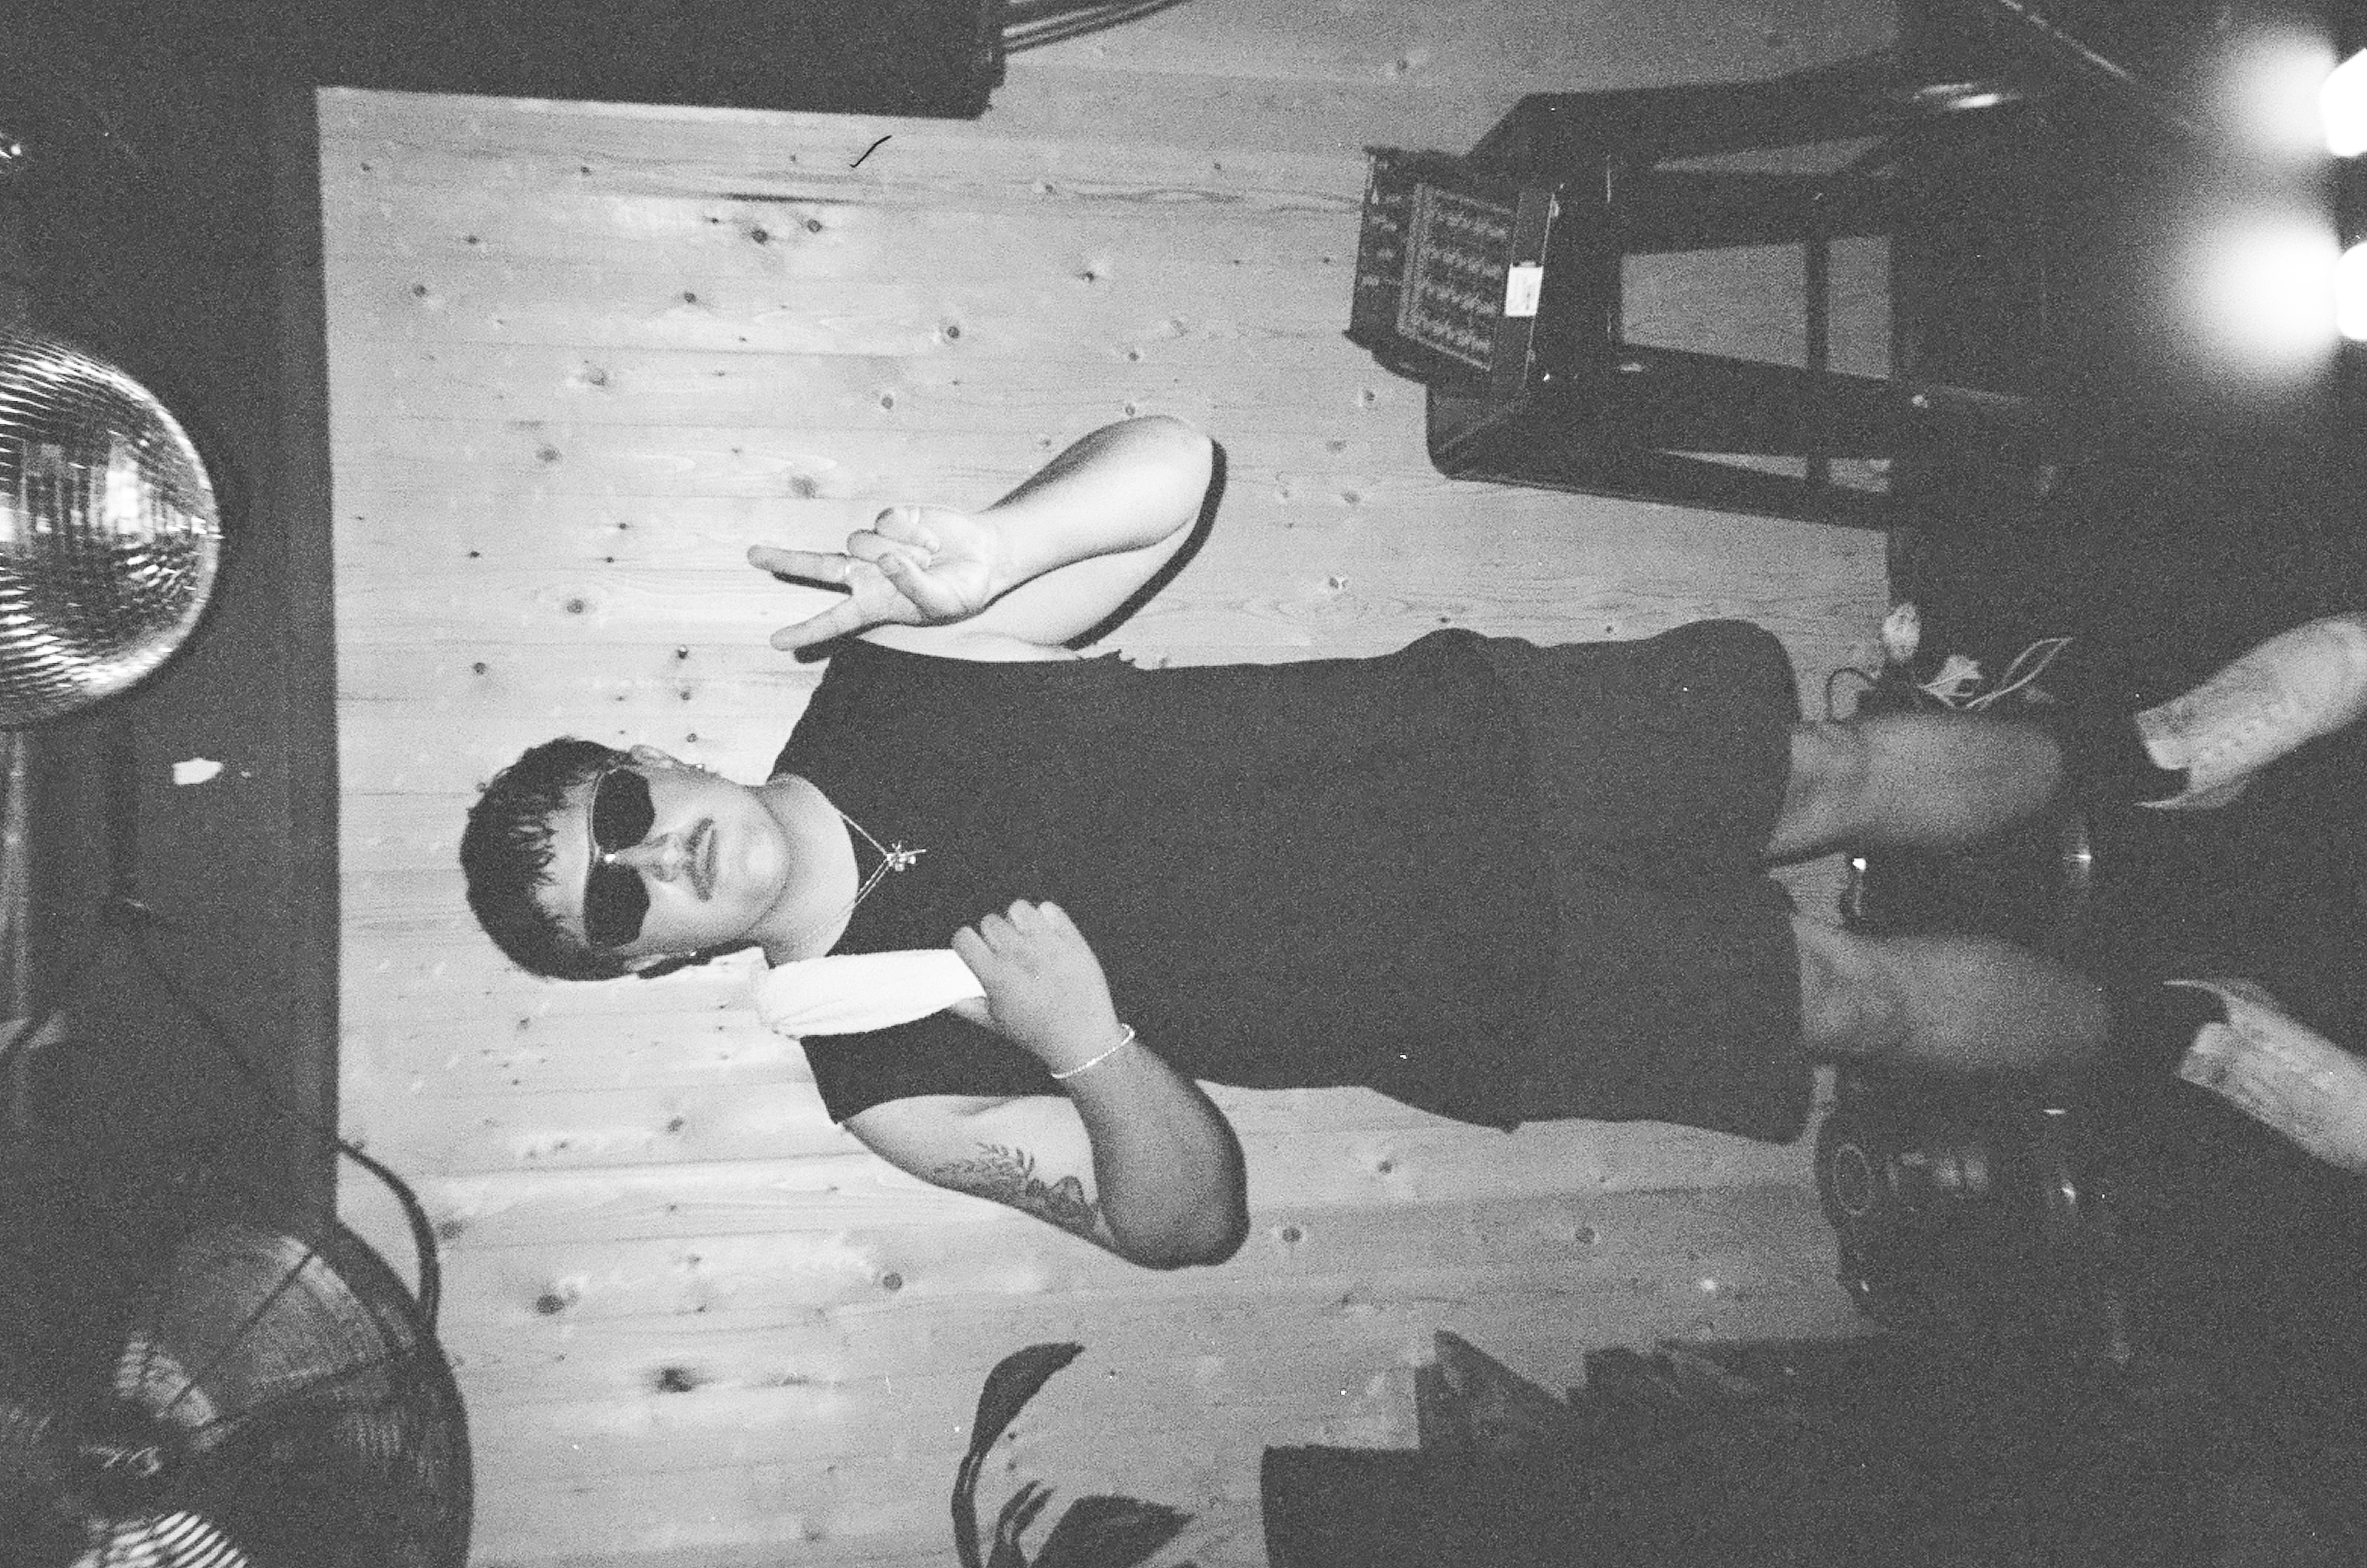
Really grateful that our crews collided this year and am looking forward to see what’s in the cards for these two heavy hitters. Here are some 35mm photos I took during the weekend.


Peace,
hj

Hey!
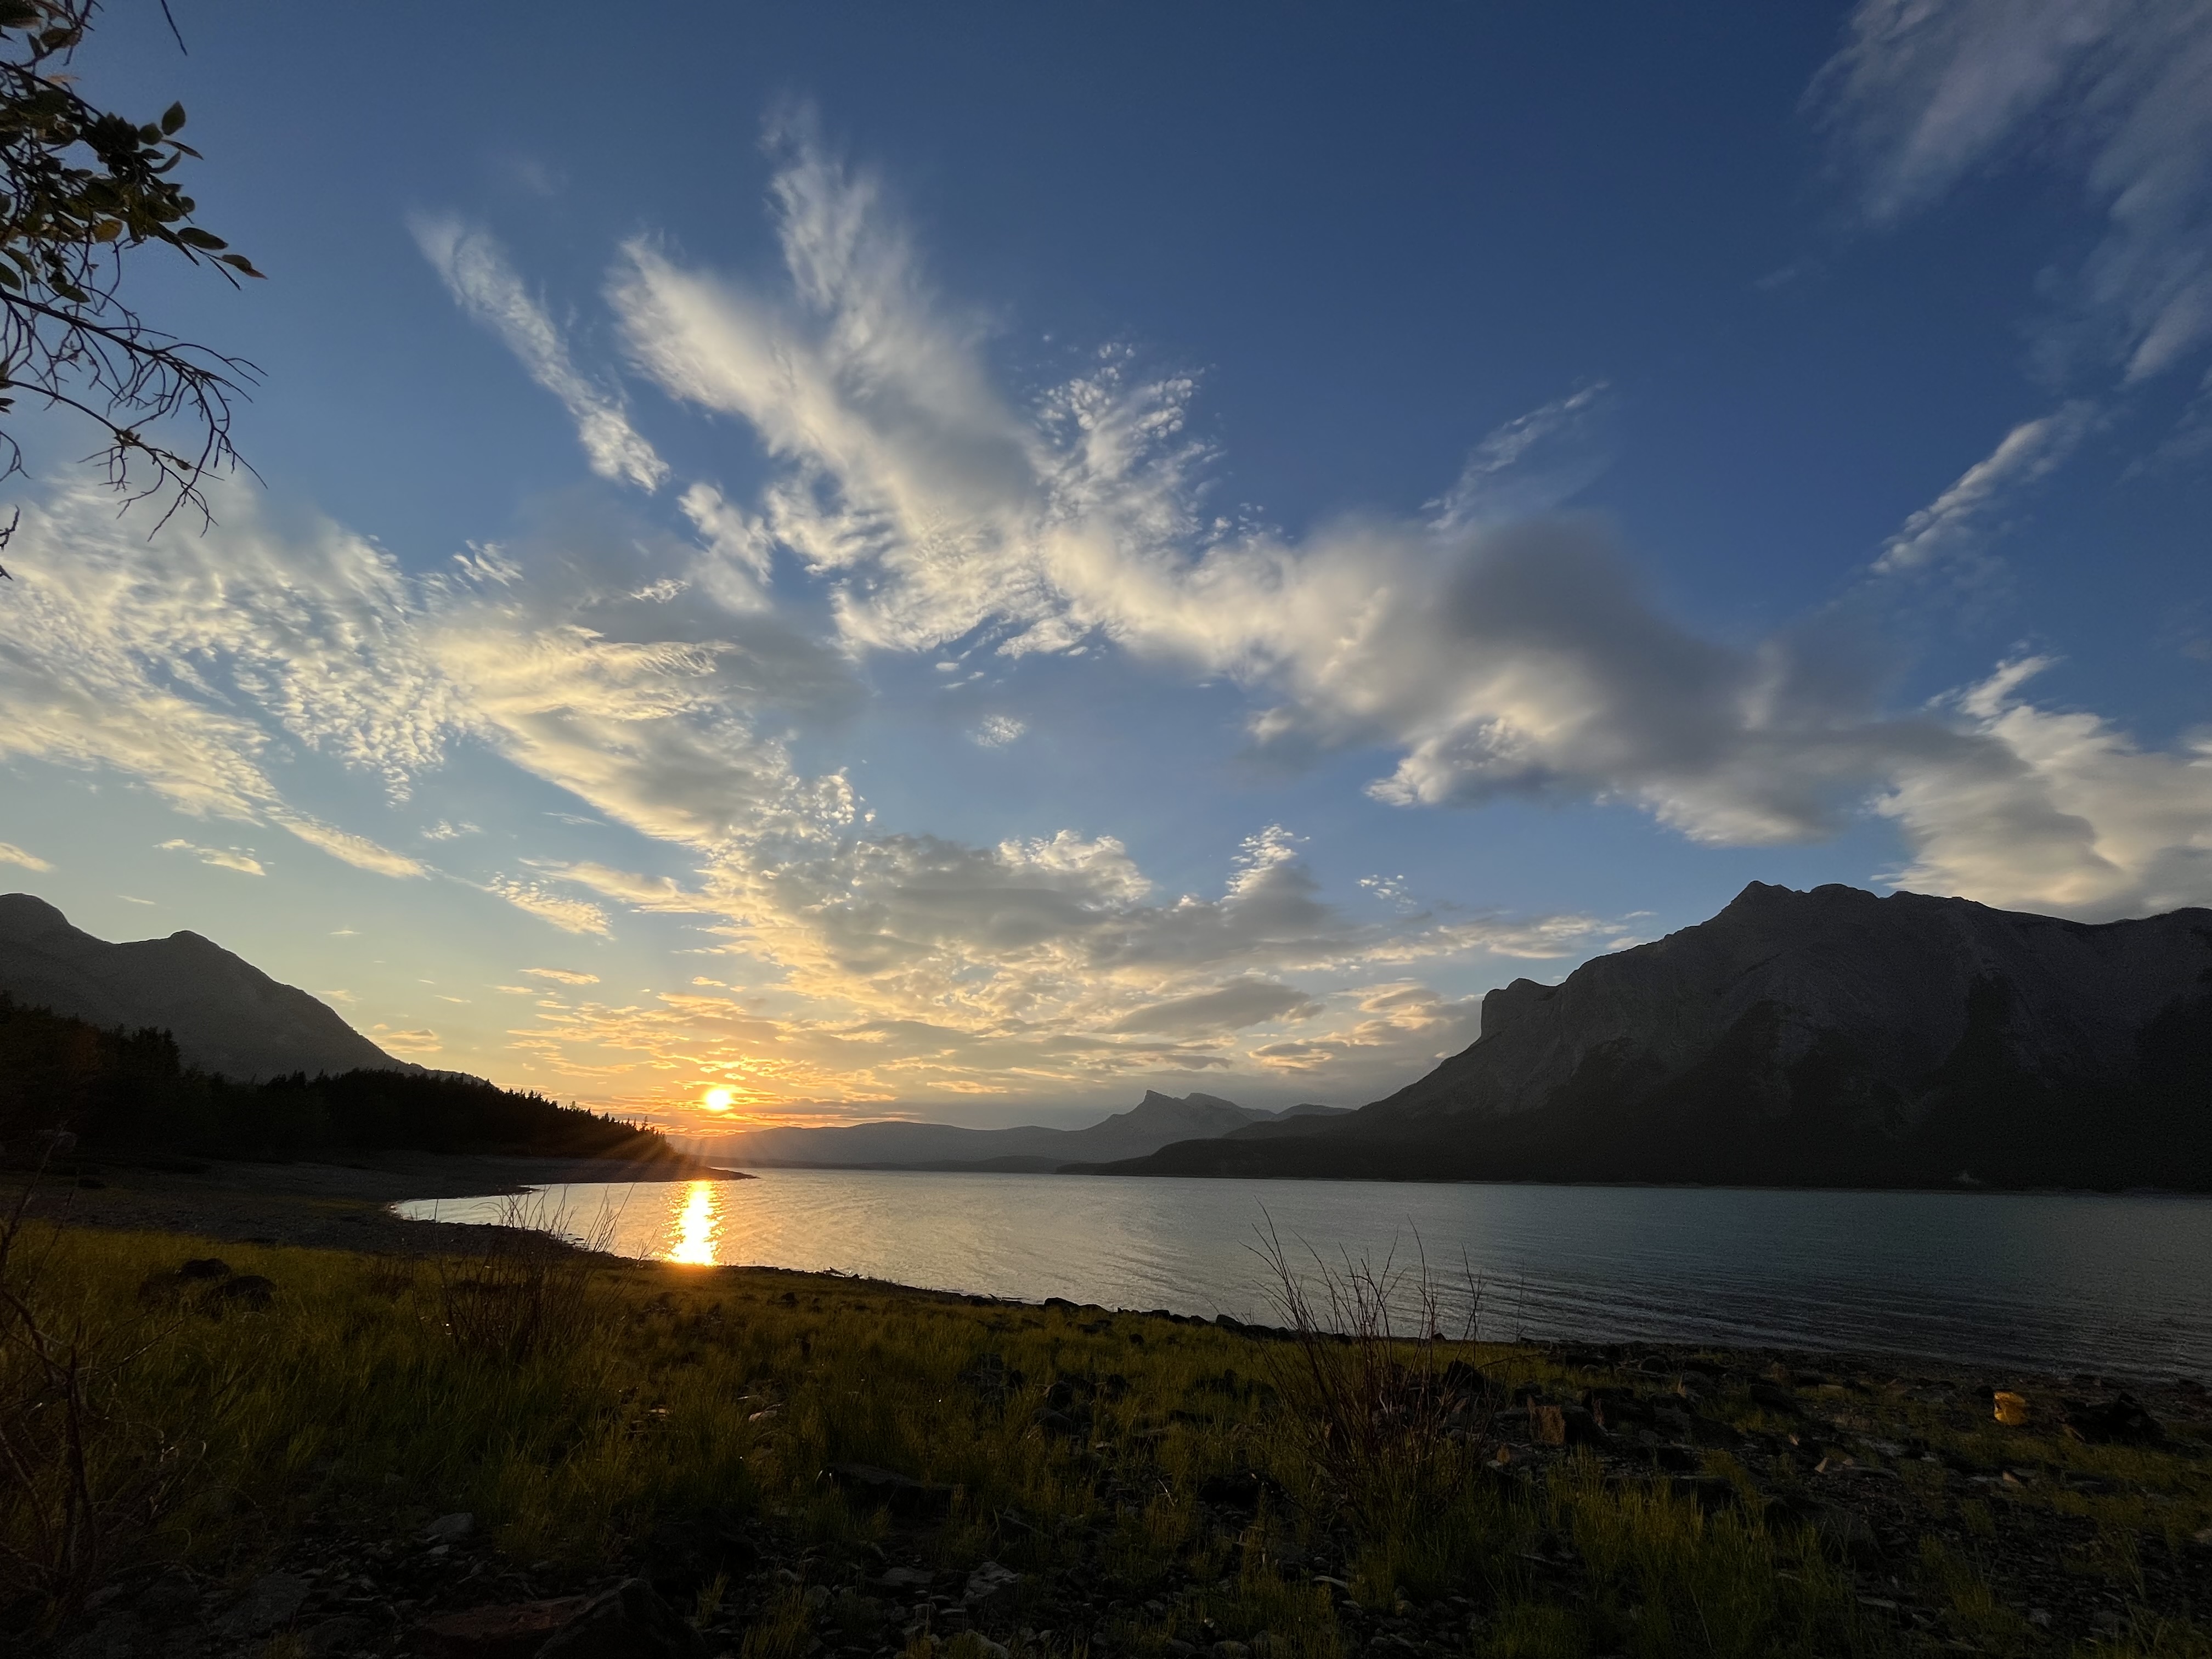
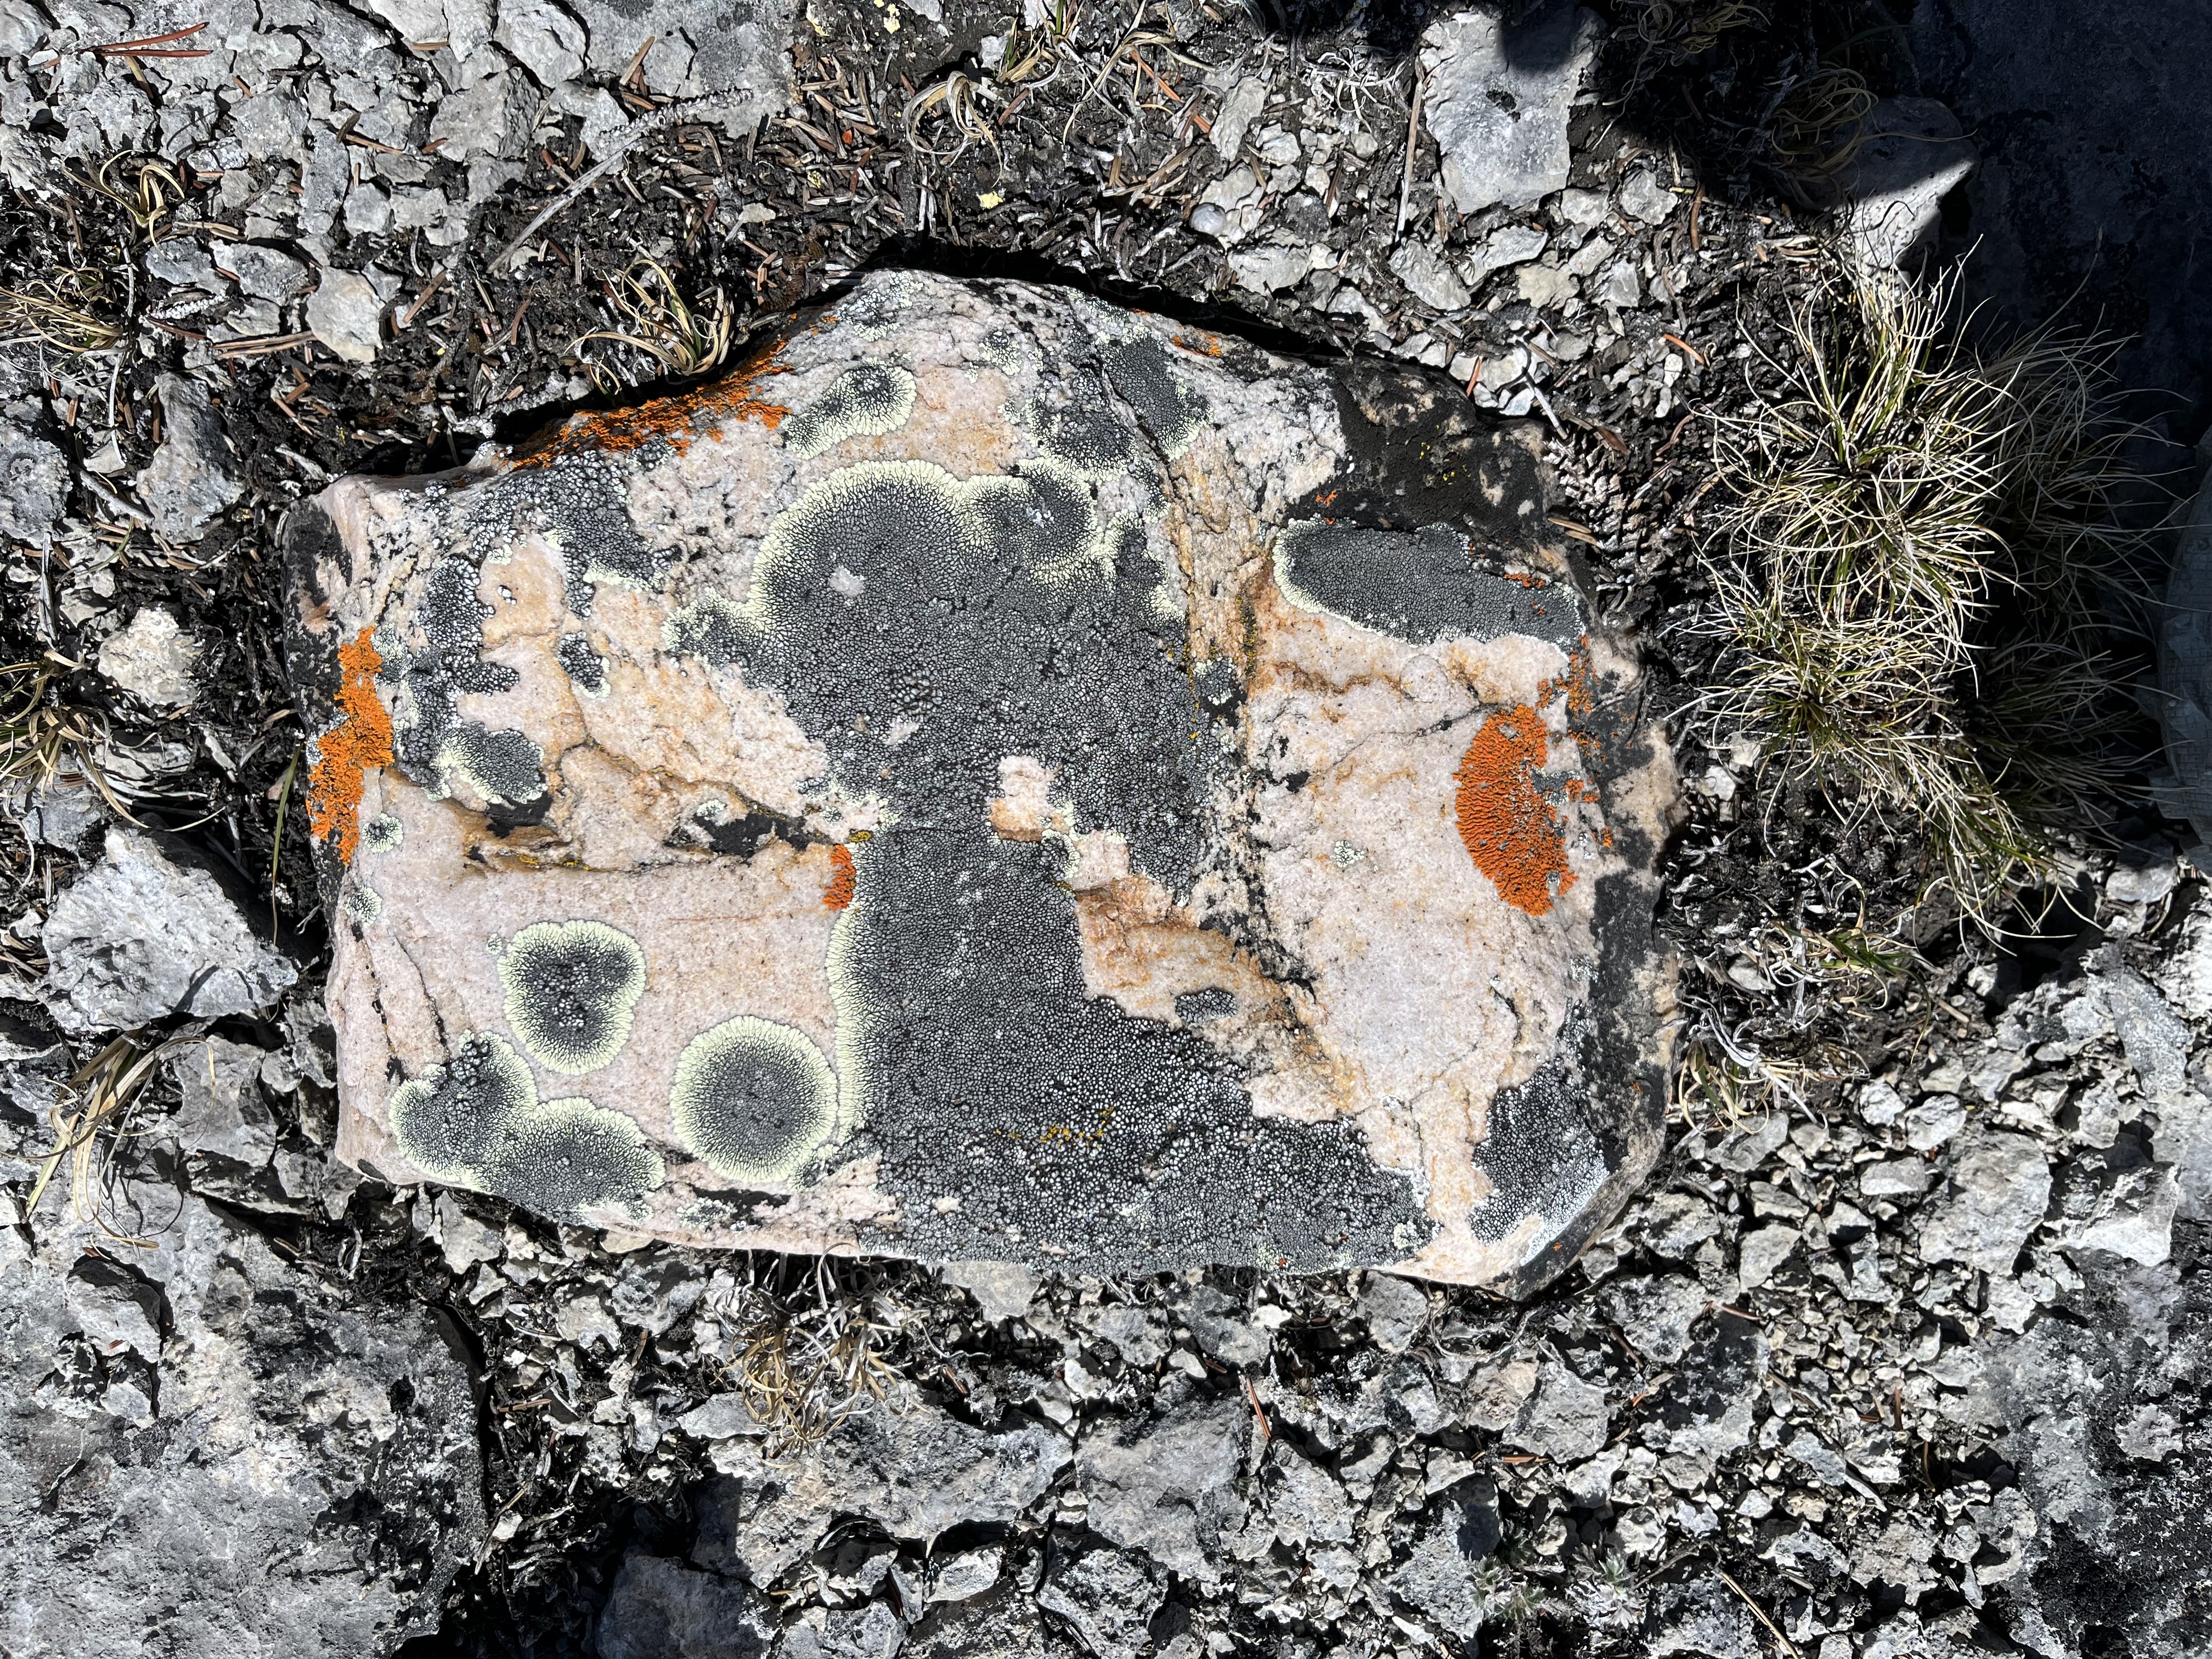
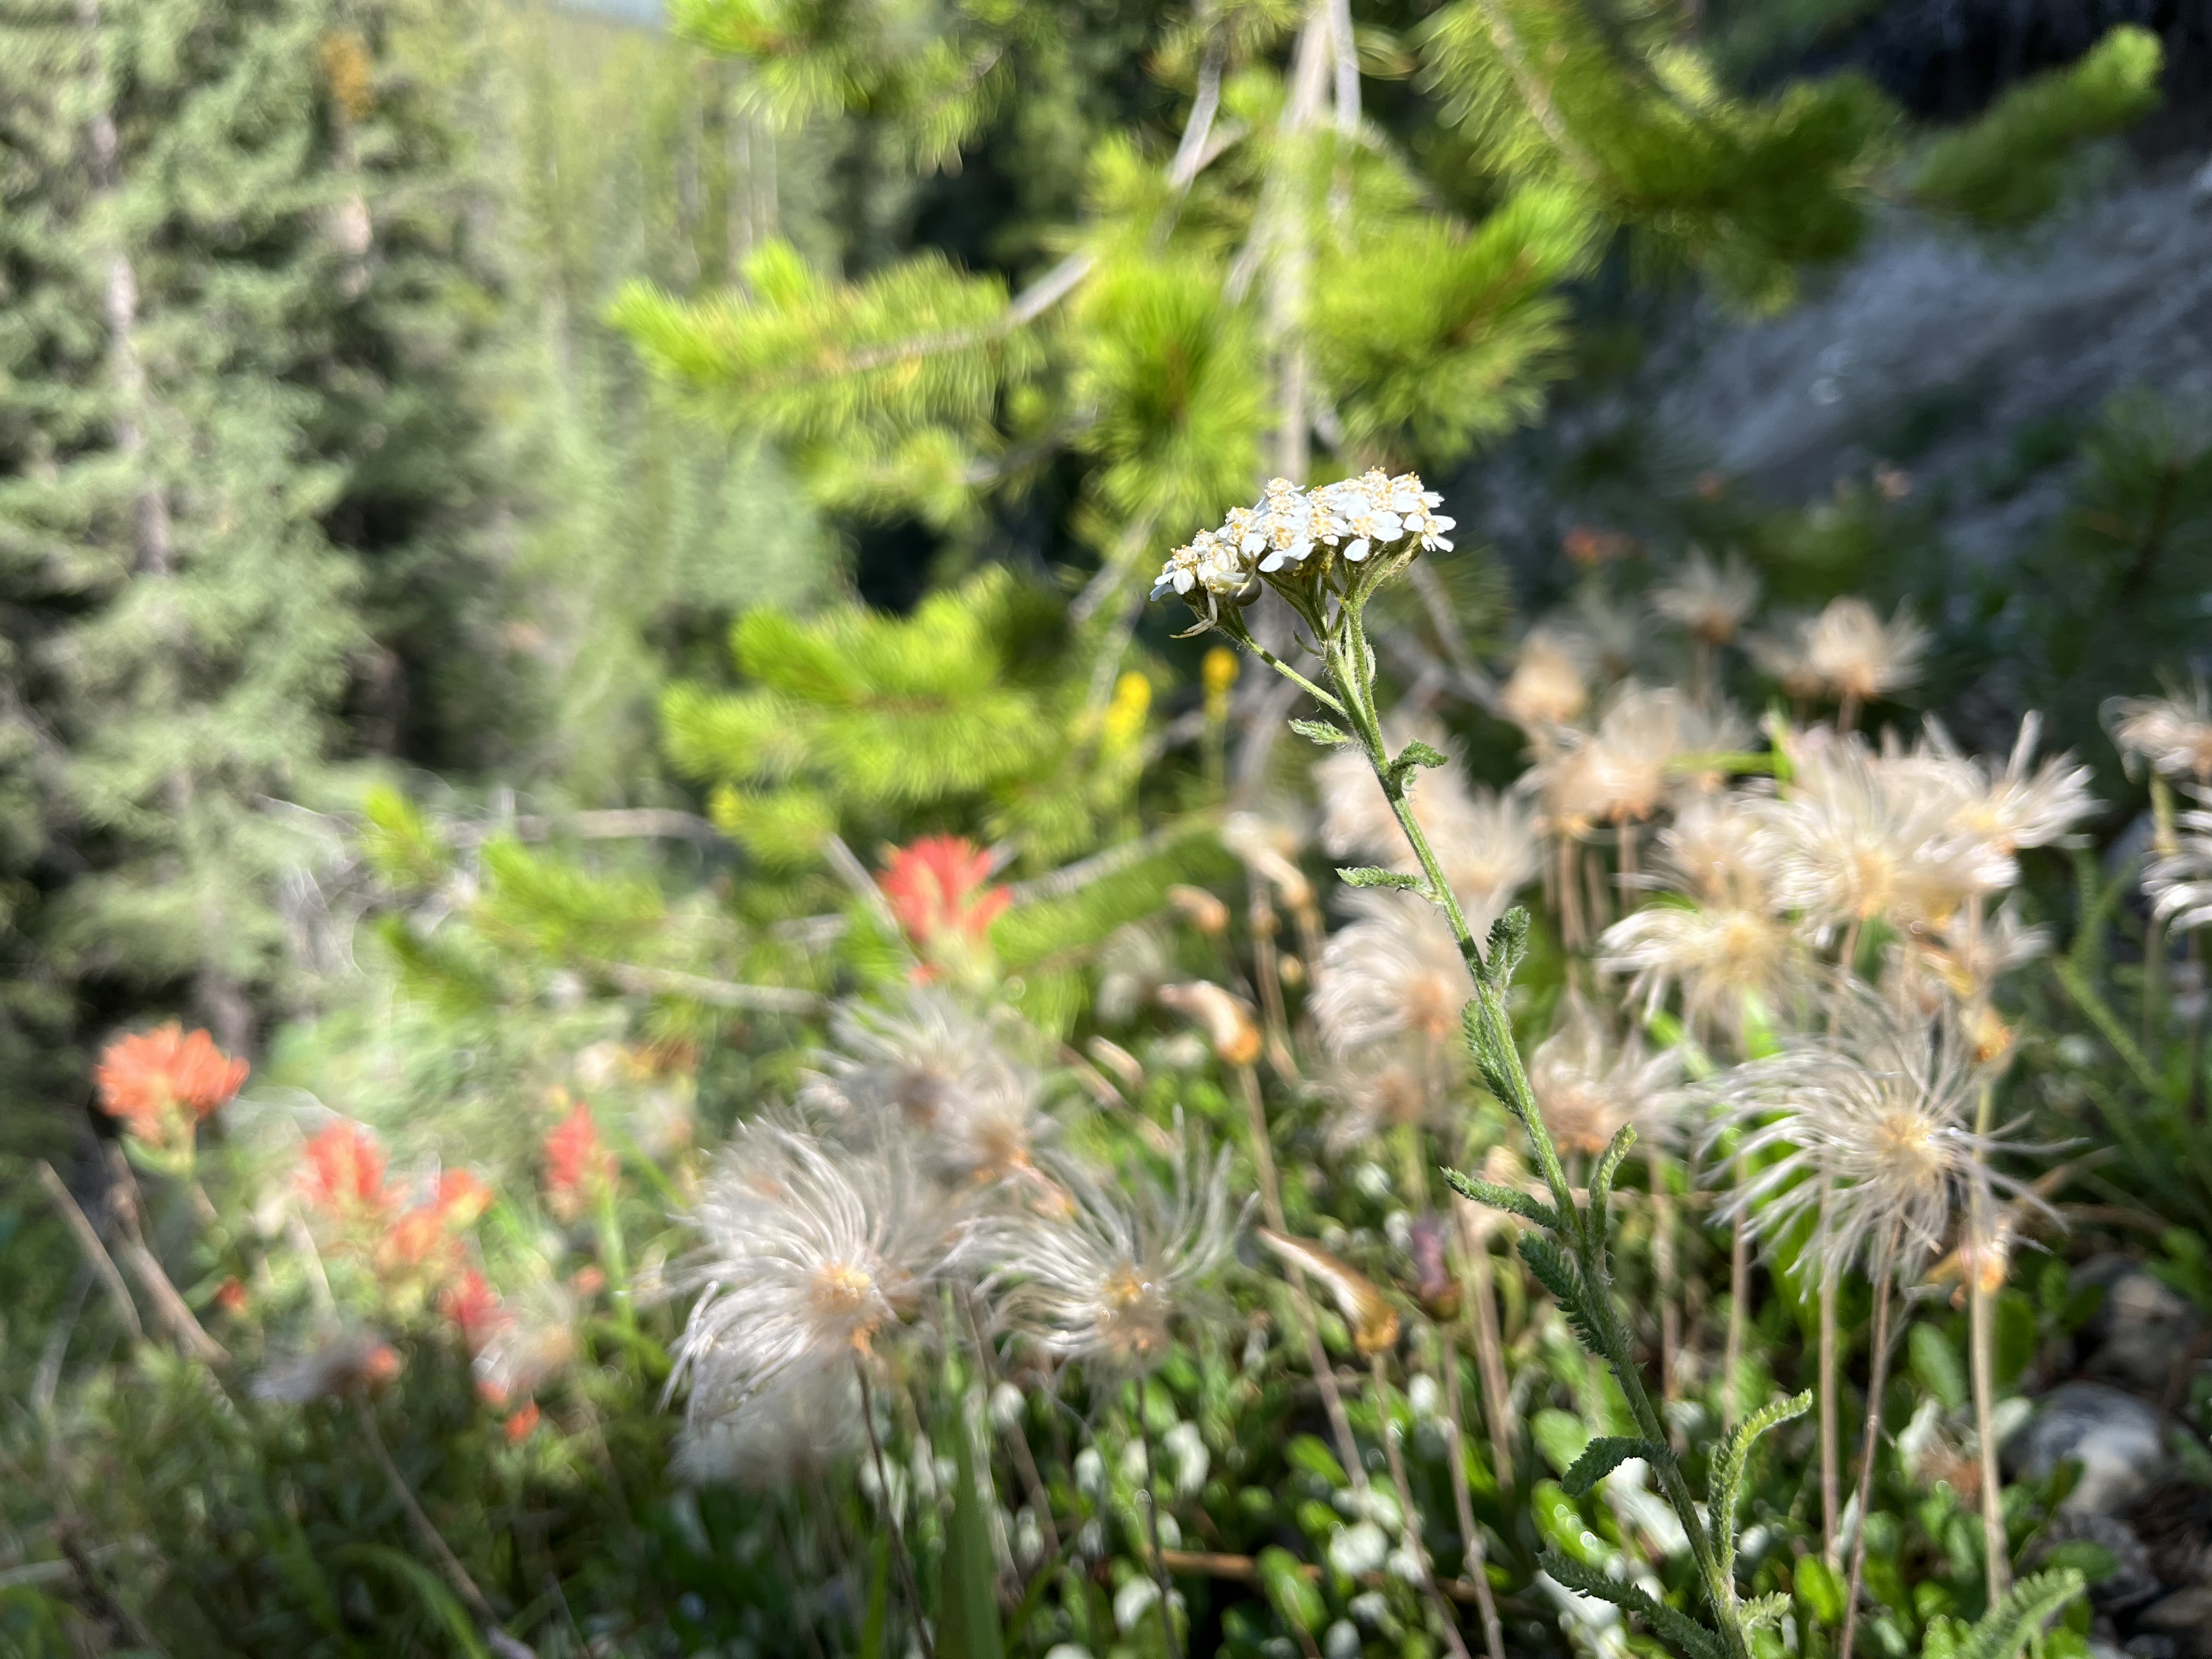
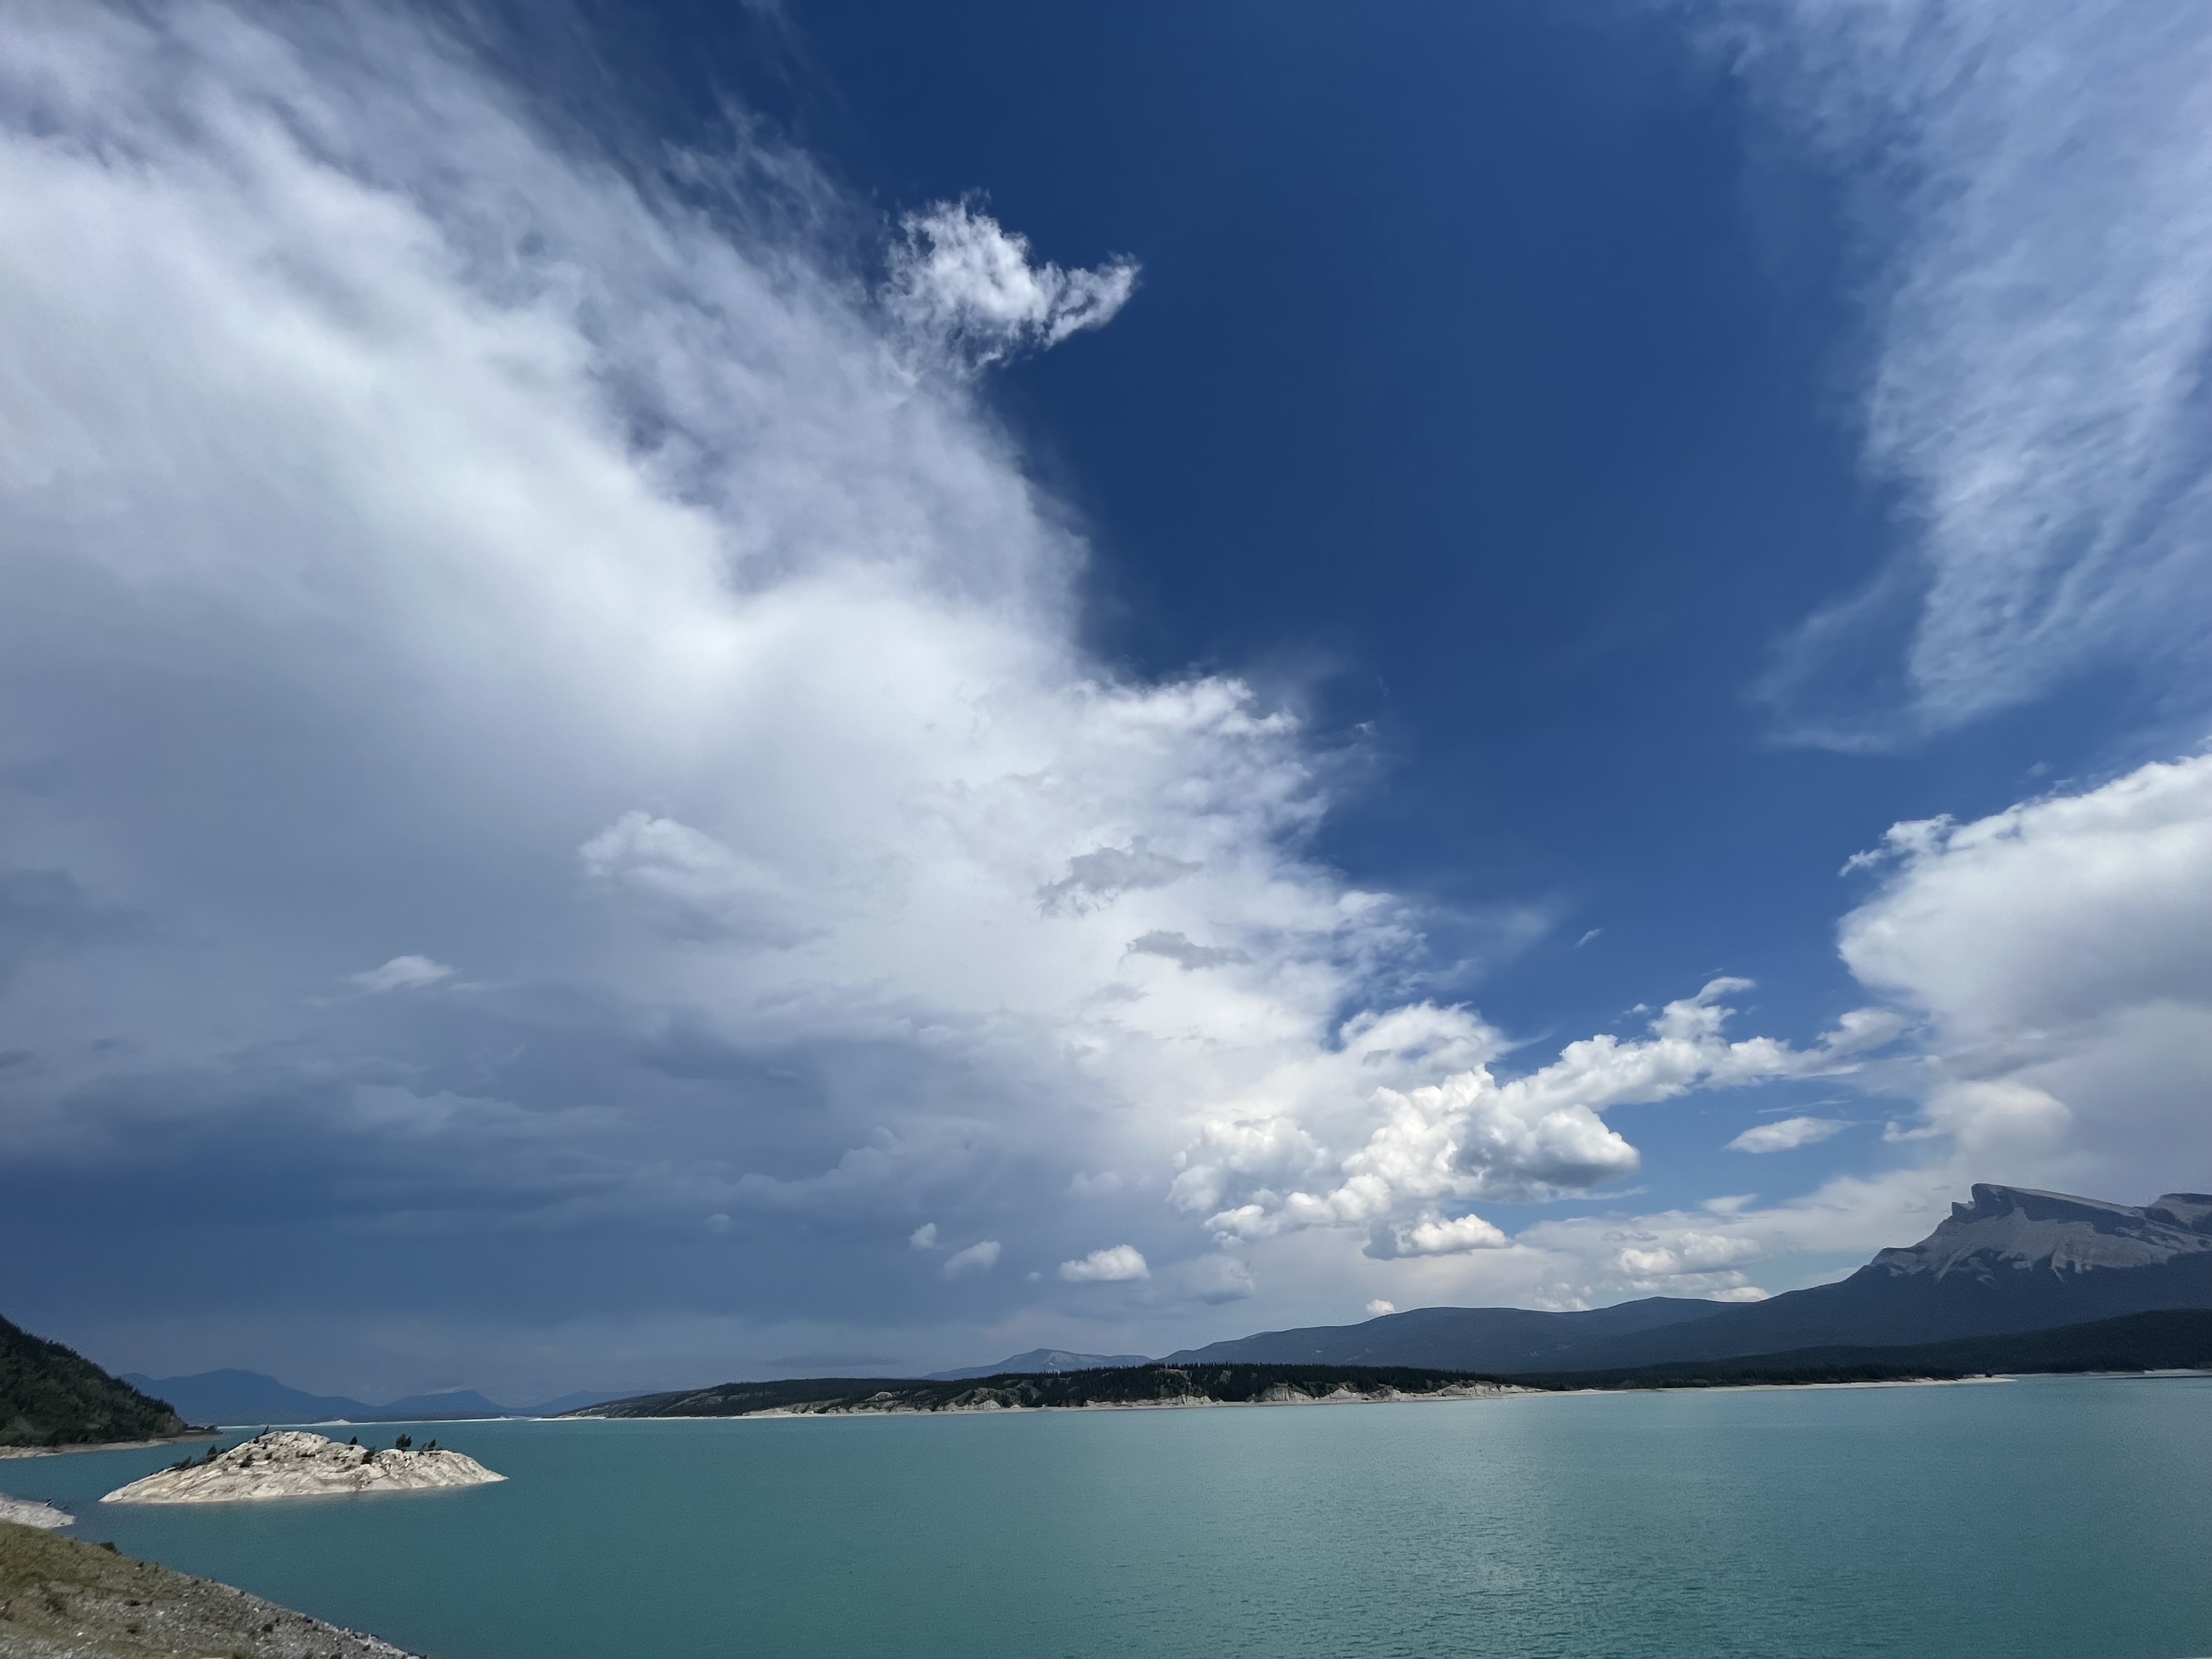
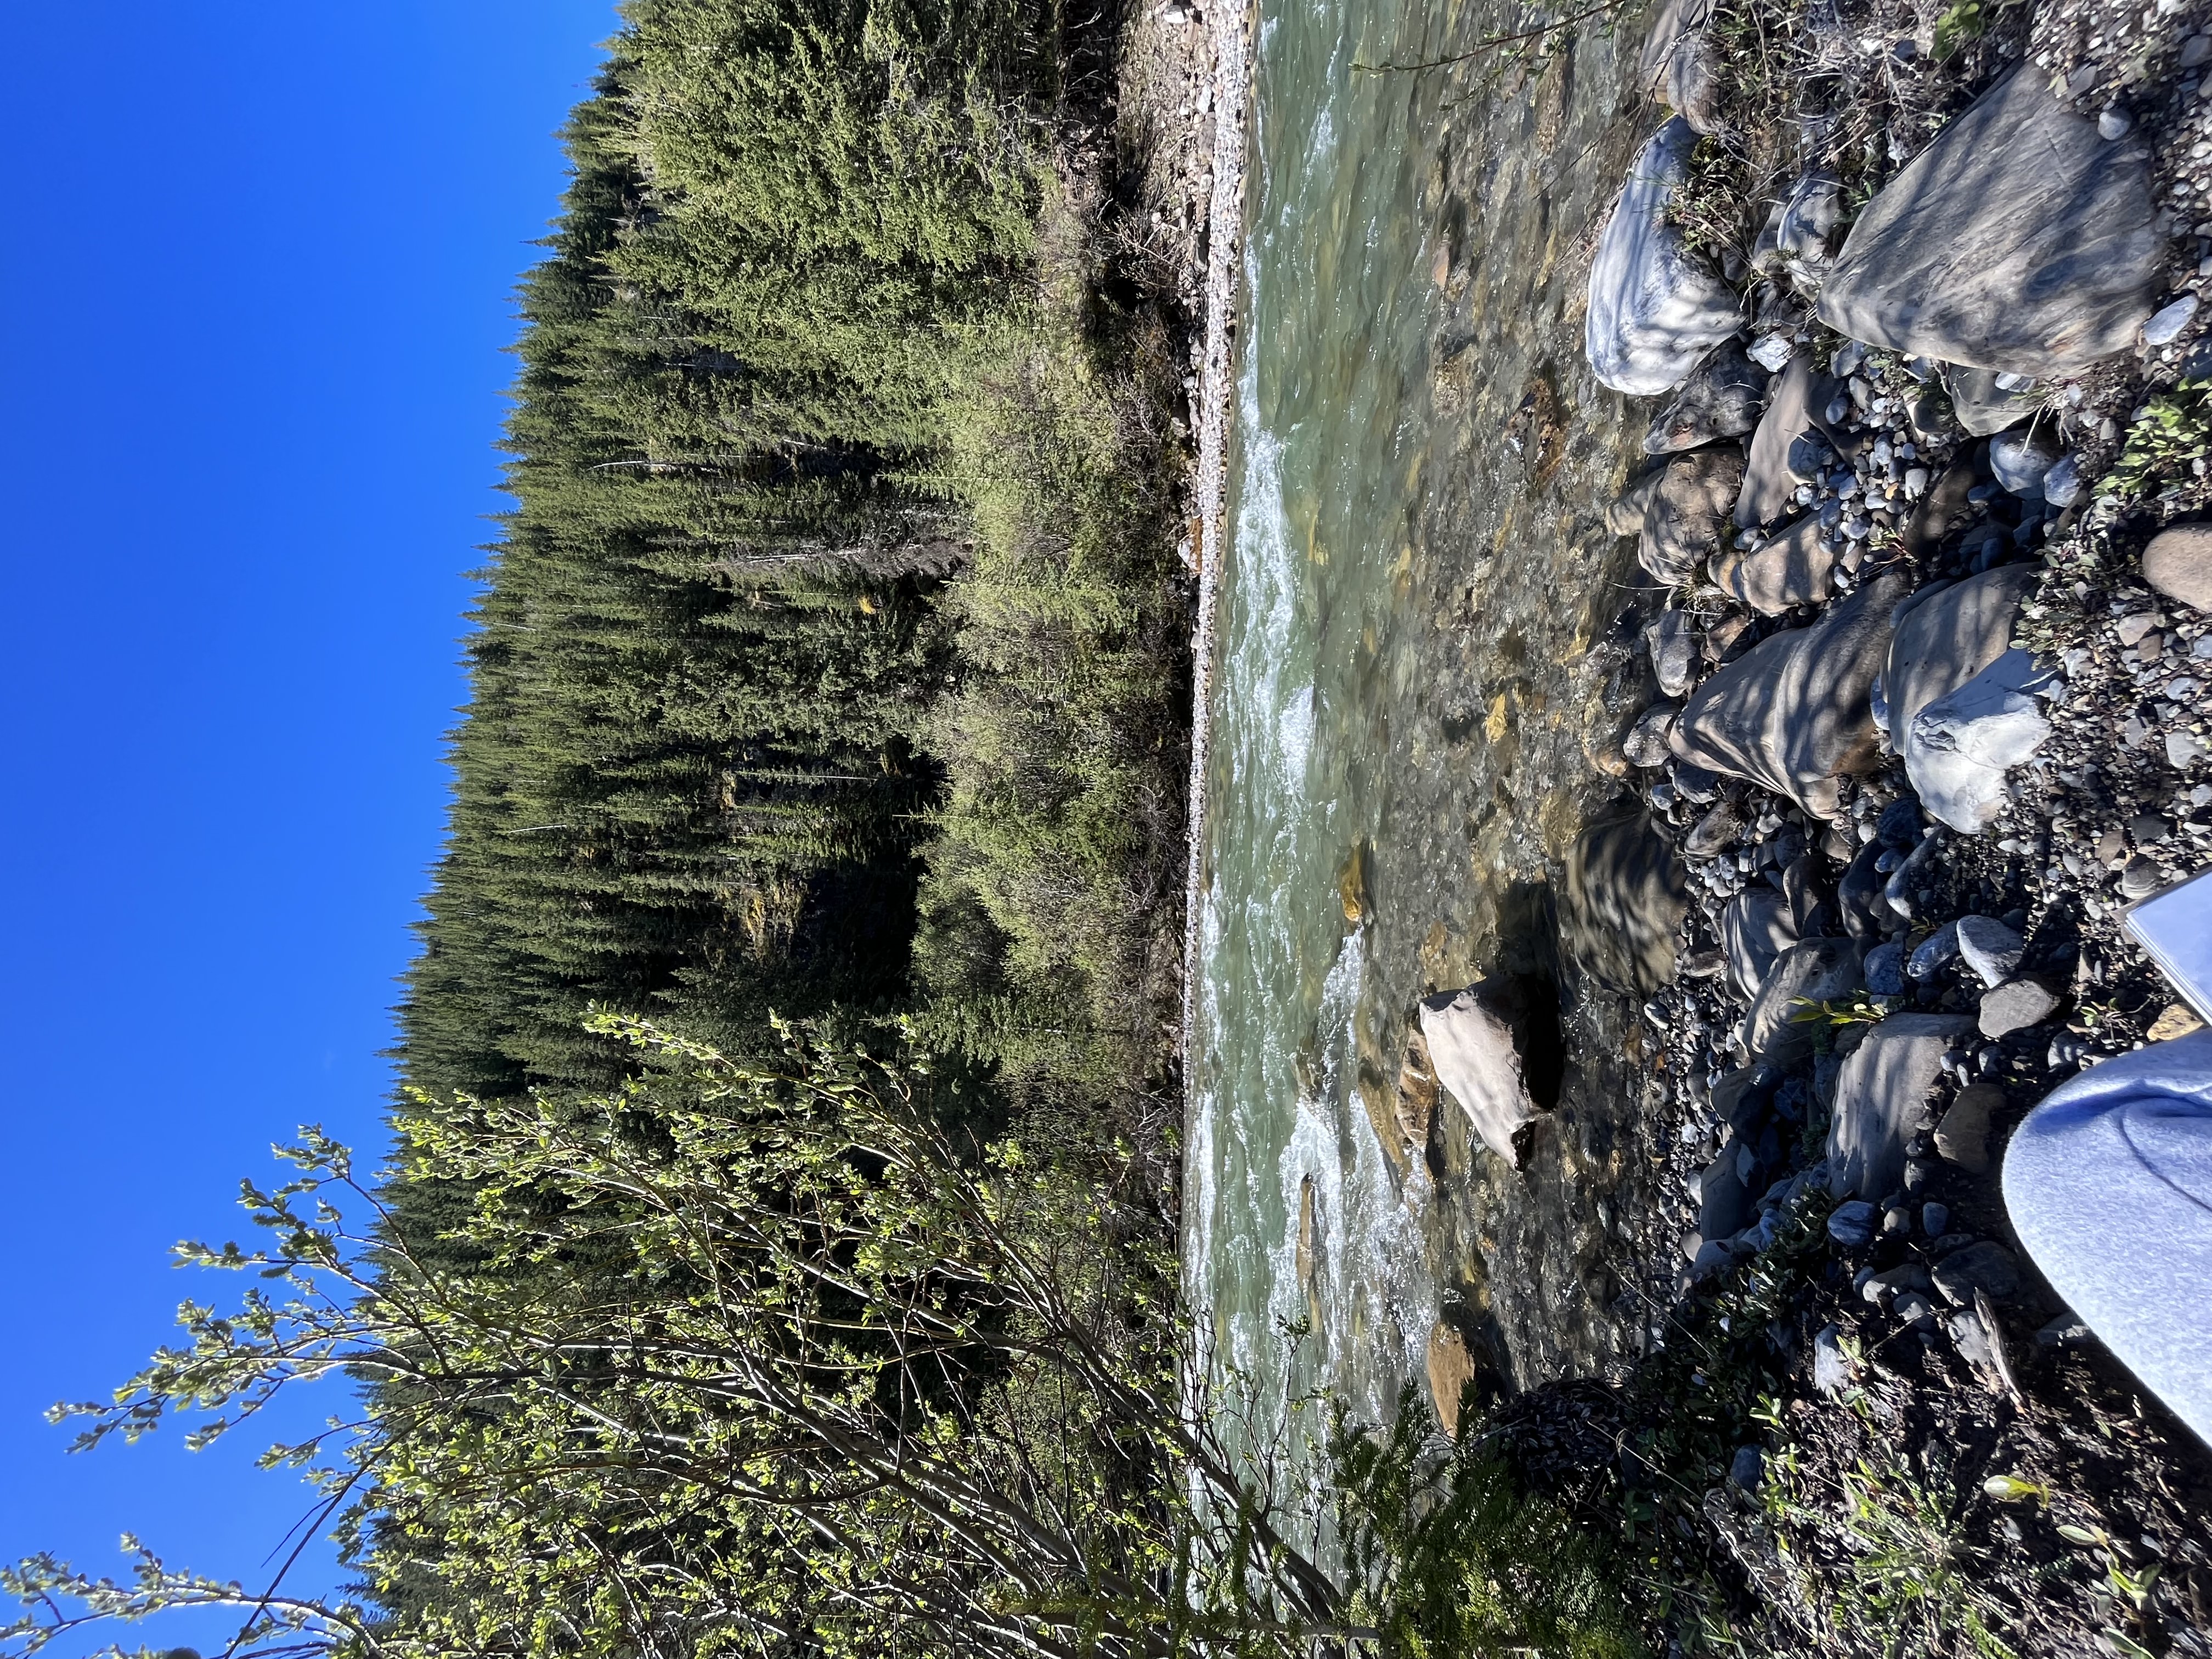
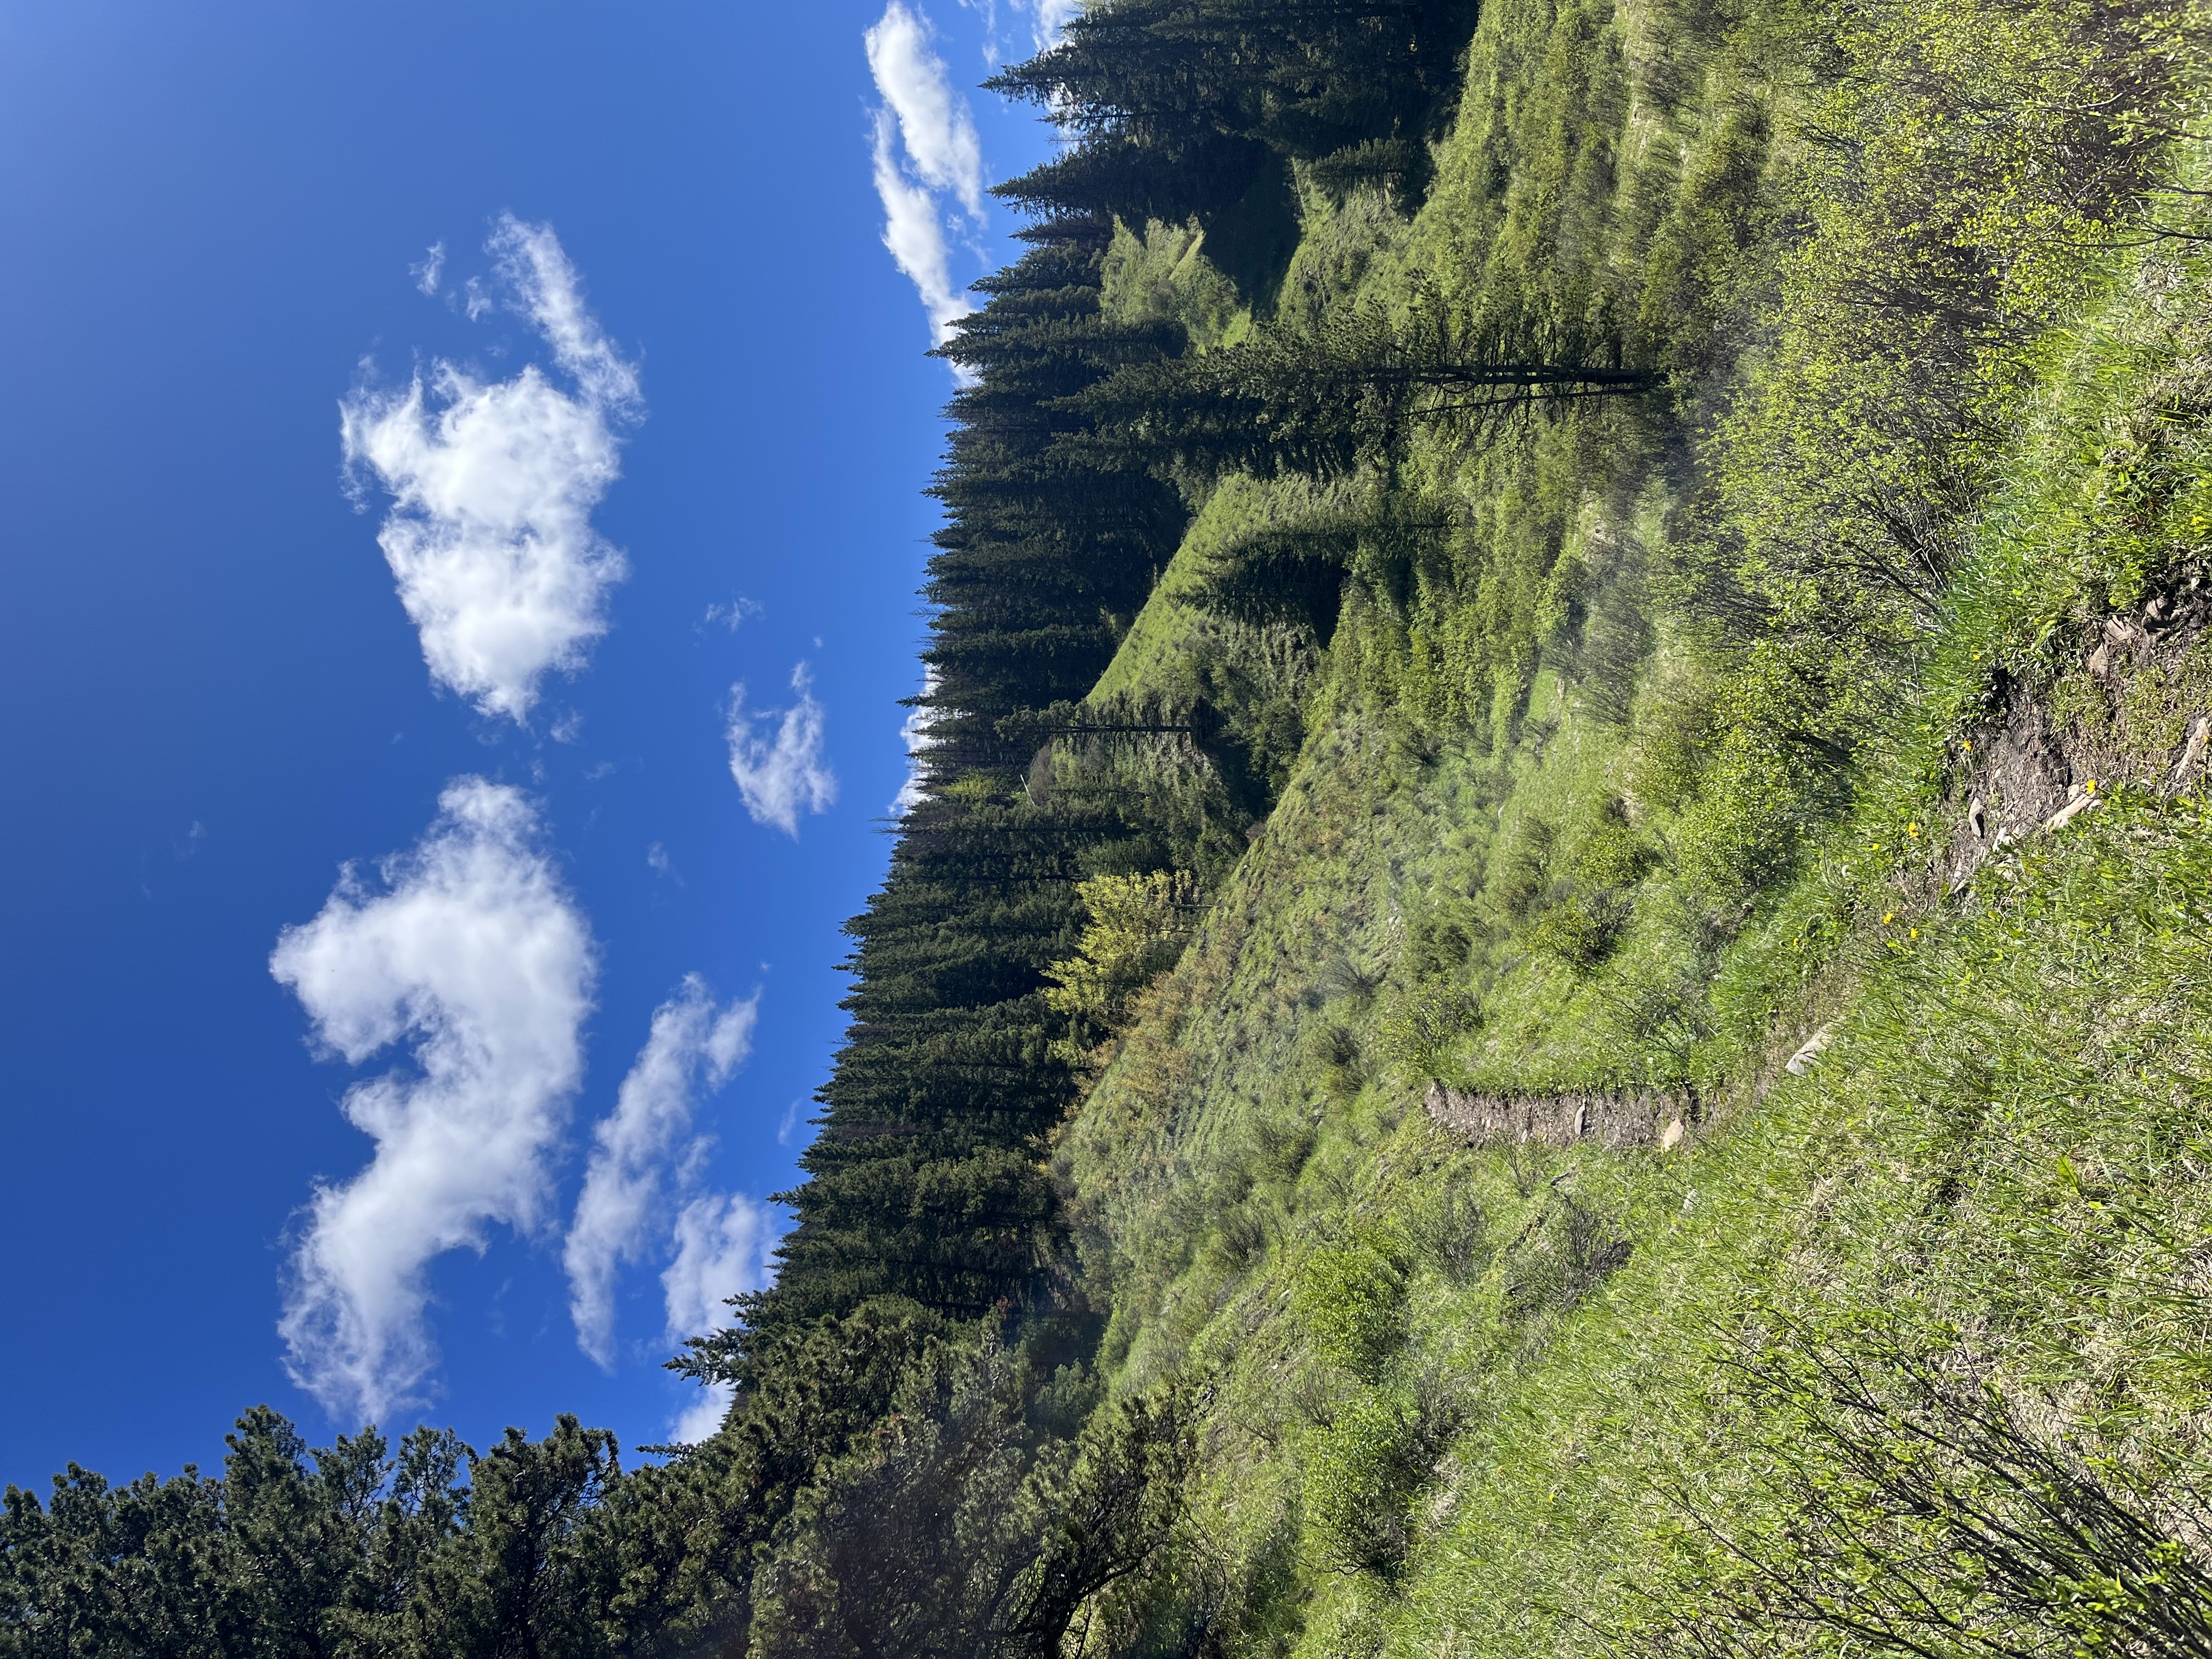
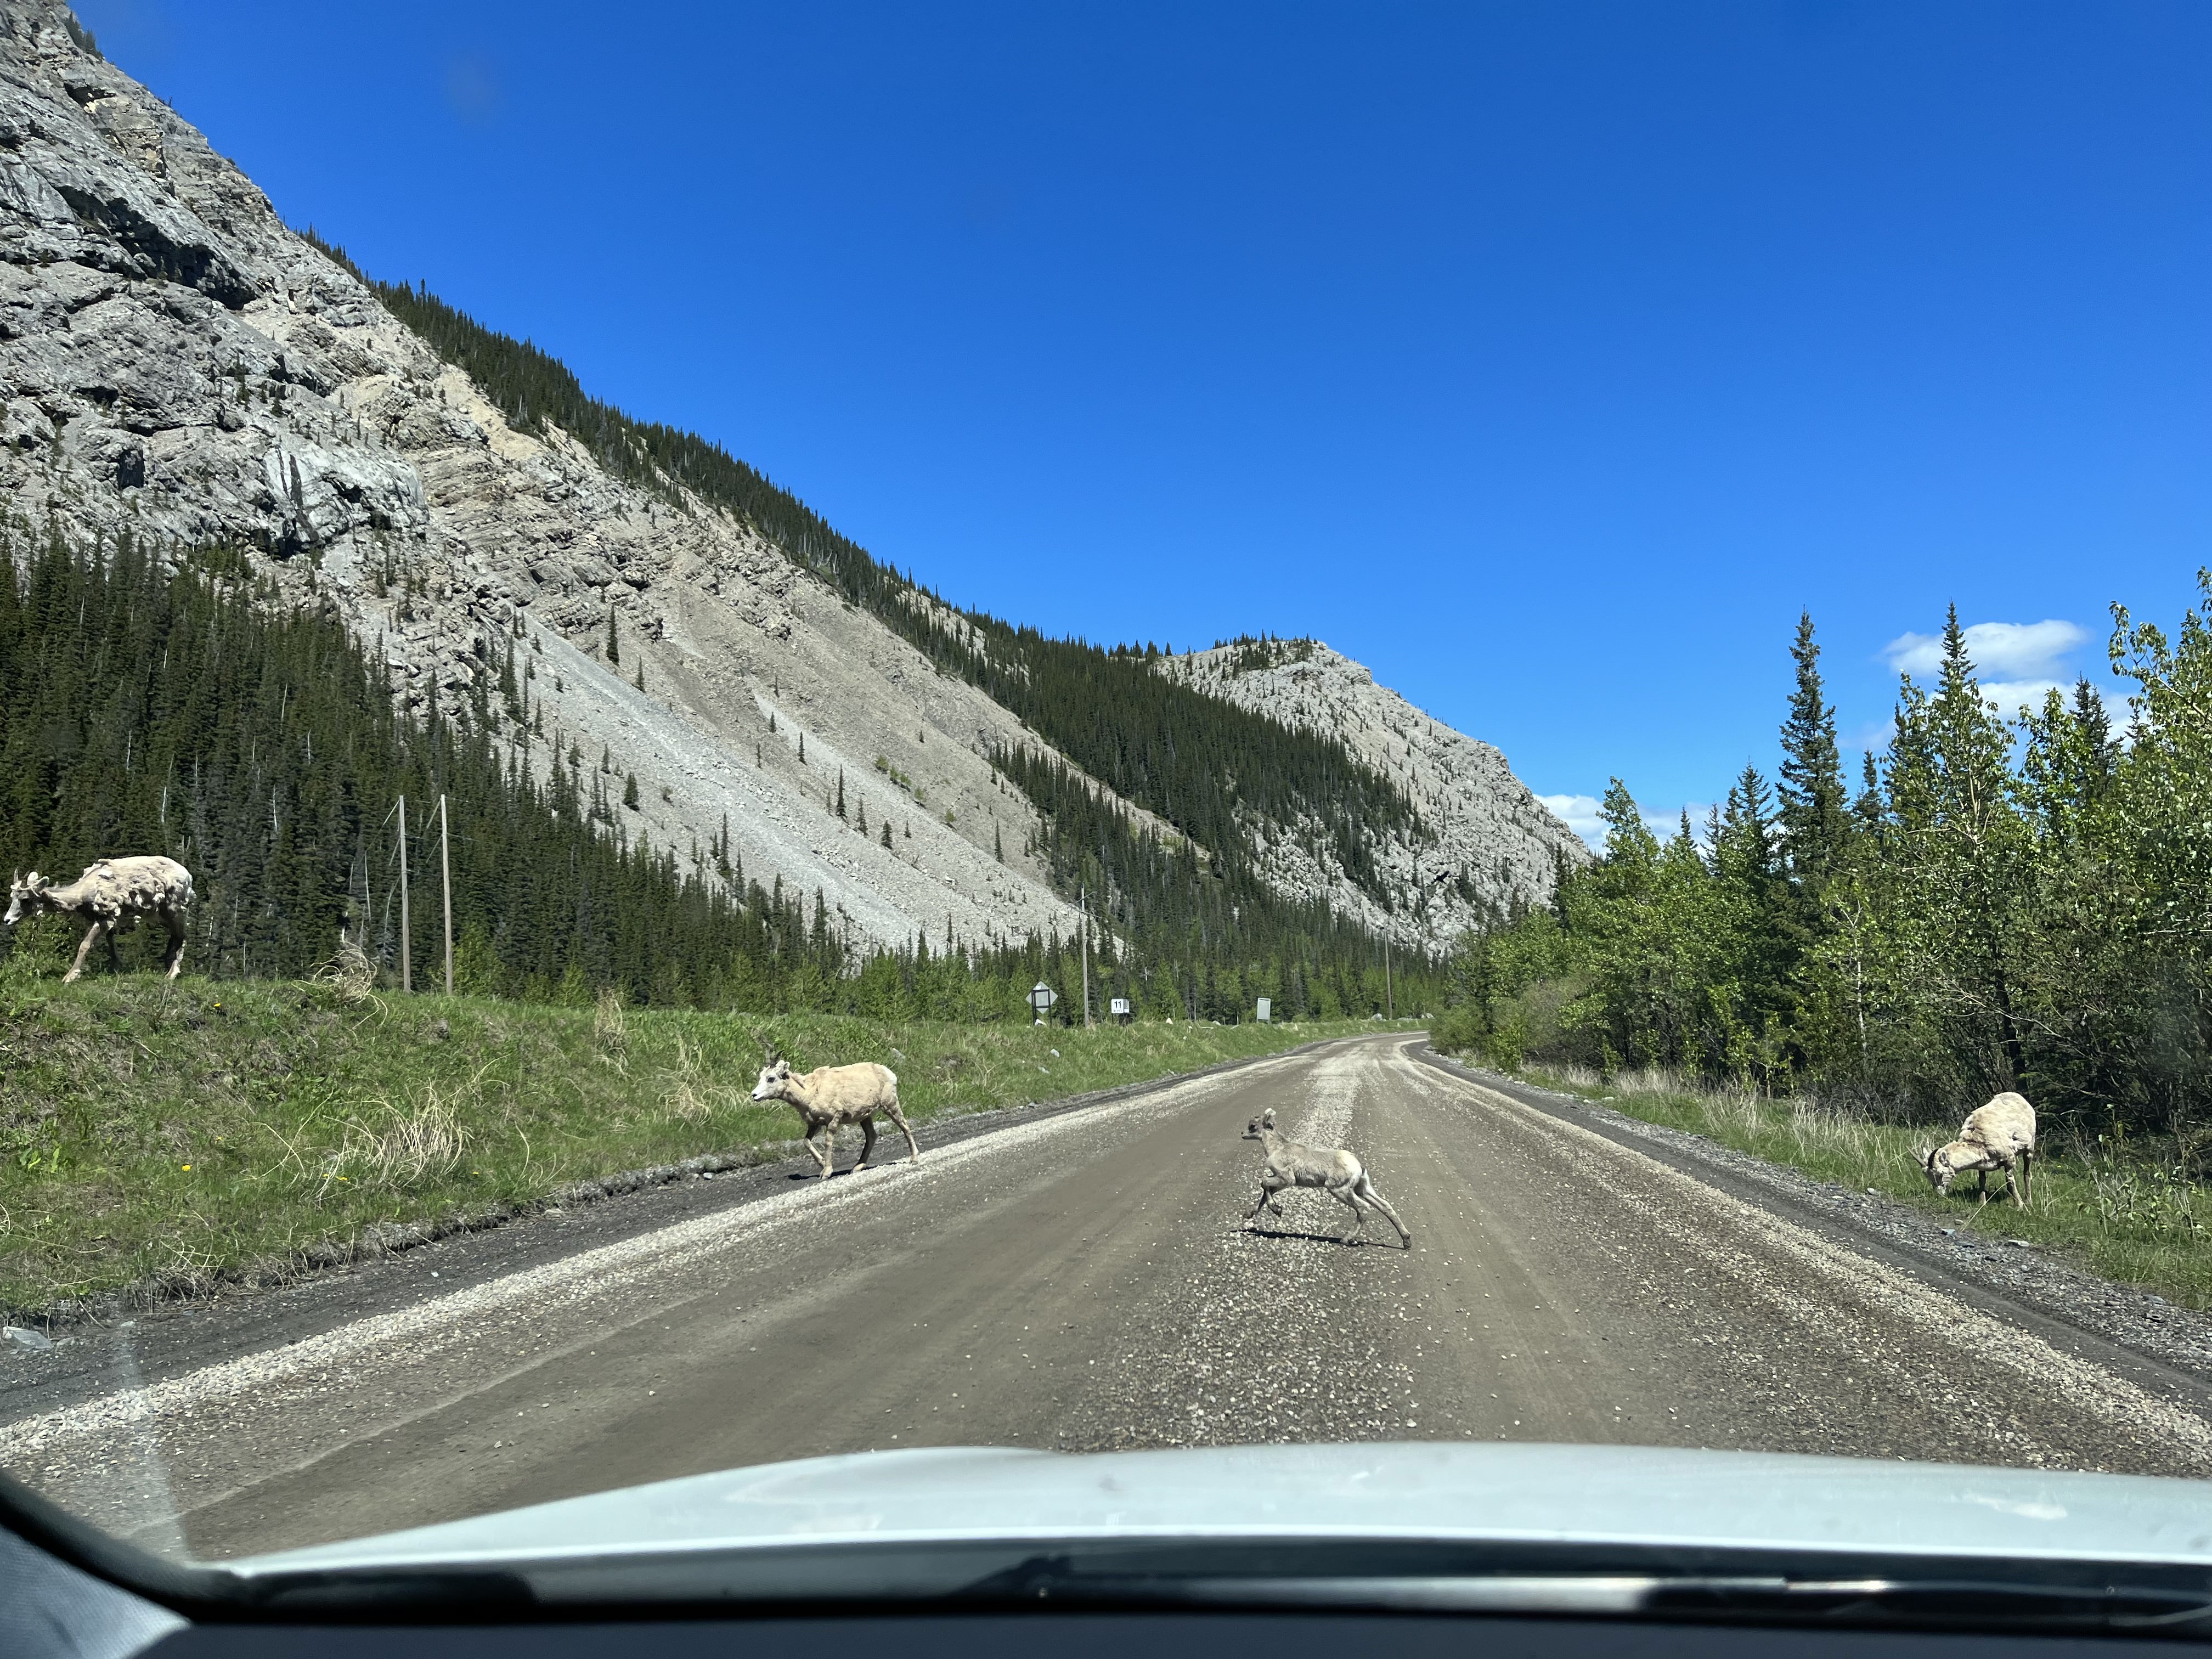
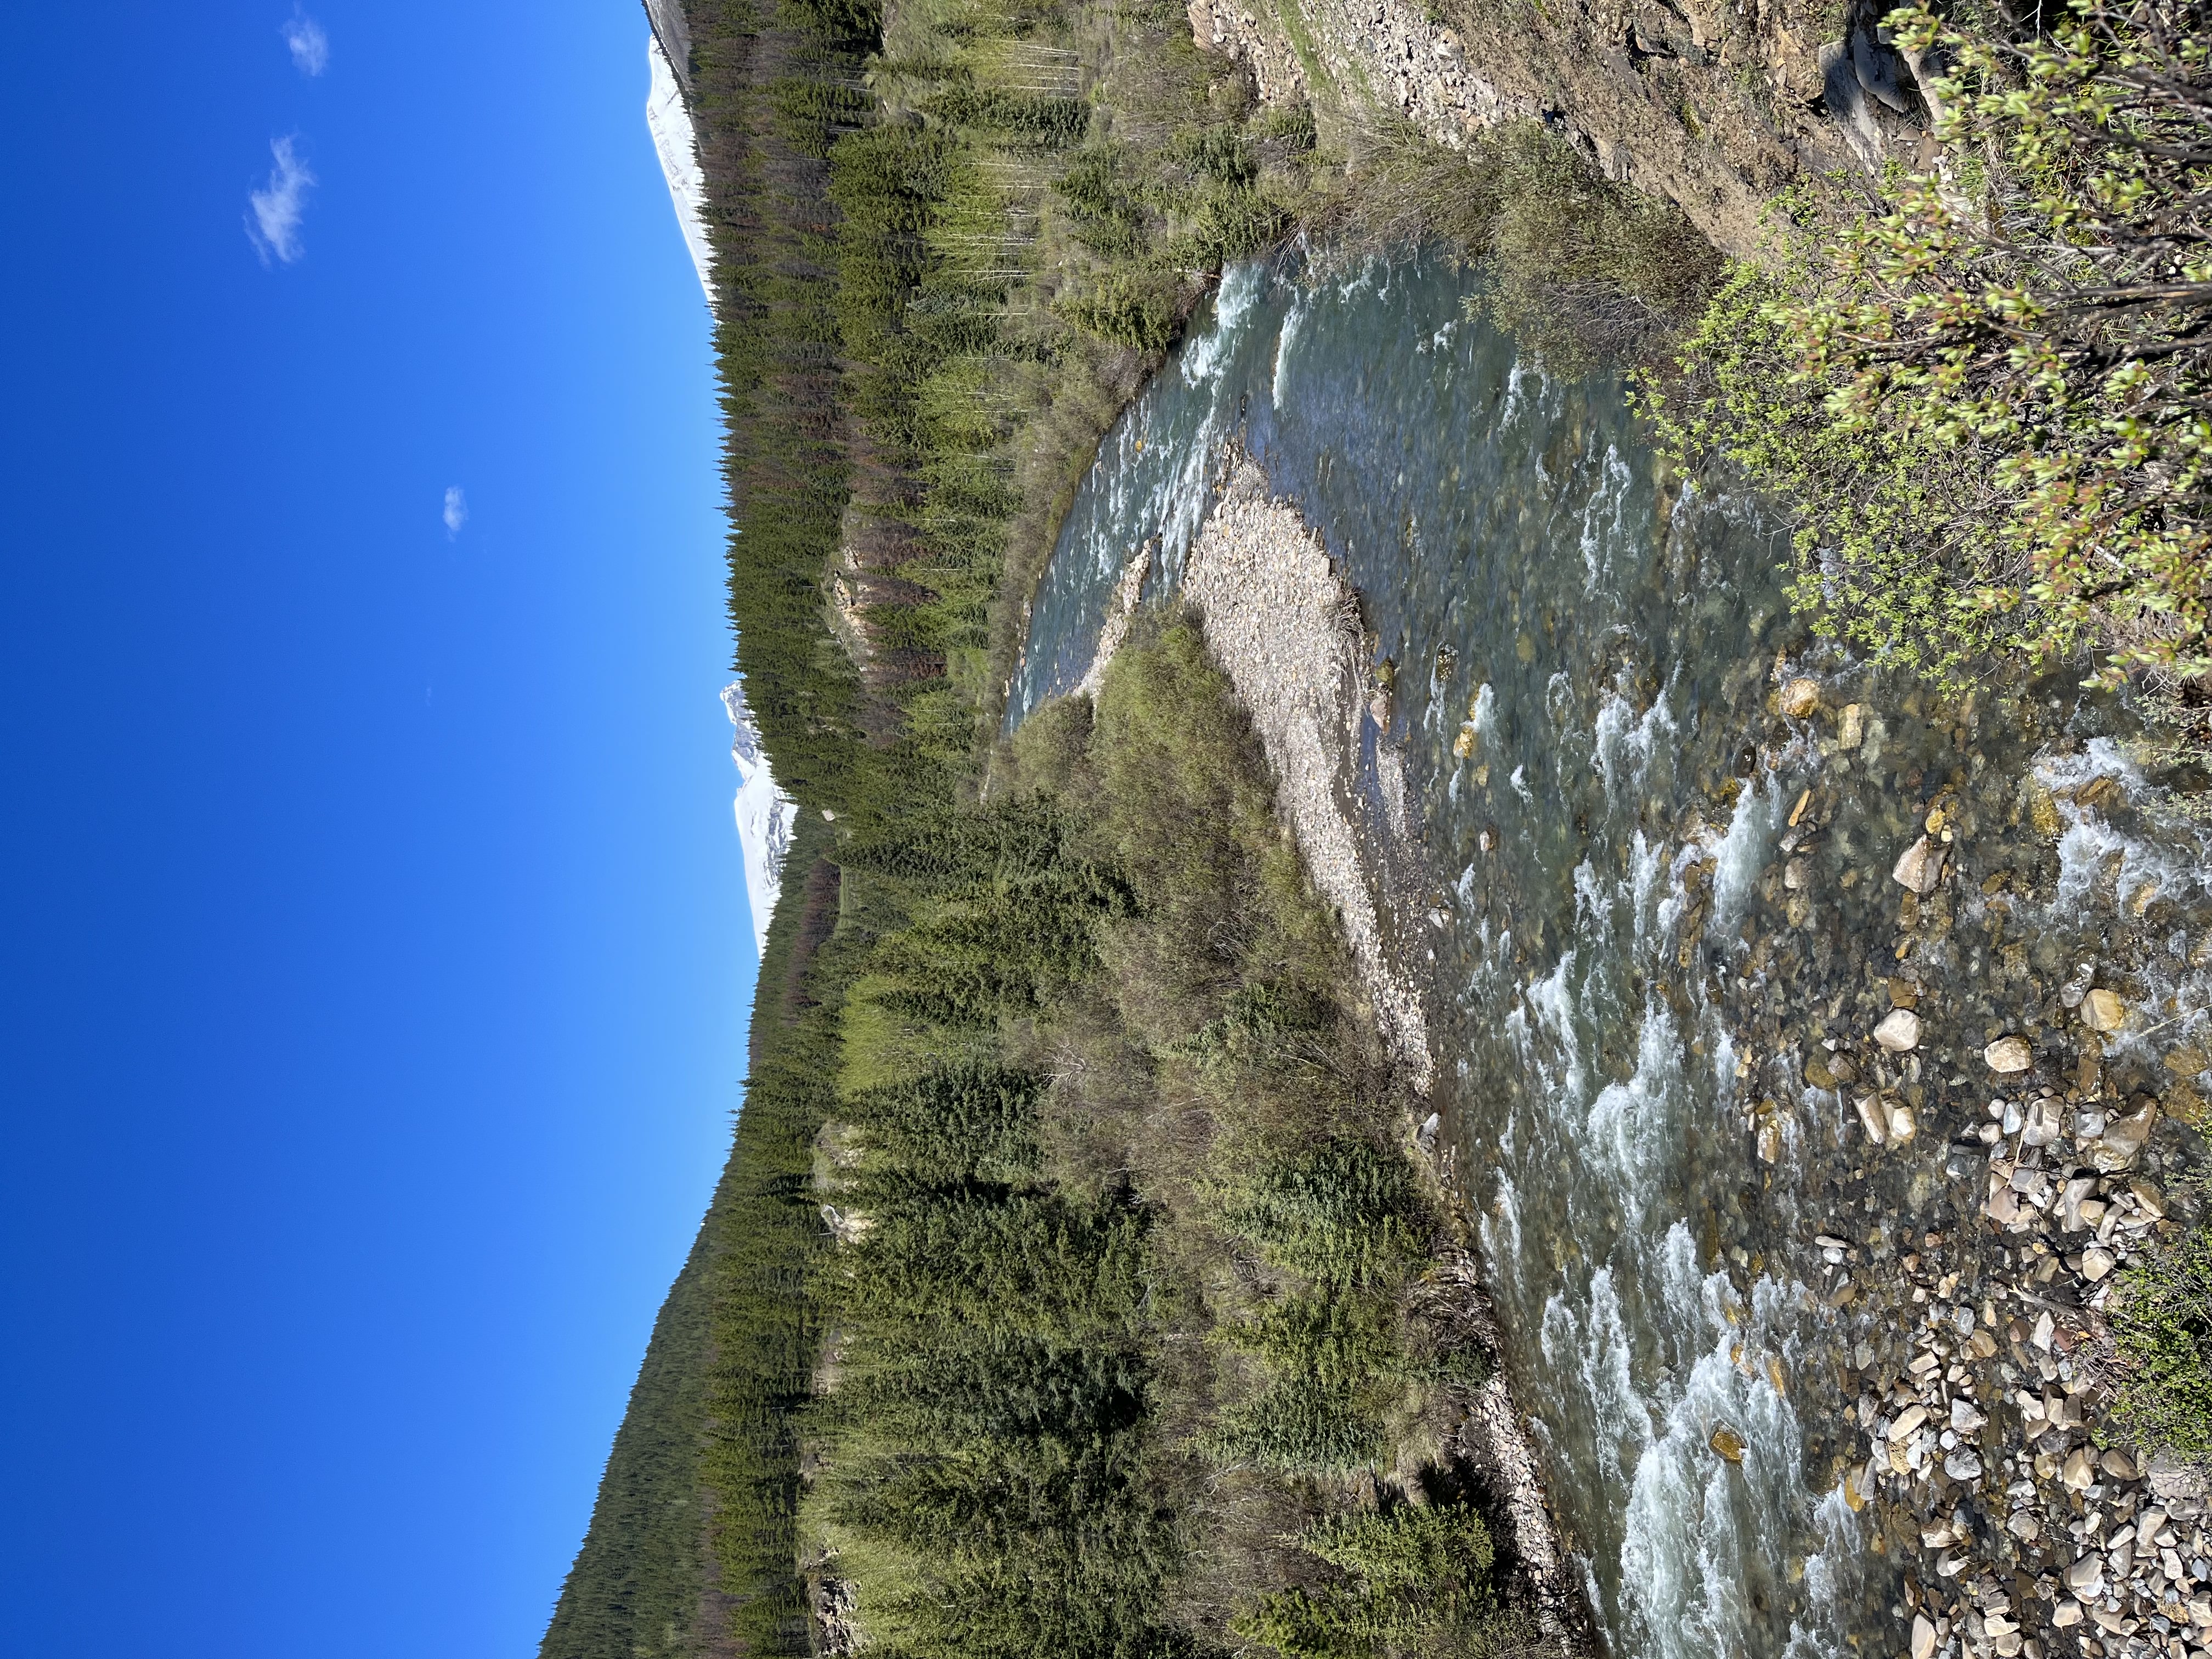
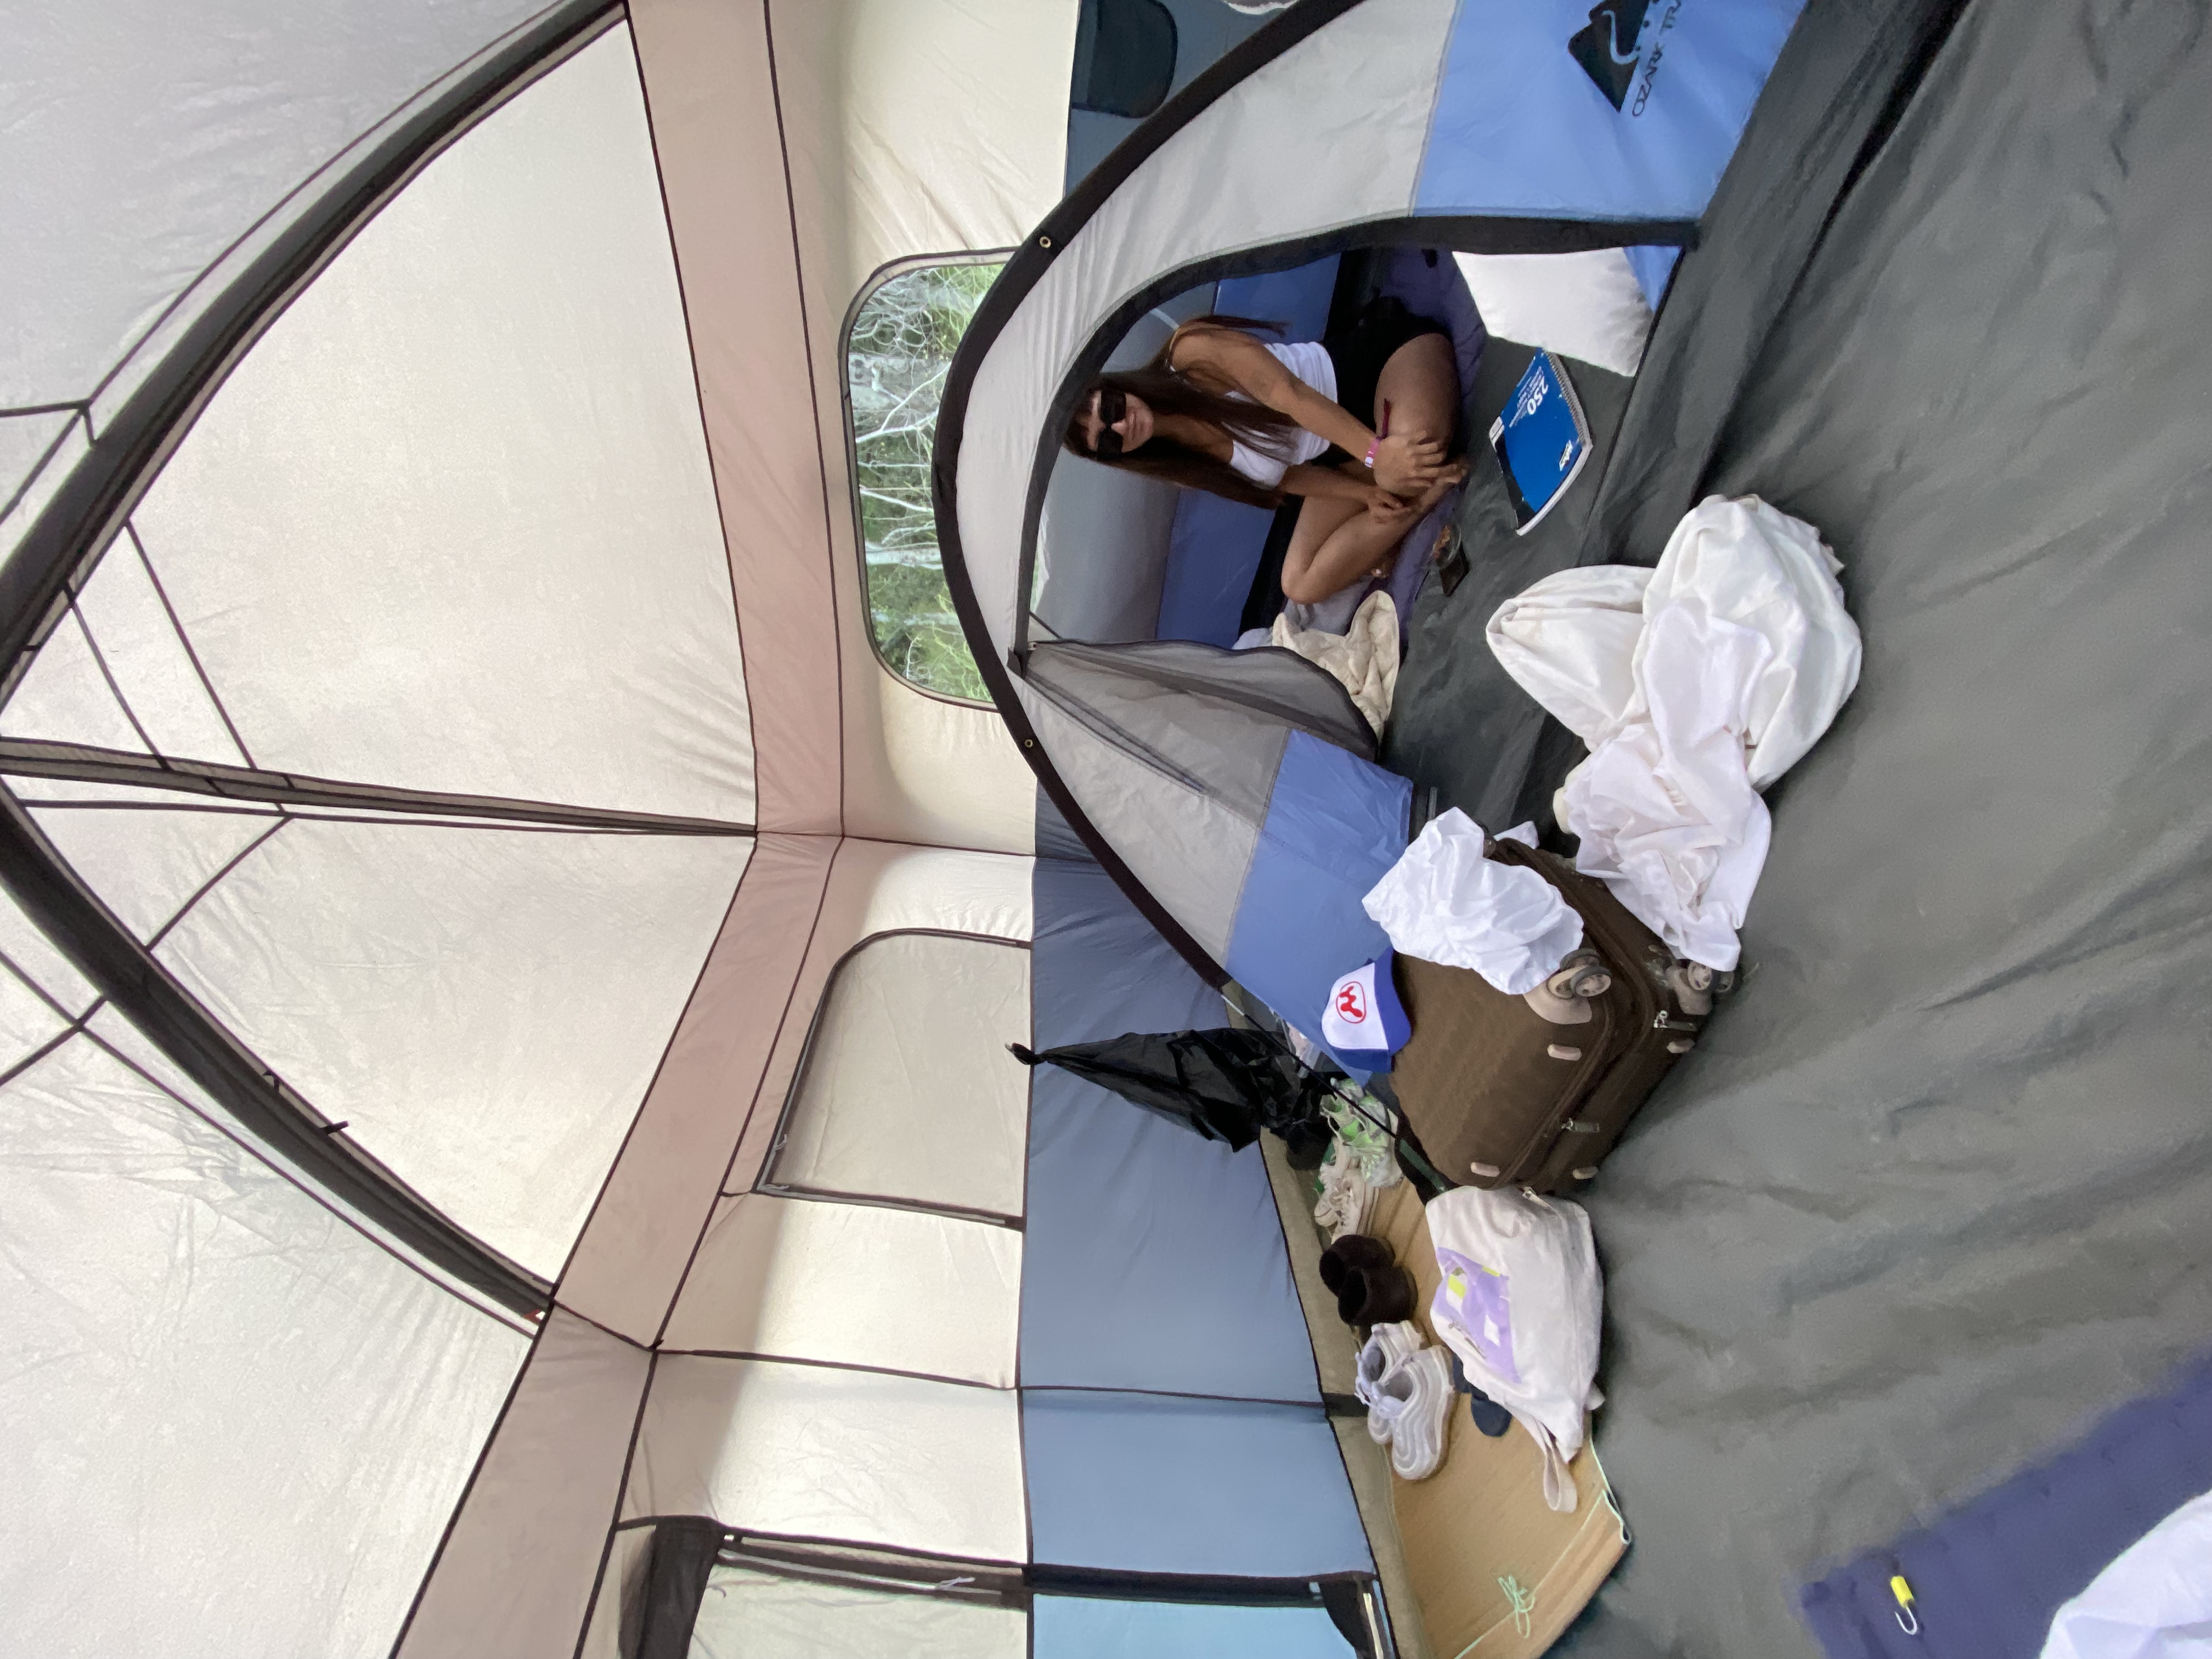
Something I did nearly every summer growing up was pack up, head west, and enjoy the wilderness— pretty typical for most people living in Canada. Over the past few years I became a bit cooped up, but recently I rediscovered how much I love being outside... like all the time, please. I’m lucky to live in Edmonton and be able to take advantage of the outdoors nearly every day by zipping through the tree-lined streets to run errands or just get lost in the river valley, but there’s something liberating about escaping to a place without reception. I learned about the Public Land Camping Pass which allows you to random camp anywhere you like in certain areas around the province, so I spent the $30 for an annual pass and set out to be a bit brave and camp alone.
On my first solo-trek I ran into a baby bear along the side of the road. Realizing the cub’s mom must be close by (and my unprepared self not bringing bear spray along), I thought car-camping would be a better go for my first try. Since I got more comfortable with the process, I prefer tenting. There’s nothing like sleeping under the stars!
At first I was intimdated by the thought of being alone in the sticks, but I made it home fully intact and considerably more empowered.
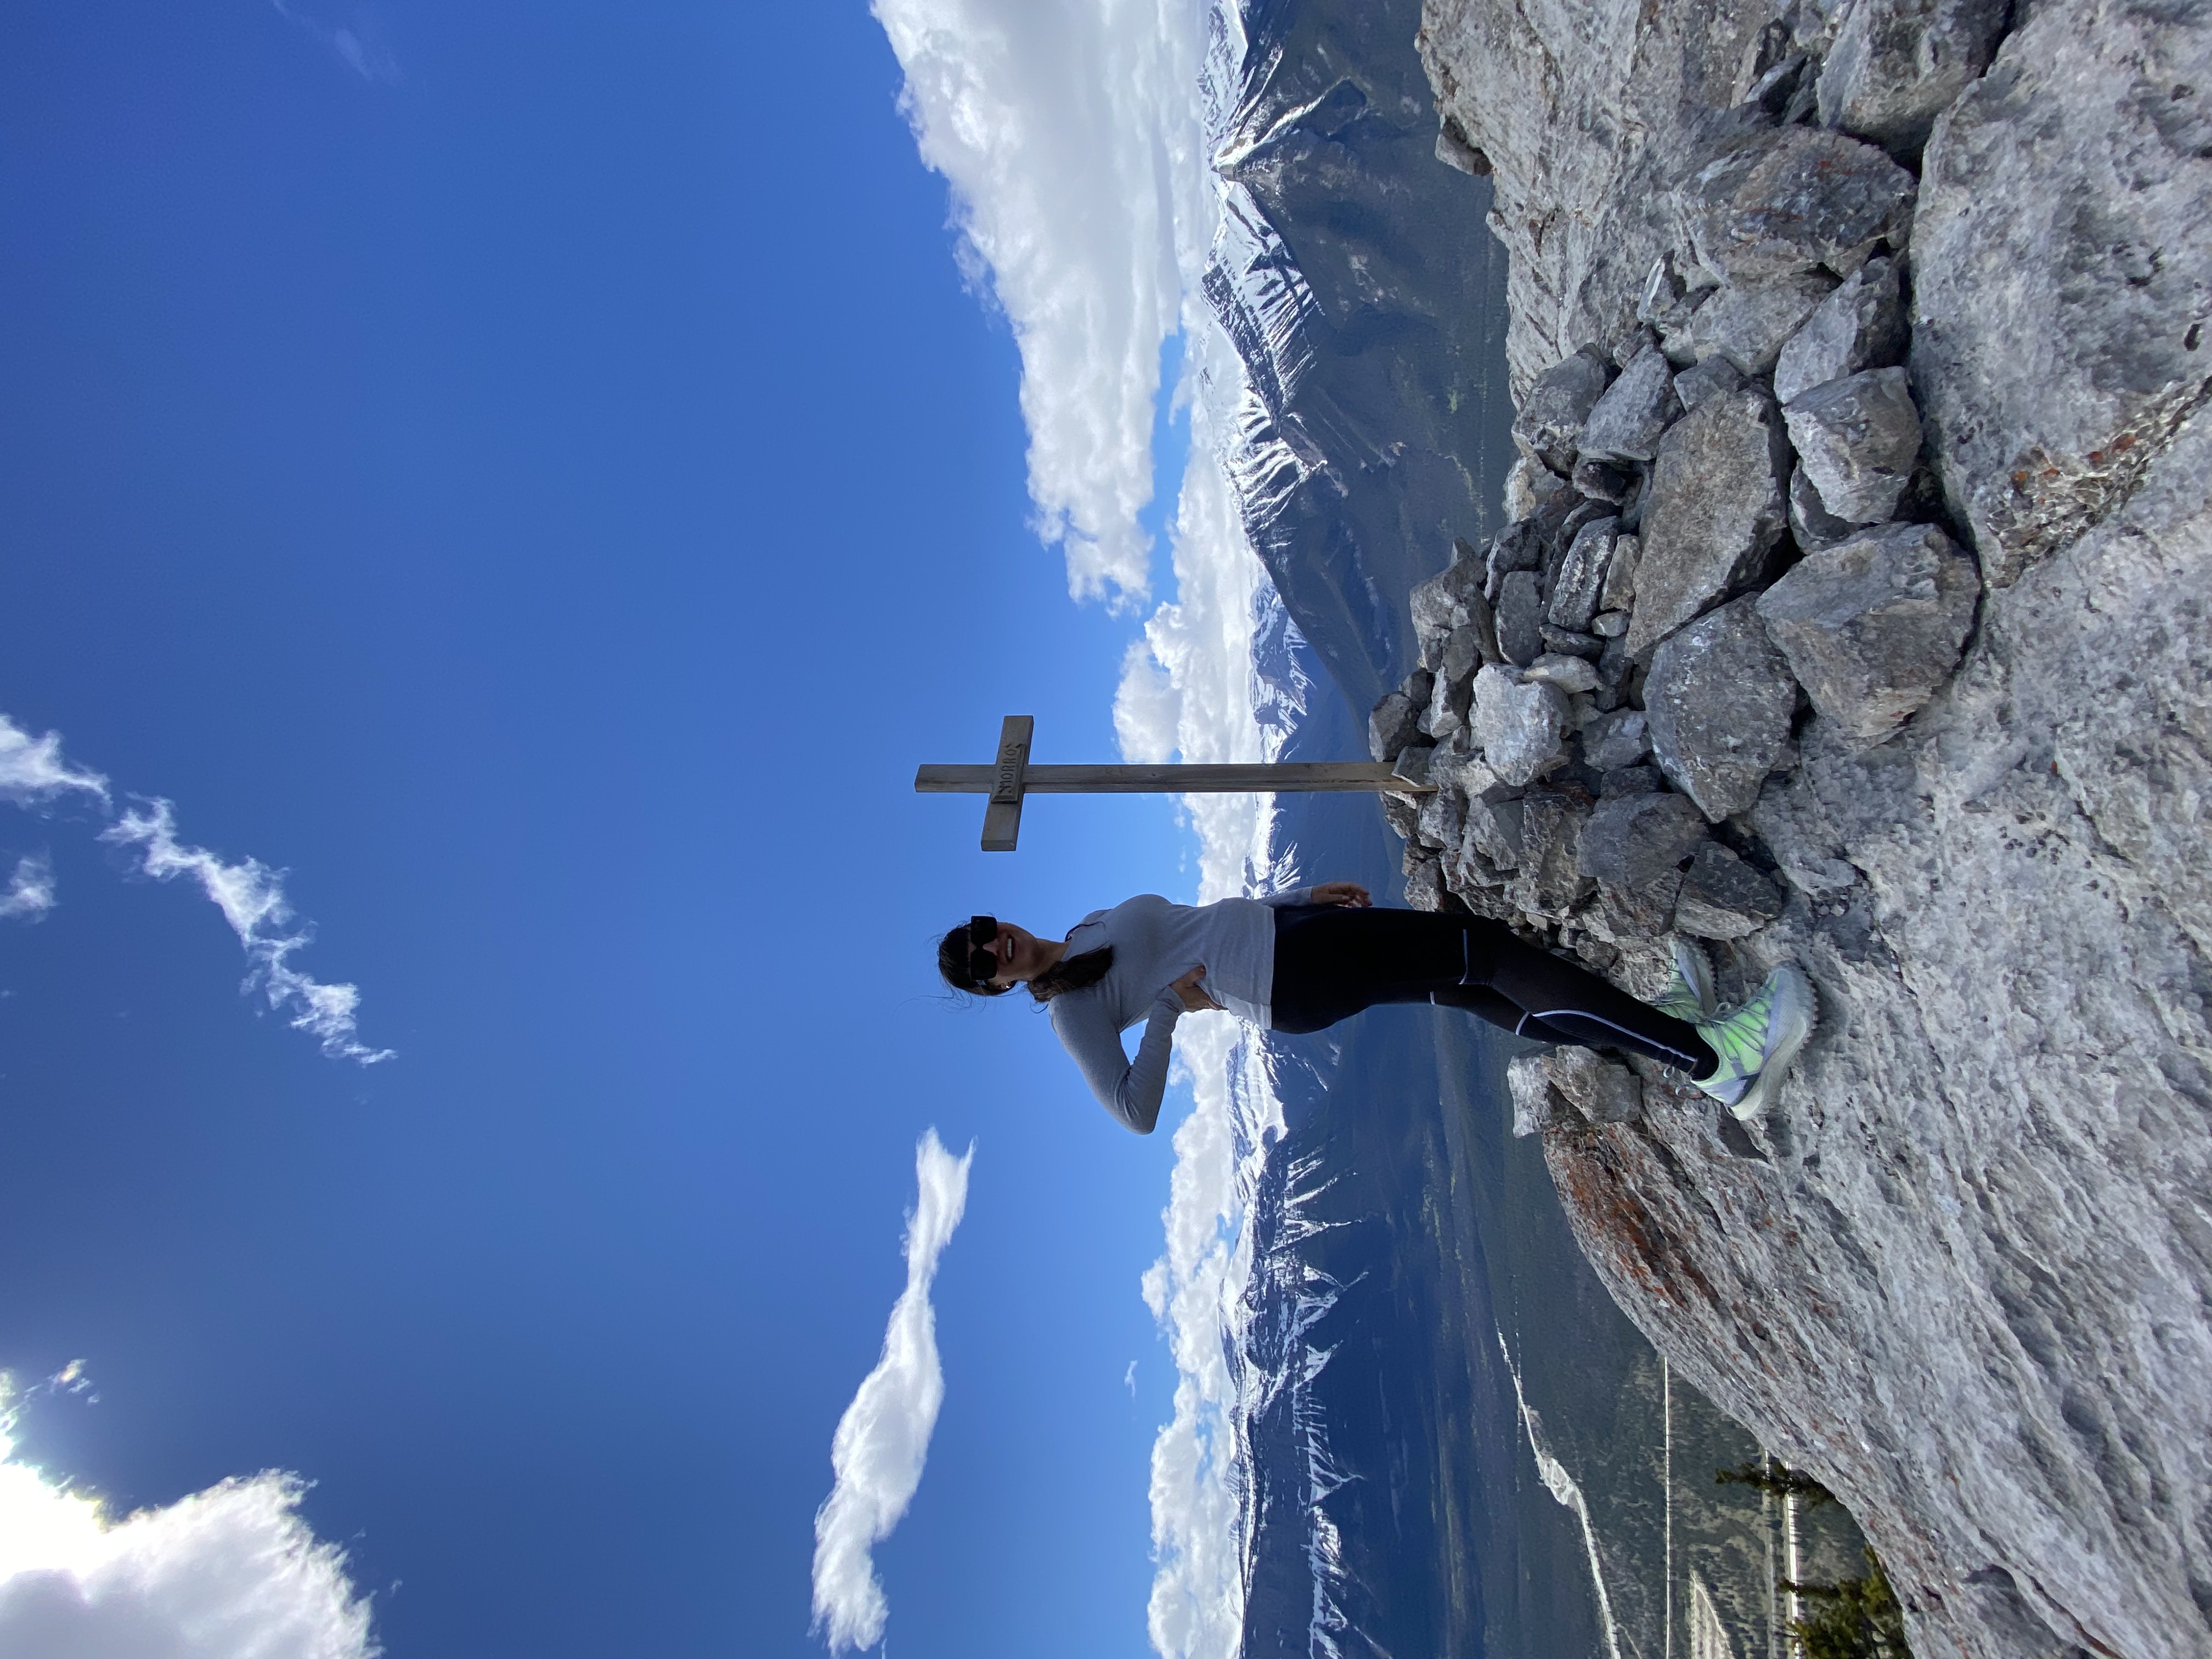
Here are some photos from my adventures this year (so far.)


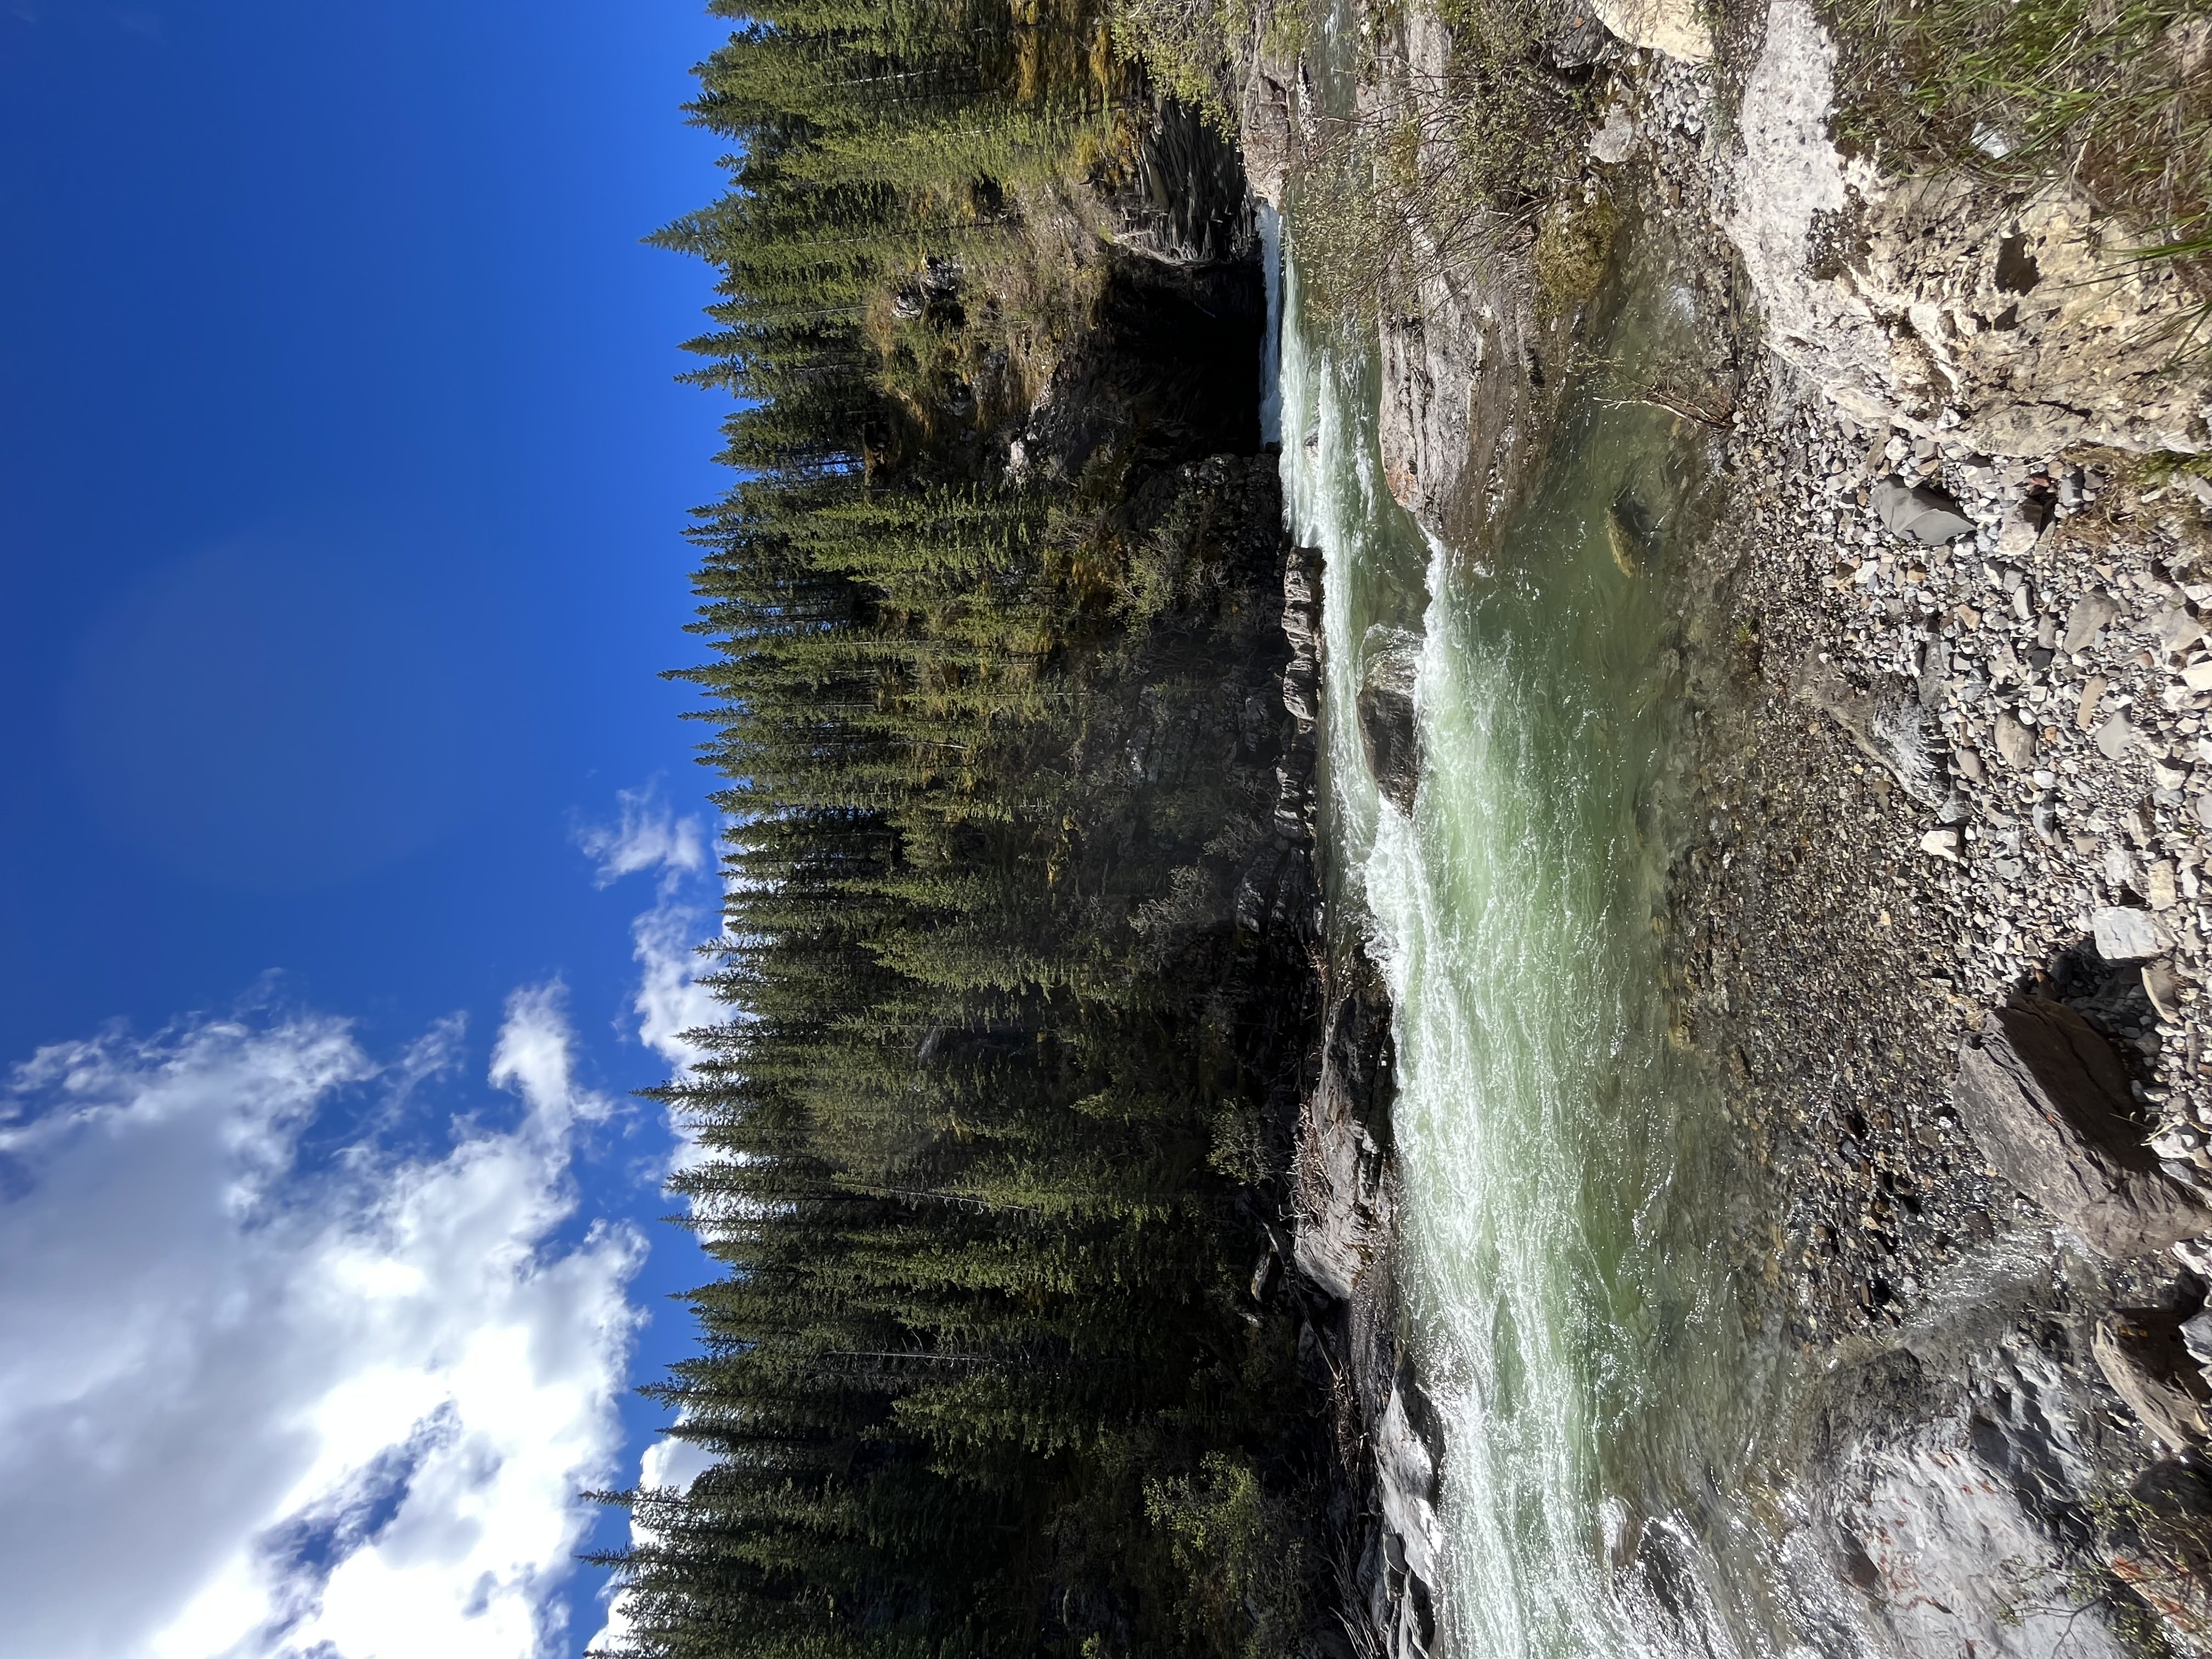
Hoping to make my way south to the Badlands in the early fall! HMU if you know any good spots to check out.
x, hj


Hey!
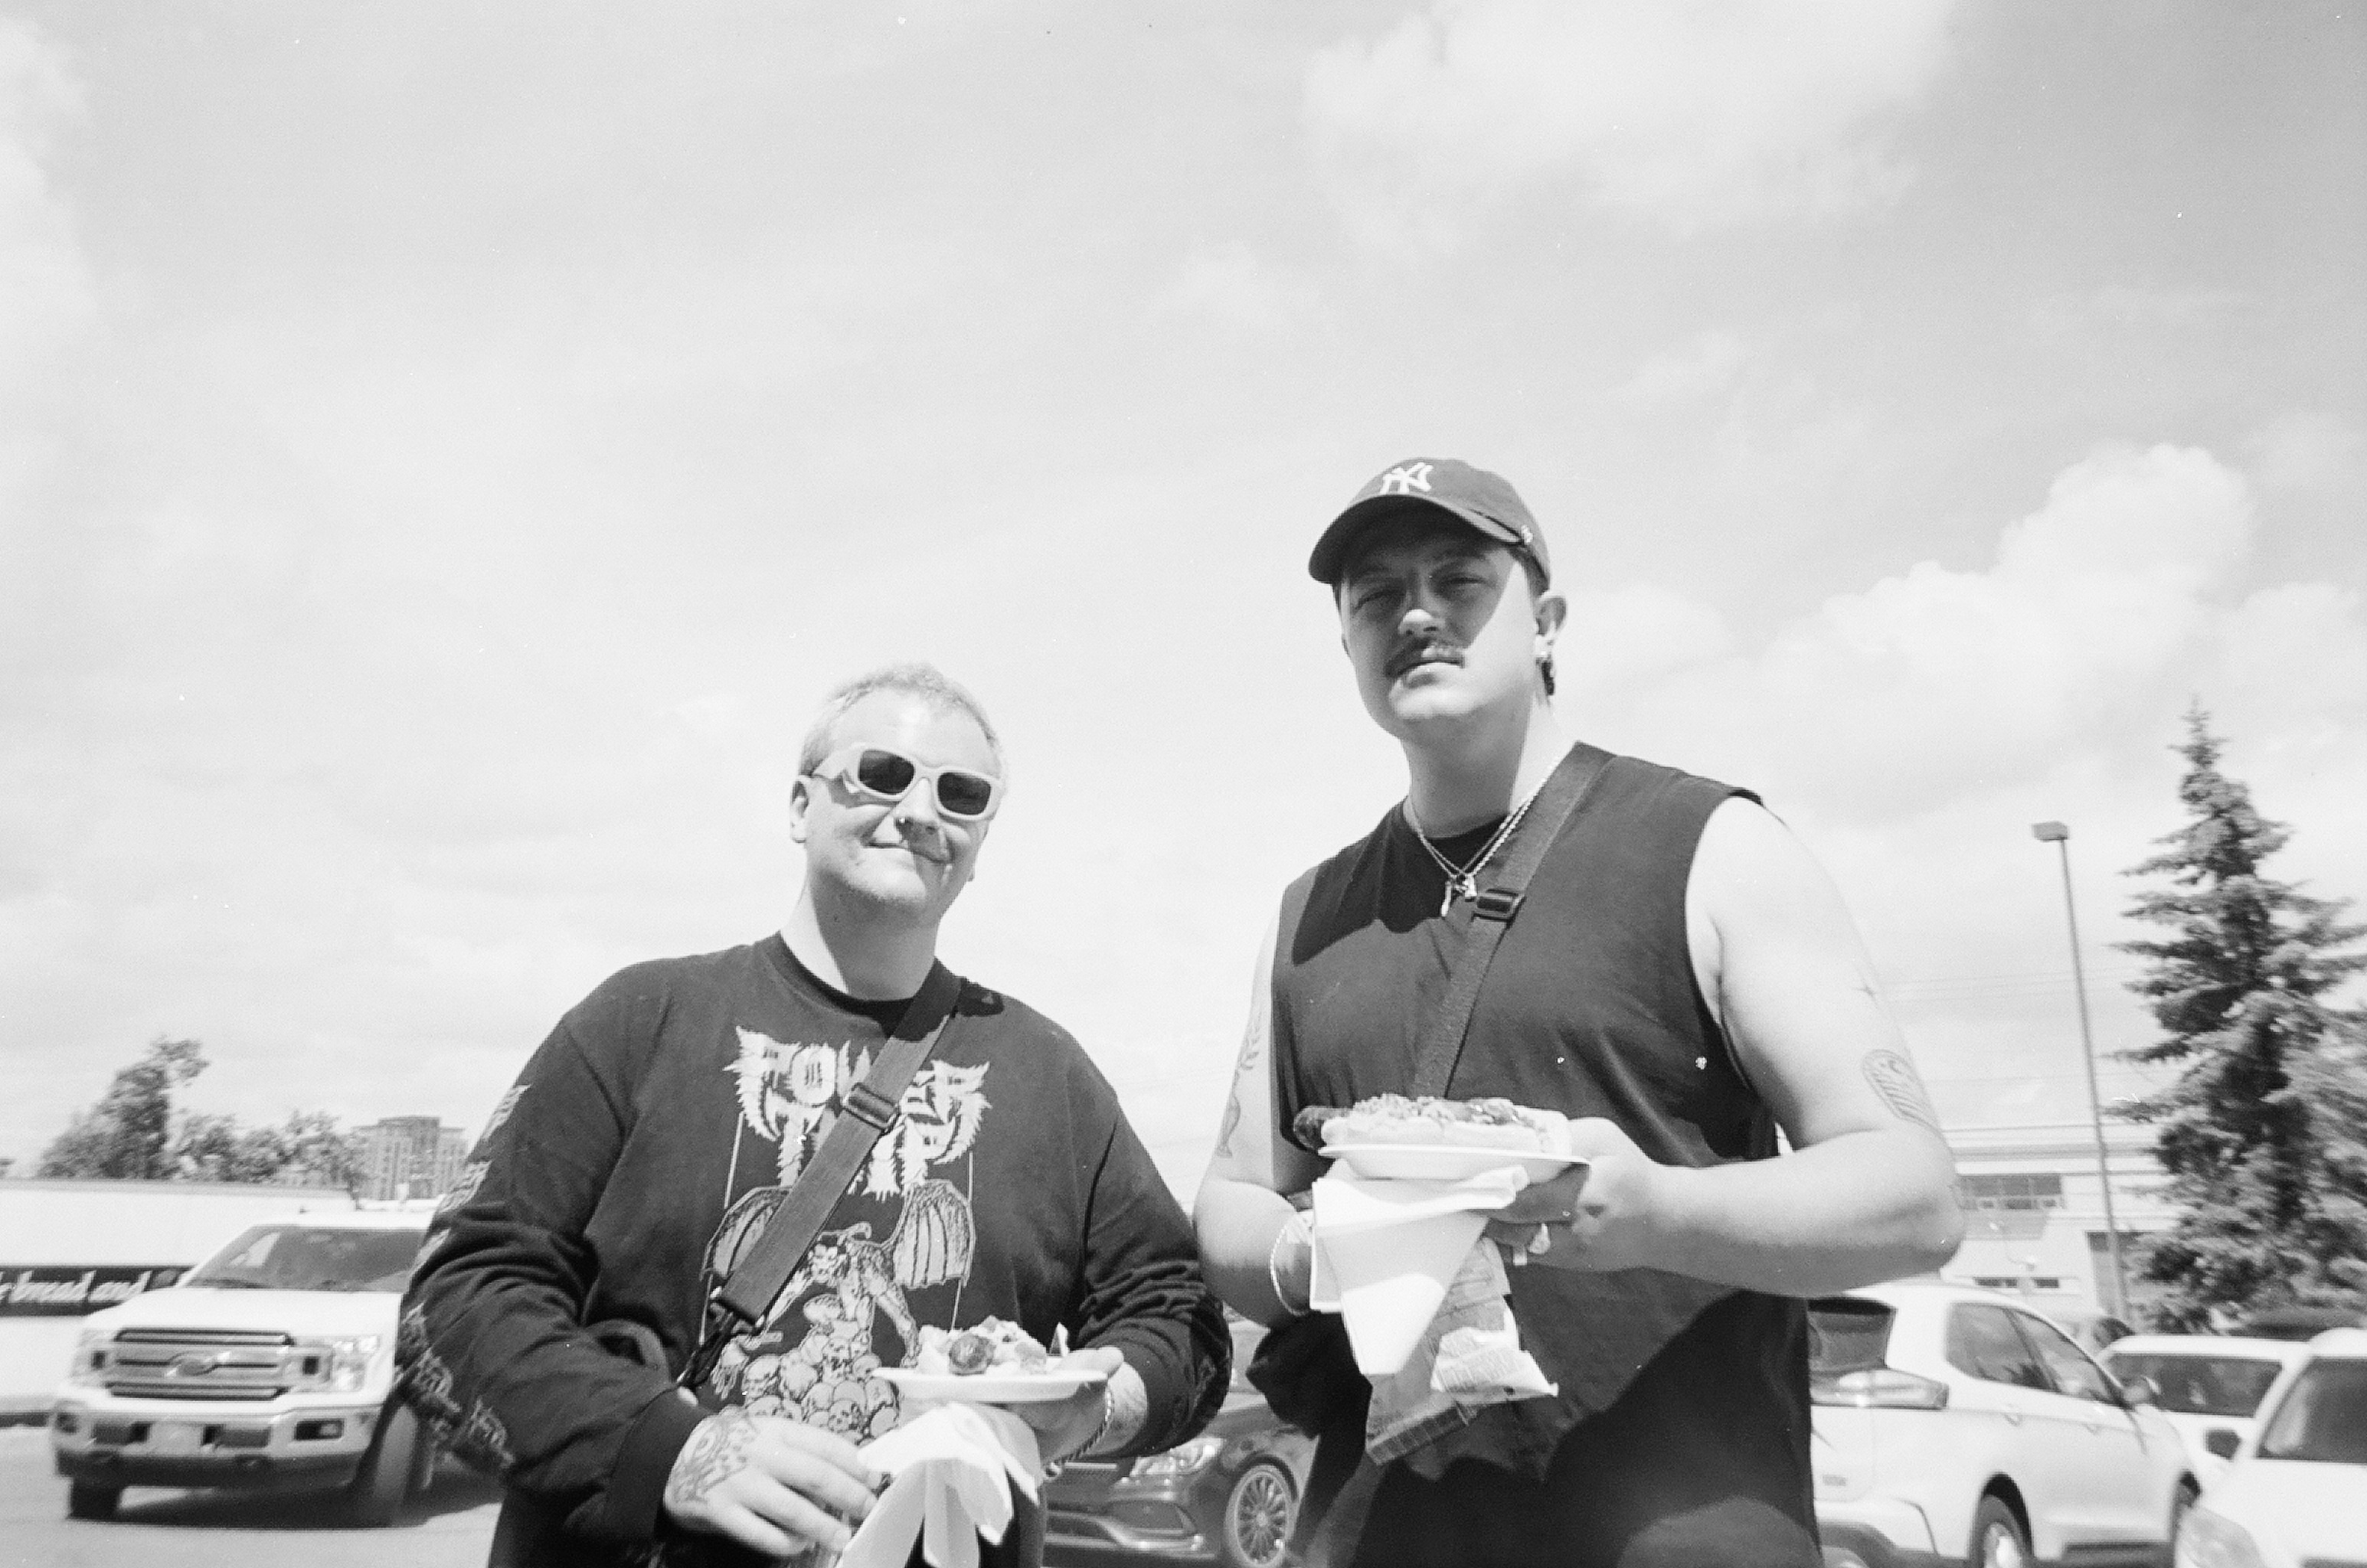
Blog time. Back in May I had the honour of opening for the queen The Librarian at 99ten in my hometown, Edmonton. Had such a blast that evening- it was the first proper “club night” I had experienced since before ‘vid. Had a quick chat with her after my set and she asked if I was going to Bass Coast, and the next thing I knew the whole squad ended up copping some tix.
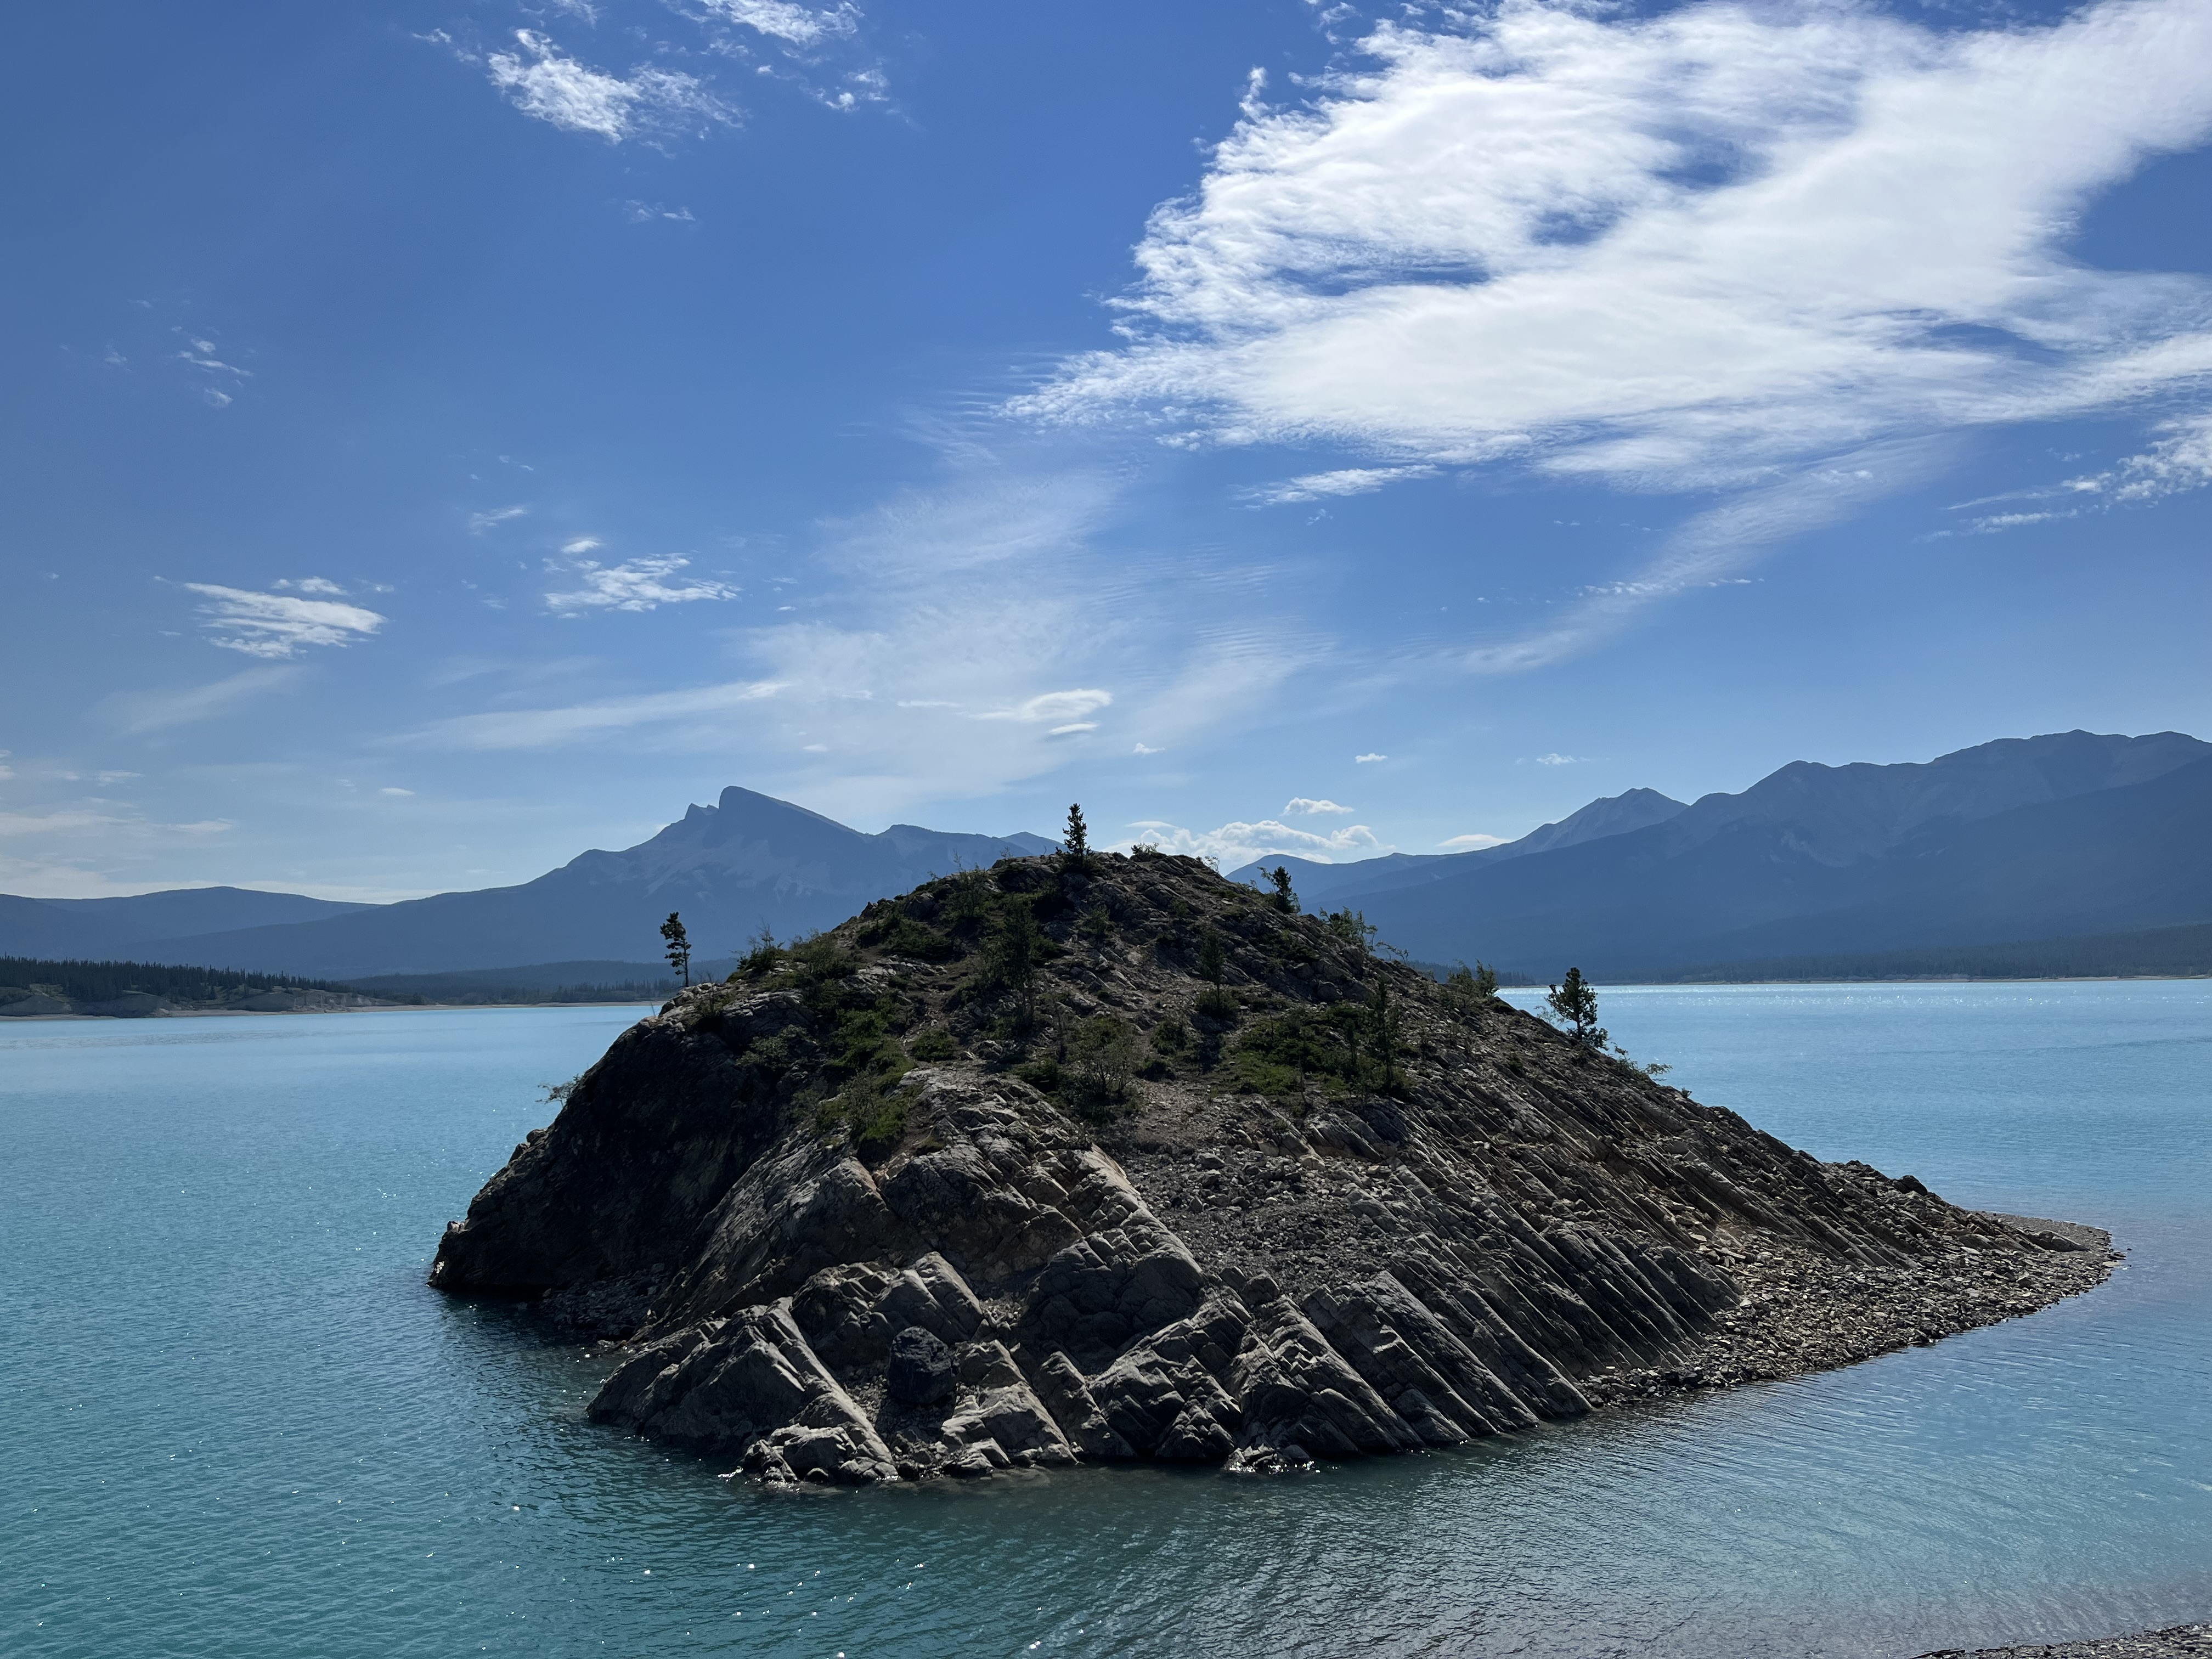
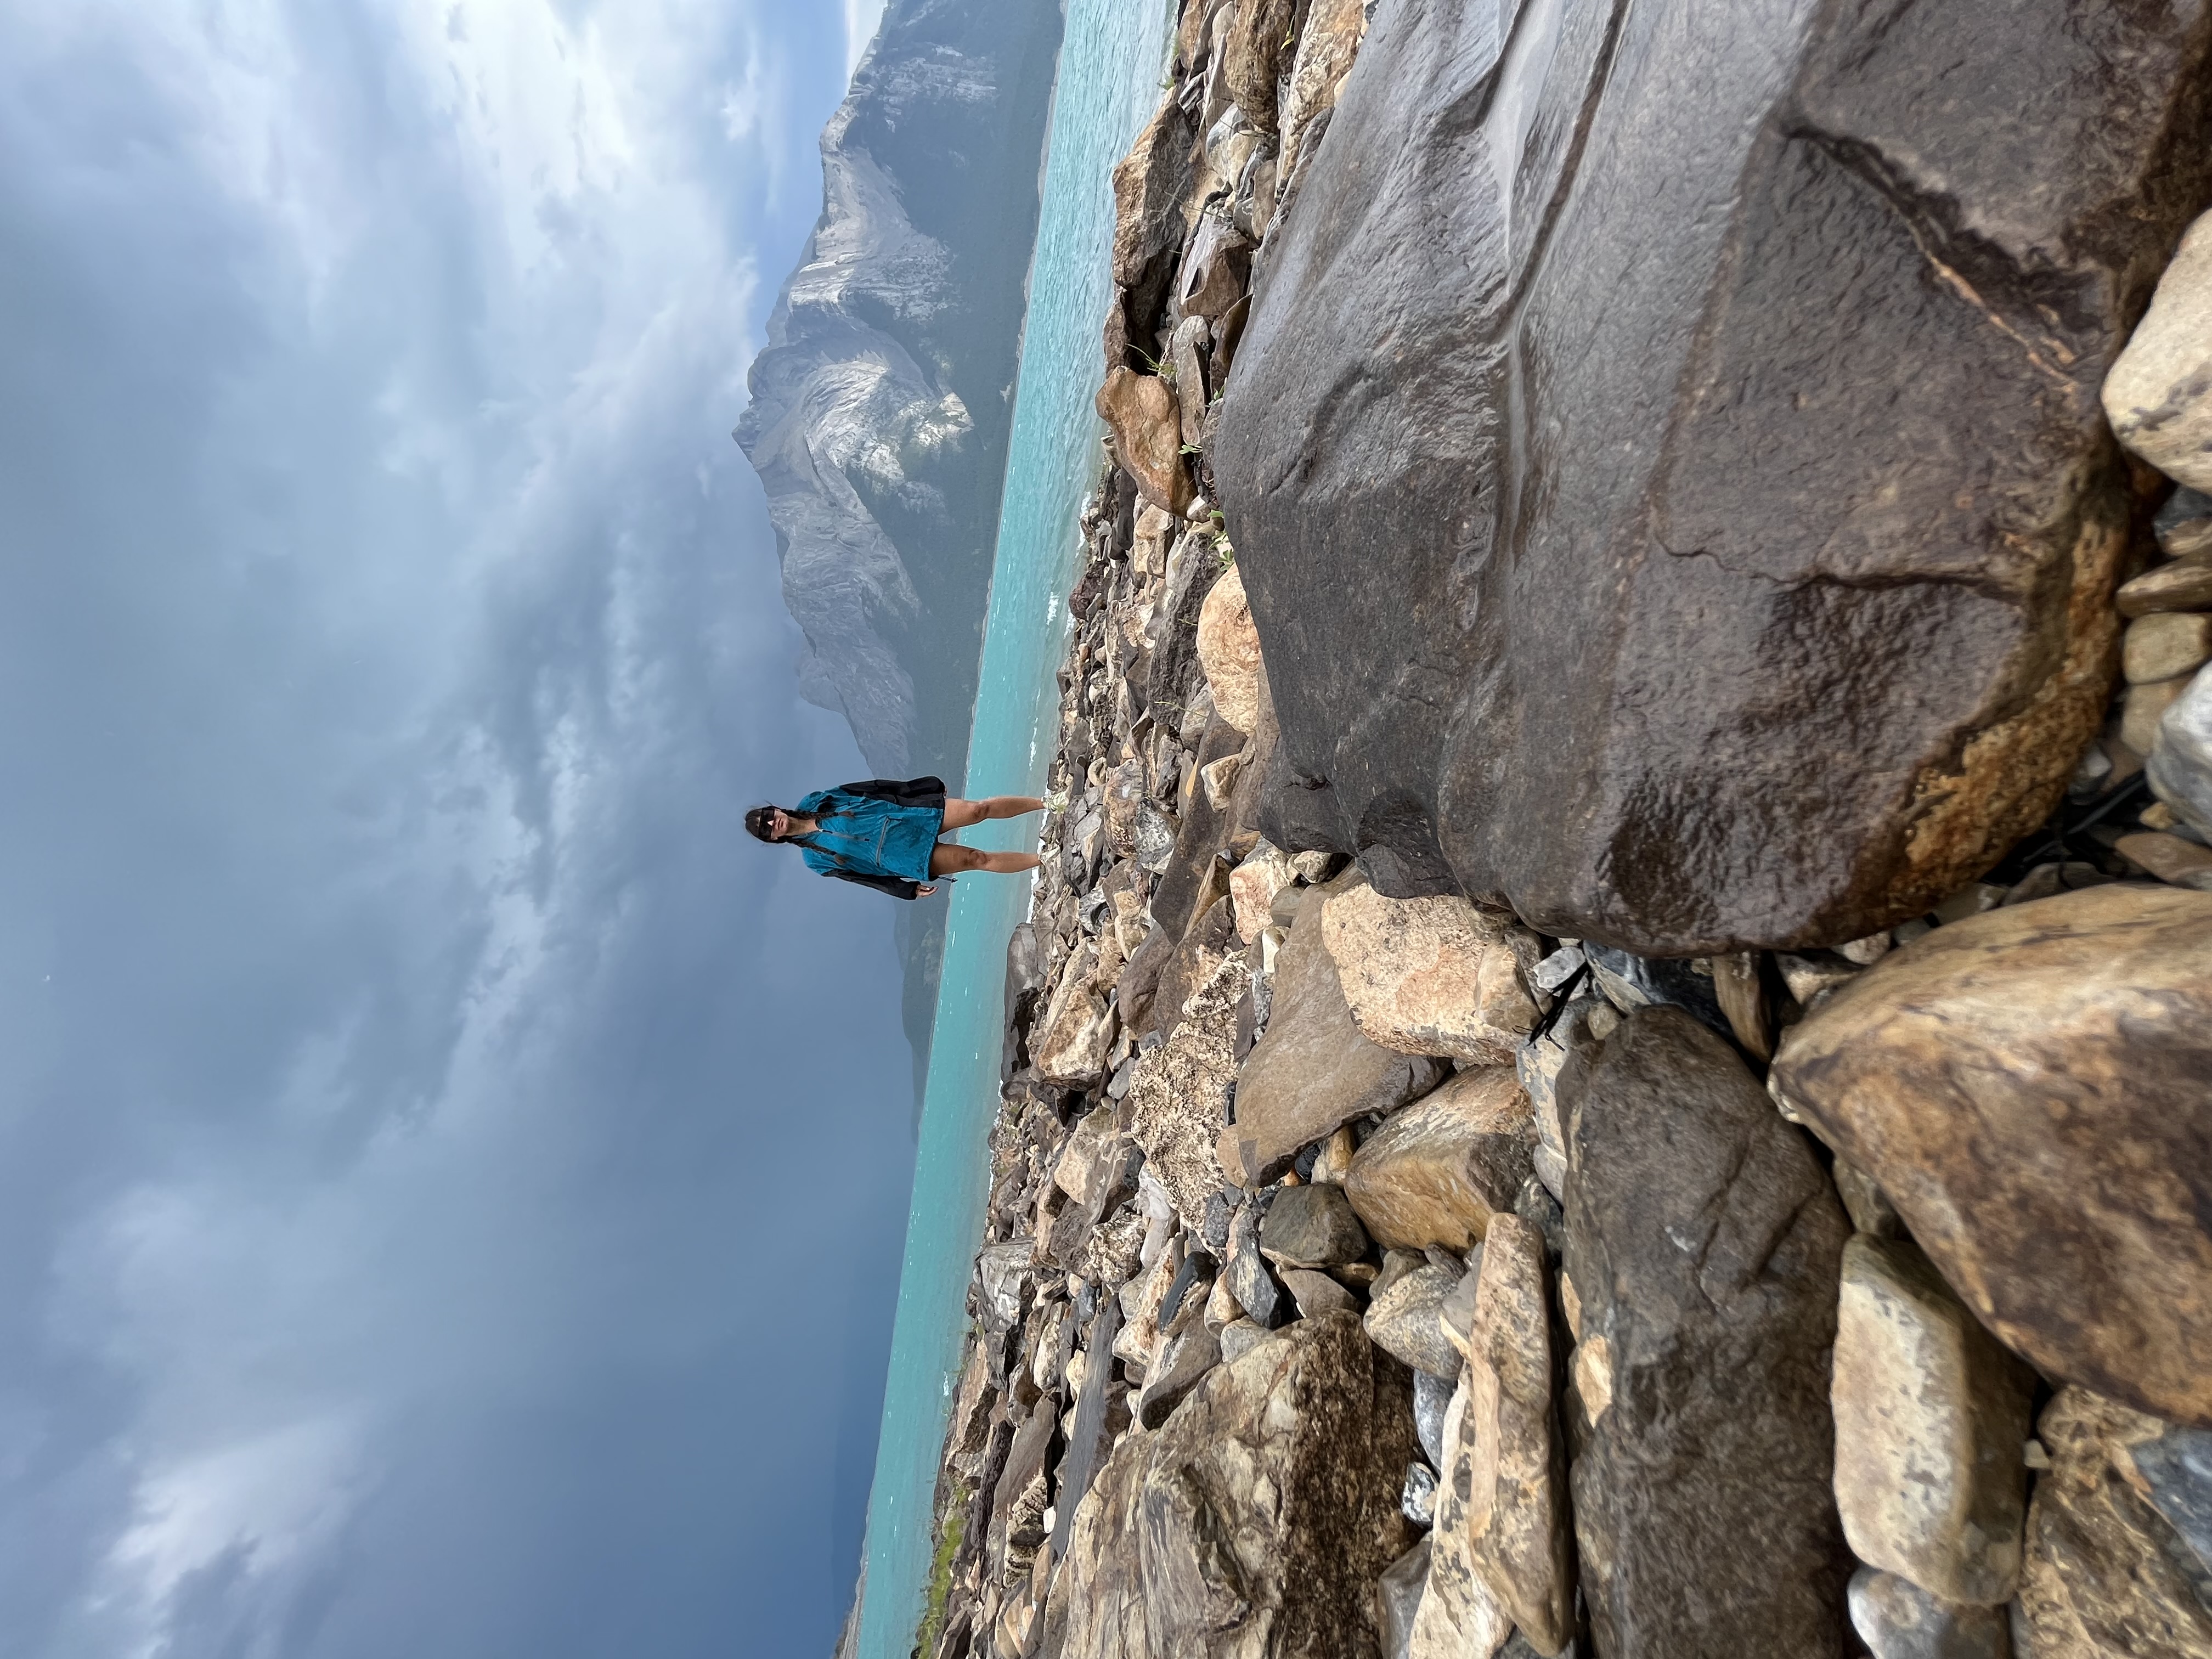
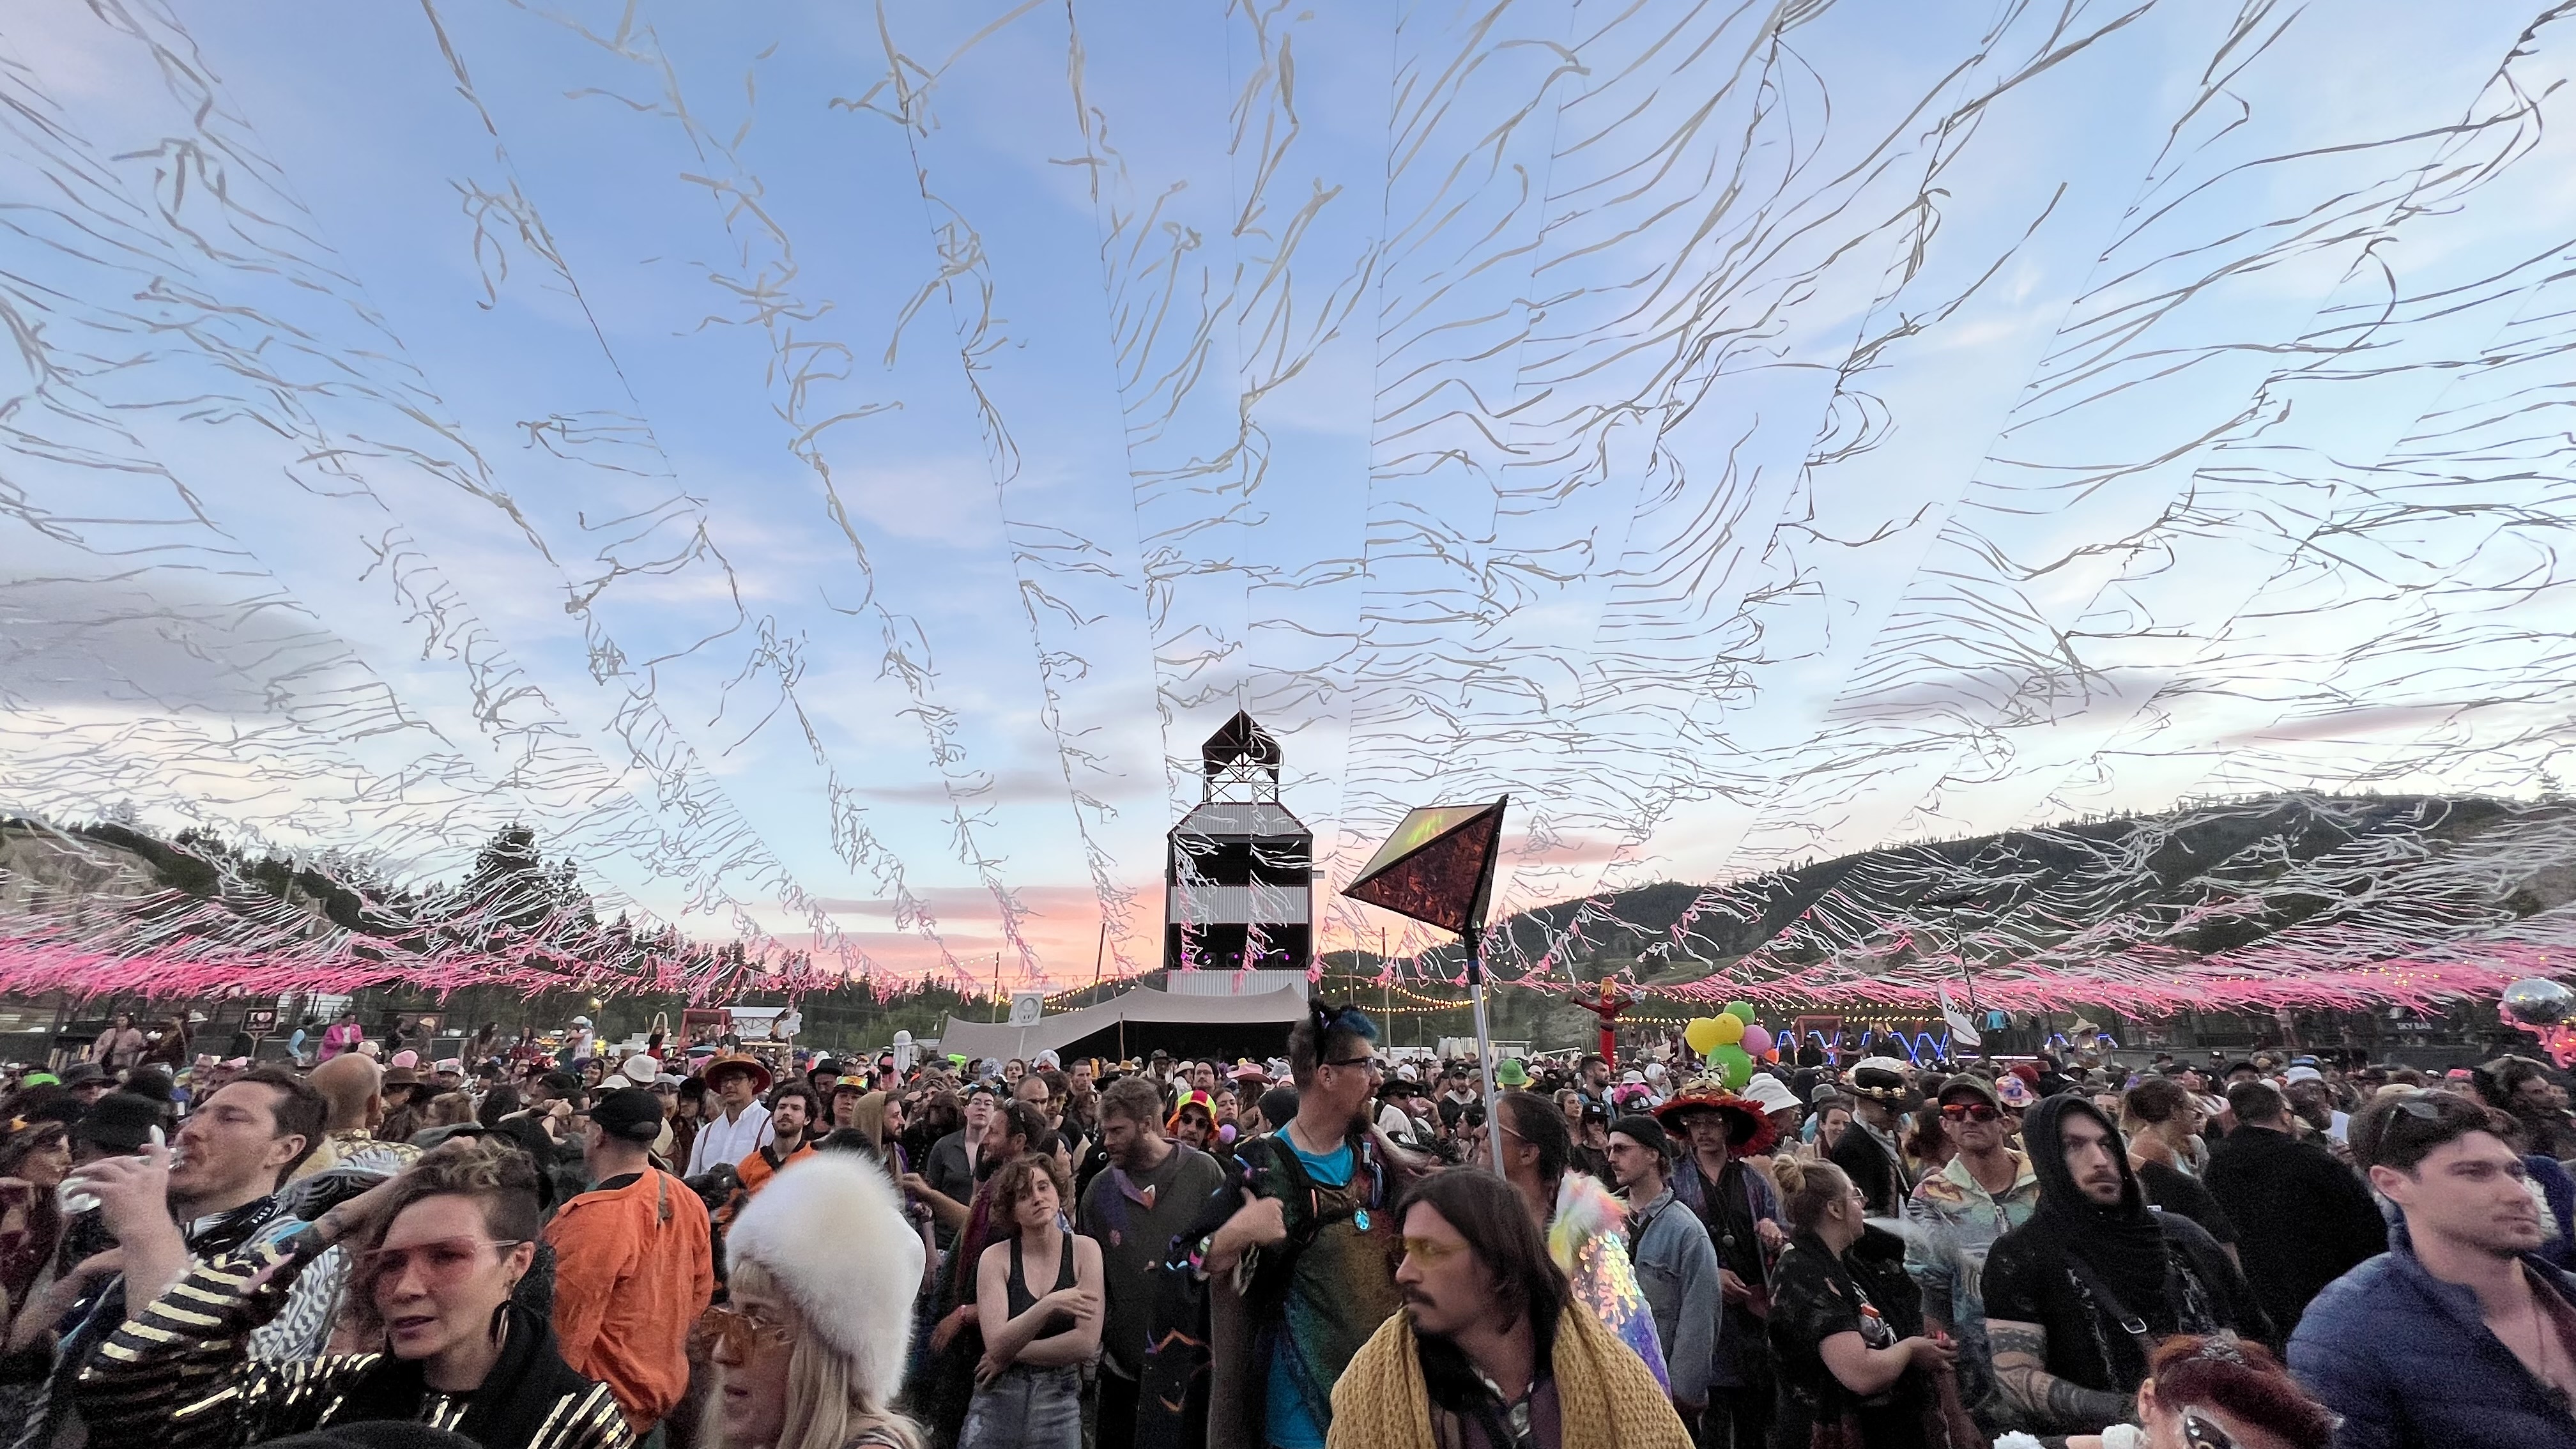
A few weeks (and tons of outfit planning) later, I headed west in my Golf with my bestie to the beautiful Merritt, BC! It was a special day (Nick’s Bday!) and nearly a 10-hour drive from Edmonton with a few scenic stops along the way. I head to the Alberta Rockies quite often, but I haven’t had a chance to drive through the BC side since I was a kid. My jaw dropped! Canada’s beauty is astonishing and I’m grateful to be able to live in the most beautiful place on earth. Each mountain was covered in more trees than you can count, and came with its own beauty. Absolutely wish we had more time to explore along the way. (Side: it’s incredible to see on a map / globe how far across the Earth we drove and hardly scratched the surface of Canada’s distance! Cross-country road trip is definitely on the bucket list.)
We ended up in beautiful Merritt on the Thursday of the festival. Our homies were smart and spent the night near the site and staked out a site for us earlier in the day. I should have done a bit more research on the area, but it was a desert! How cool. Bit different than the boreal / rocky terrain I’m used to camping in, but the sand in the air made for the perfect dry-shampoo. My sister offered her Tent in a Tent™ system which consisted of a condo-complex inside a 12-person tent. Nick is tall asf and had more than enough space to stand. Extra asf! (OK it was glamping, not camping lmao) After we were done unpacking, the crew went to check out the festival grounds and caught an extra special opening night set by The Librarian!

So many homies and incredible artists! Shouts to the Alberta crew Sorsari and Donna Dada (give her ALL the flowers) that were the first few sets we caught on Friday. *Chefs Kiss* Danced so hard at Uniiqu3’s set that my wardrobe malfunctioned (shoutout to my rave-pals for helping me with a dancefloor fit repair with the swiftness!) Moxie, Jubilee, Huxley Anne… amazing. All just perfection.
Saturday there was a lot of bouncing around the festival grounds. Sergio SP b2b Max Ullis, TW/TW London Showcase, Jubilee, the homie Overland (mf killllled her set), Greazus, ANZ, Tim Reaper, Baby T, Ciel (LEGEND), Sicaria Sound, and a sunrise set from Sergio SP to round off the rave. Fabulous!


On Sunday my partner-in-crime had to head to a wedding (sad) so I was tasked with partying twice as hard for the both of us while he was gone. The day started at the Cantina stage with my longtime internet friend (who I finally got to meet IRL!) Anna Morgan’s Boiler Room set which was incredible, followed by the longtime ‘berta pal Homesick’s BR Debut (absolutely slayed; go watch this NOW), and lastly the ethereal and effervescent Nikki Nair (wow, wow, wow.)
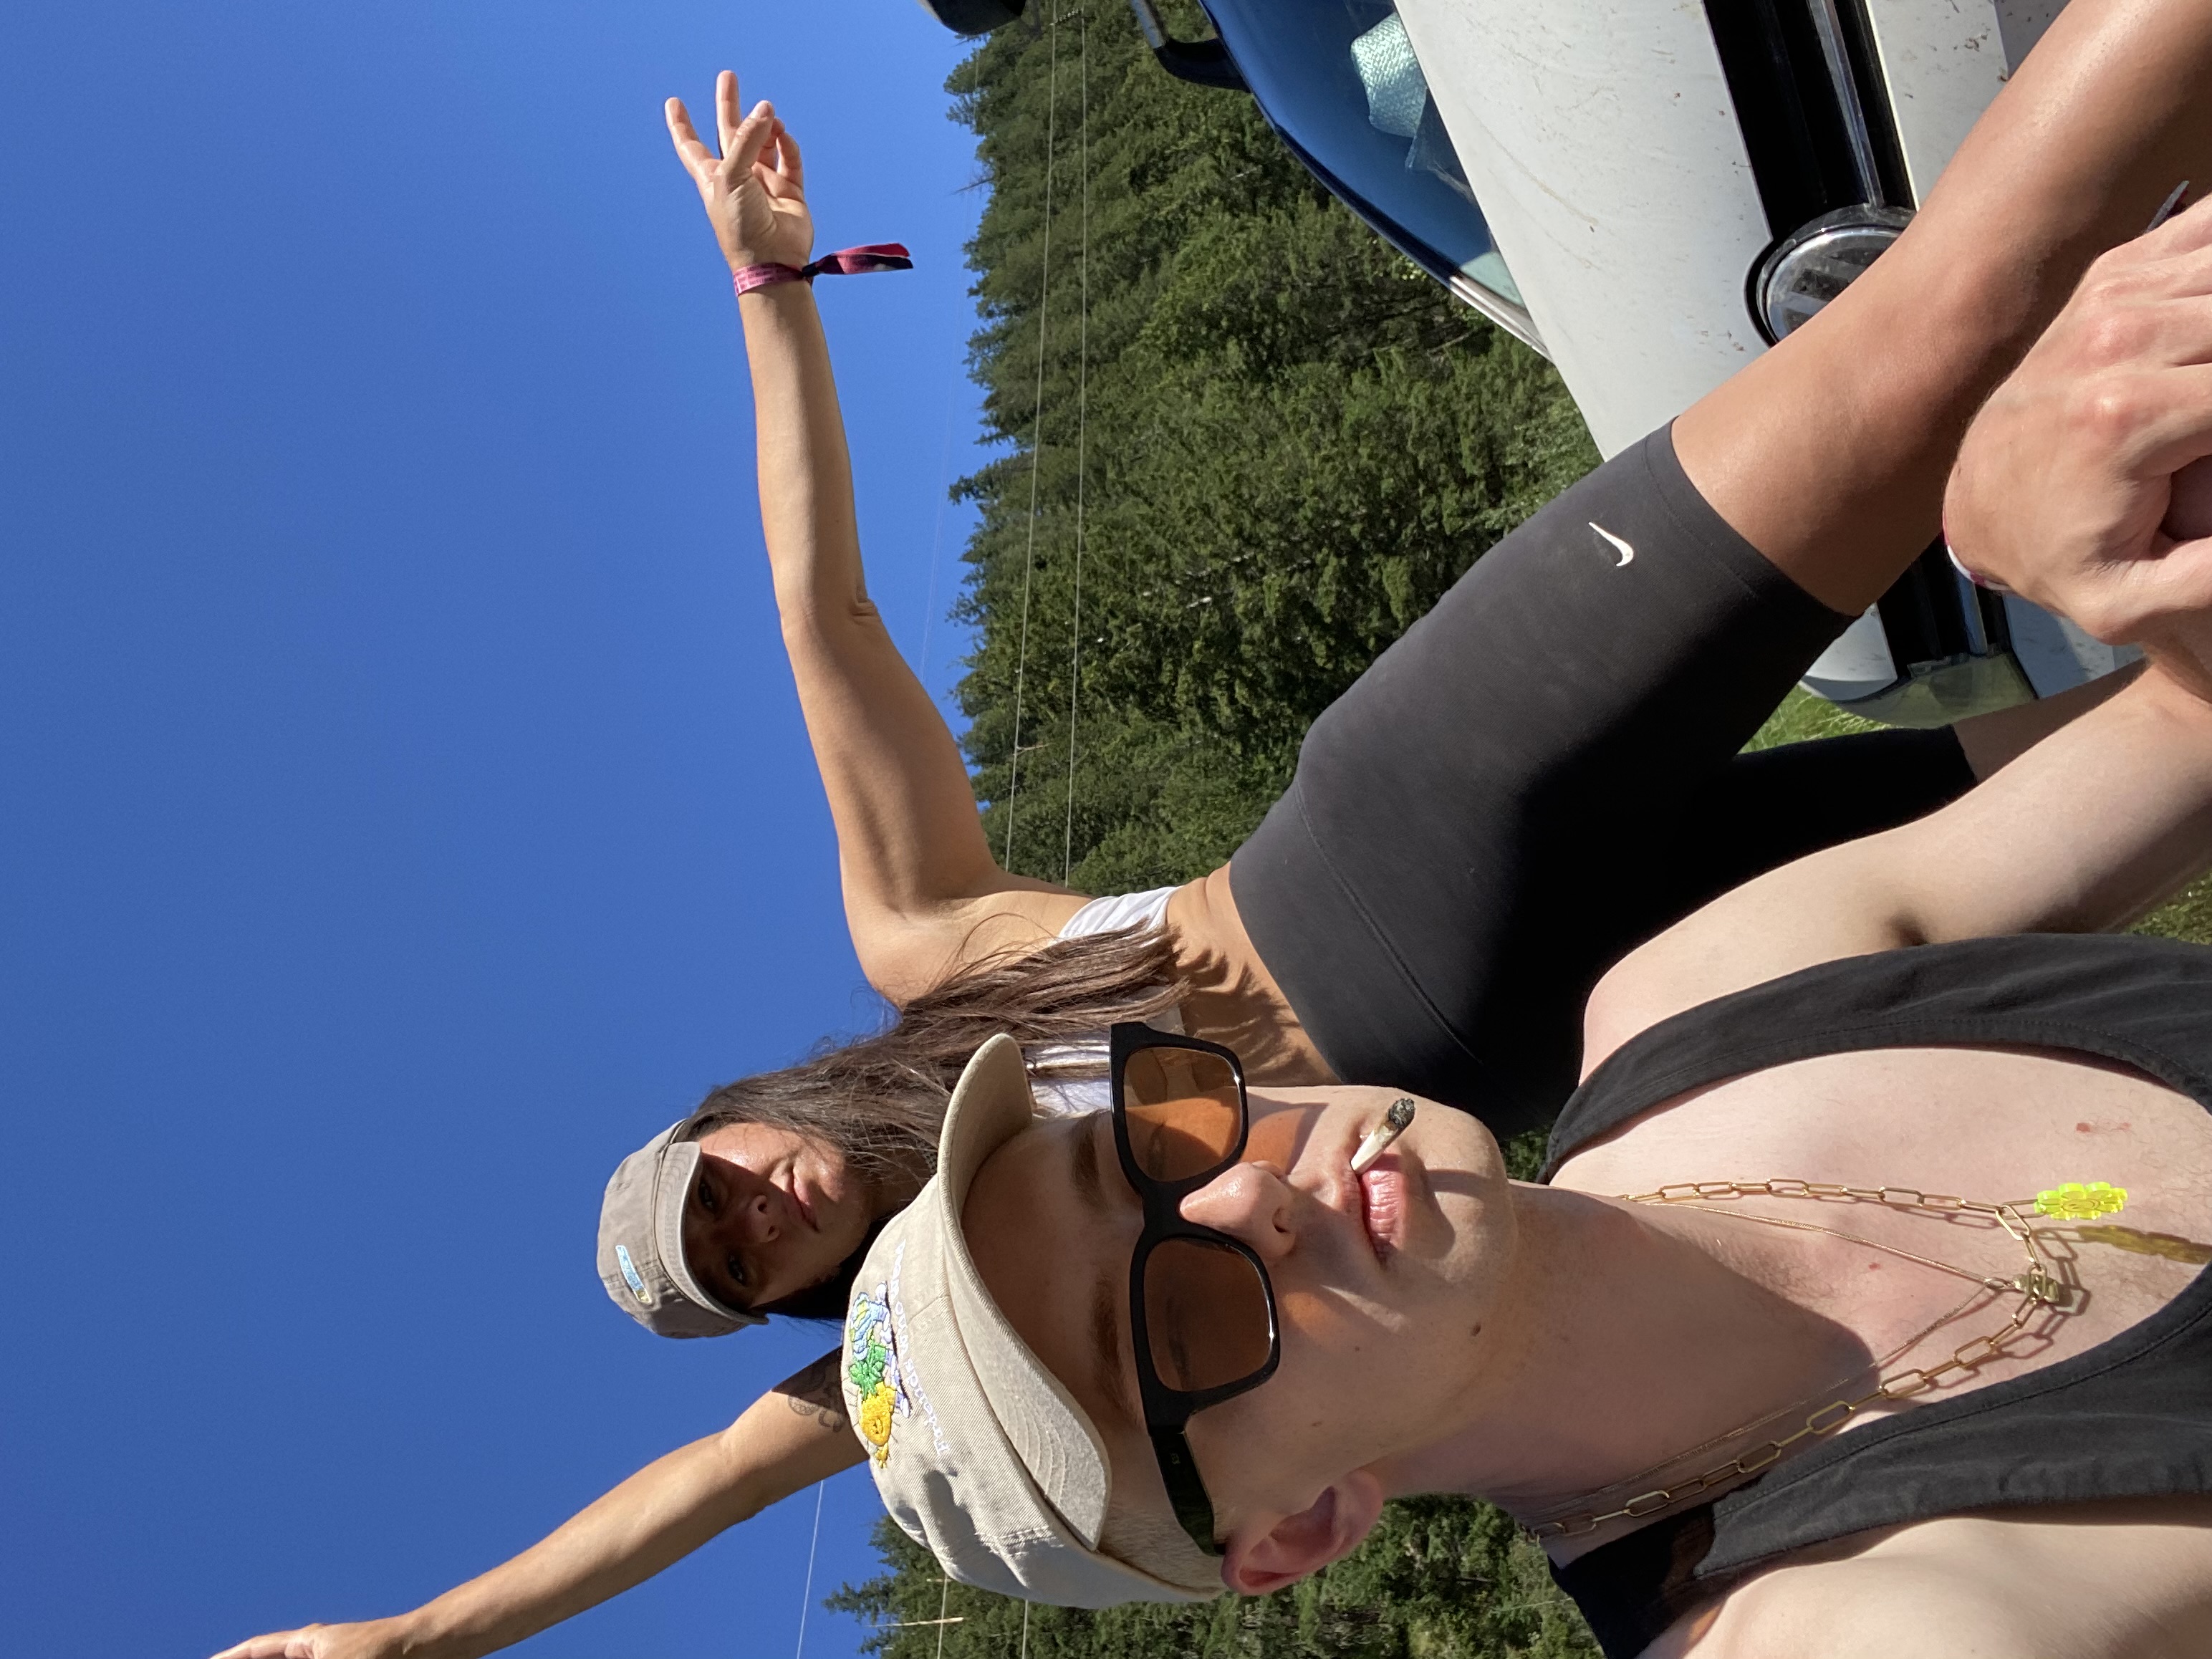
Around sunset Nick came back and my jaw mf dropped- he looked like a celebrity in his wedding fit compared to all of us dusty, dusty ravers! I ended up wearing my white CRUZ dress- handmade by my homegirl Gabby- and we had an unintentional matching bride-and-groom rave look. #twinnem. We all were hyped on our friend Rosslyn’s shop Archive Boutique and got cute rave souviners by the end of the night! Obsessed with my lasercut USB earrings + somehow Nick managed to get a custommade piece made at 10:30pm T-T (everyone loves him, what can I say?)
Bounced around a bit between OAKK and Jacques Greene before catching the queen Rochelle Jordan on the Main Stage. Caught some of the headline set from the legend Matt the Alien and The Librarian which was so rad, then we headed back to The Cabin to live out our techno dream at AceMoMa (GIVE. THEM. THEIR. FLOWERS. My absolute heroes!) The homies and I all had the time of our lives at this set and danced until the very last second. What a set to end the festival!
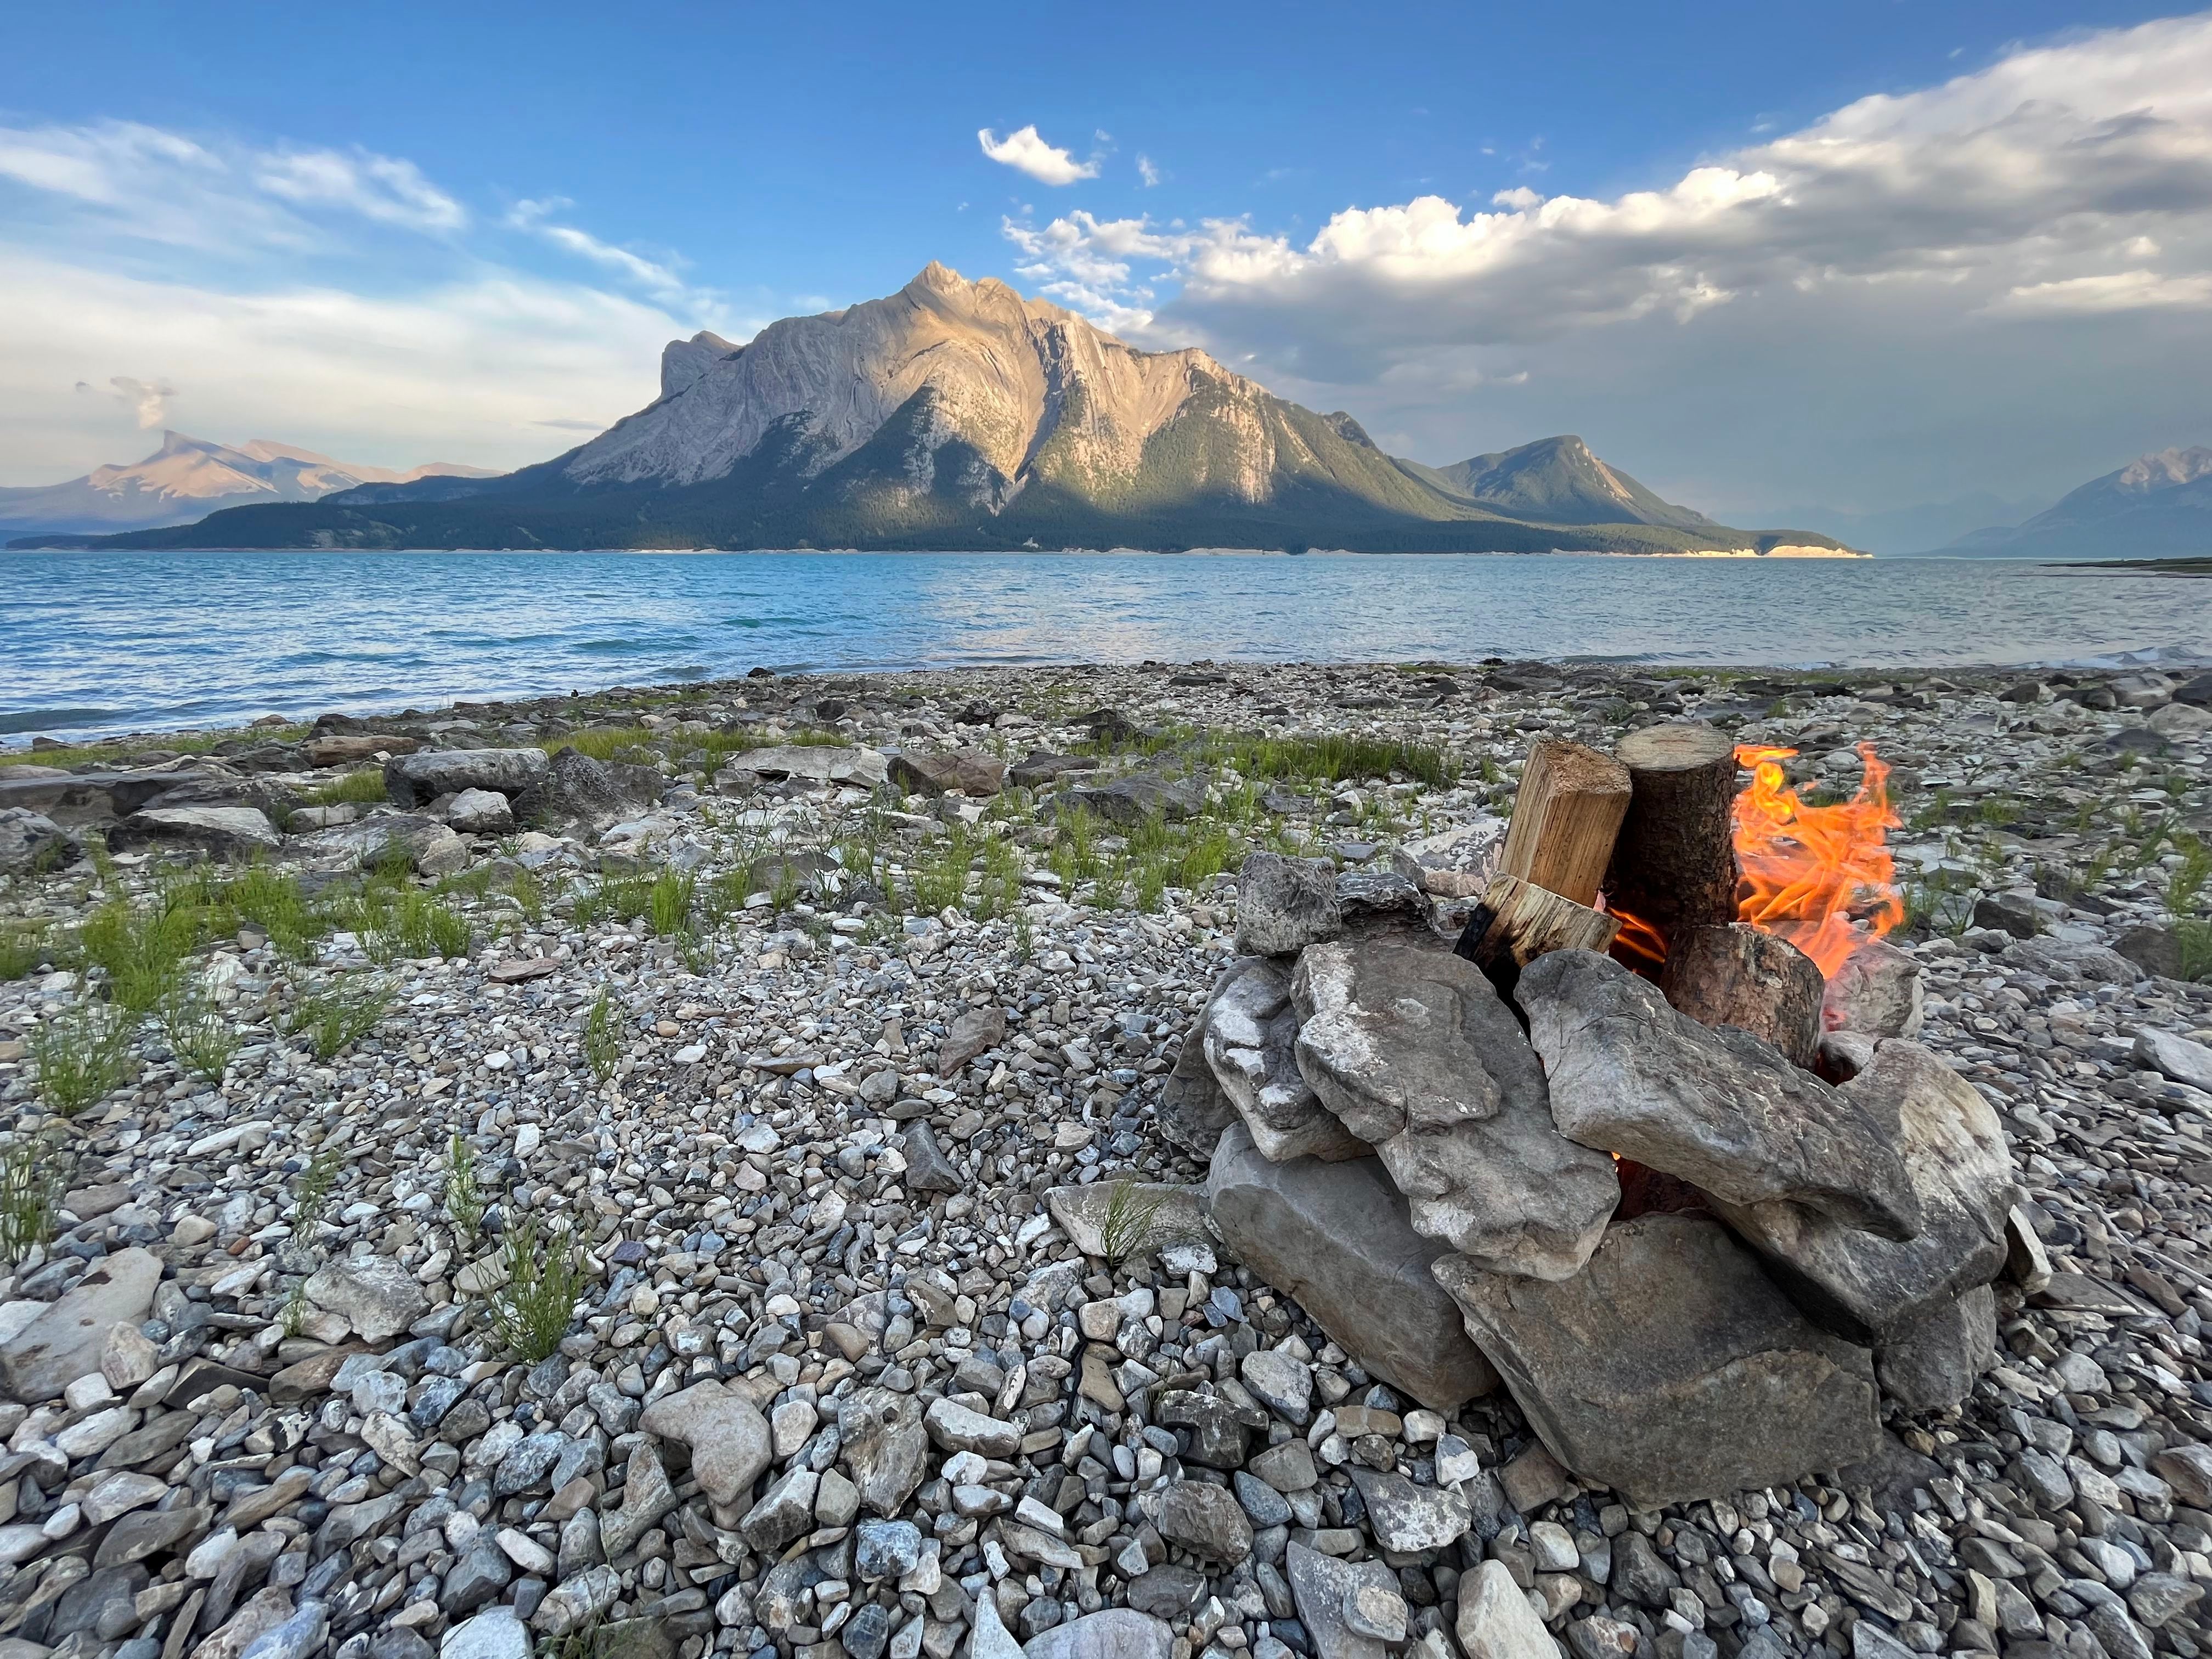
After dusting ourselves off and packing up the Tent in a Tent™ we headed out to the most chaotic A&W on earth (hippies and ravers scaring the local seniors- I couldn't stop laughing lmaoooo). Glad that I listened to my friends when they suggested breaking up the drive home into two days. Someone in our crew had the brilliant idea of stopping by the Miette Hot Springs in Jasper National Park on the way home. What a way to unwind after days of non-stop dancing! Surprisingly we spent more time in the ice pools than the hot springs and I feel the therapeutic effects of ice baths under the hot sun surrounded by the faultless mountain backdrop really helped us all melt back home.
My only problem (other than losing my Rx glasses and sunnies) was that the curation was too mf good! I wanted to experience every moment of every set. How do I clone myself?
If you’re into incredible music curation, nature, art, and proper sound systems in a space that’s all run by women (right!!) I’d suggest putting Bass Coast on your calendar!
xo, hj
Hey!
Here’s my first blog post. My good friend Danielle and I were chatting about 00s - 10s internet culture, and the community + spirit that came with it. Blogs played a big part in both of our lives (+ also how we met ♡ ) + she encouraged me to start one up. I don’t know what I’ll write in here, but today I’ll write about screenprinting, let’s see how it goes~
Pretty much all of my hobbies are digital, so I decided to try screenprinting again after a few failed attempts in highschool (still did make some fire t’s though, but that’s another story). A few years back I decided to finally learn how to properly print and took a course through a local print shop. When the course was done, I would use the open studio days to work on other projects ... but then Miss. Rona came around and the studio shut down for a while.
After a few months of being stuck in at home, I thought that I would try and switch up staring at digital screens all day and switch it up with some analogue screens.
Trial + Error. It was a lot different from printing at home than in an organized studio with an expert around for guidance. I failed so many times. There’s probably 2 Liters of emulsion that ended up down my bathtub drain. Once I started jotting down notes of what not to do, I would make fewer and fewer mistakes. The printmaking process requires each step to be done in order which is different from most of my other hobbies, (i.e. music- just open up Ableton and GO), so each time I would make a mistake I would have to start from scratch. I’m telling you, it was a mf pain. Slowly I started getting better with the tools I had around me, but I invested in two things that helped a lot: better emulsion (game changer) and a utility skink (s/o to my big bro for helping me install it).
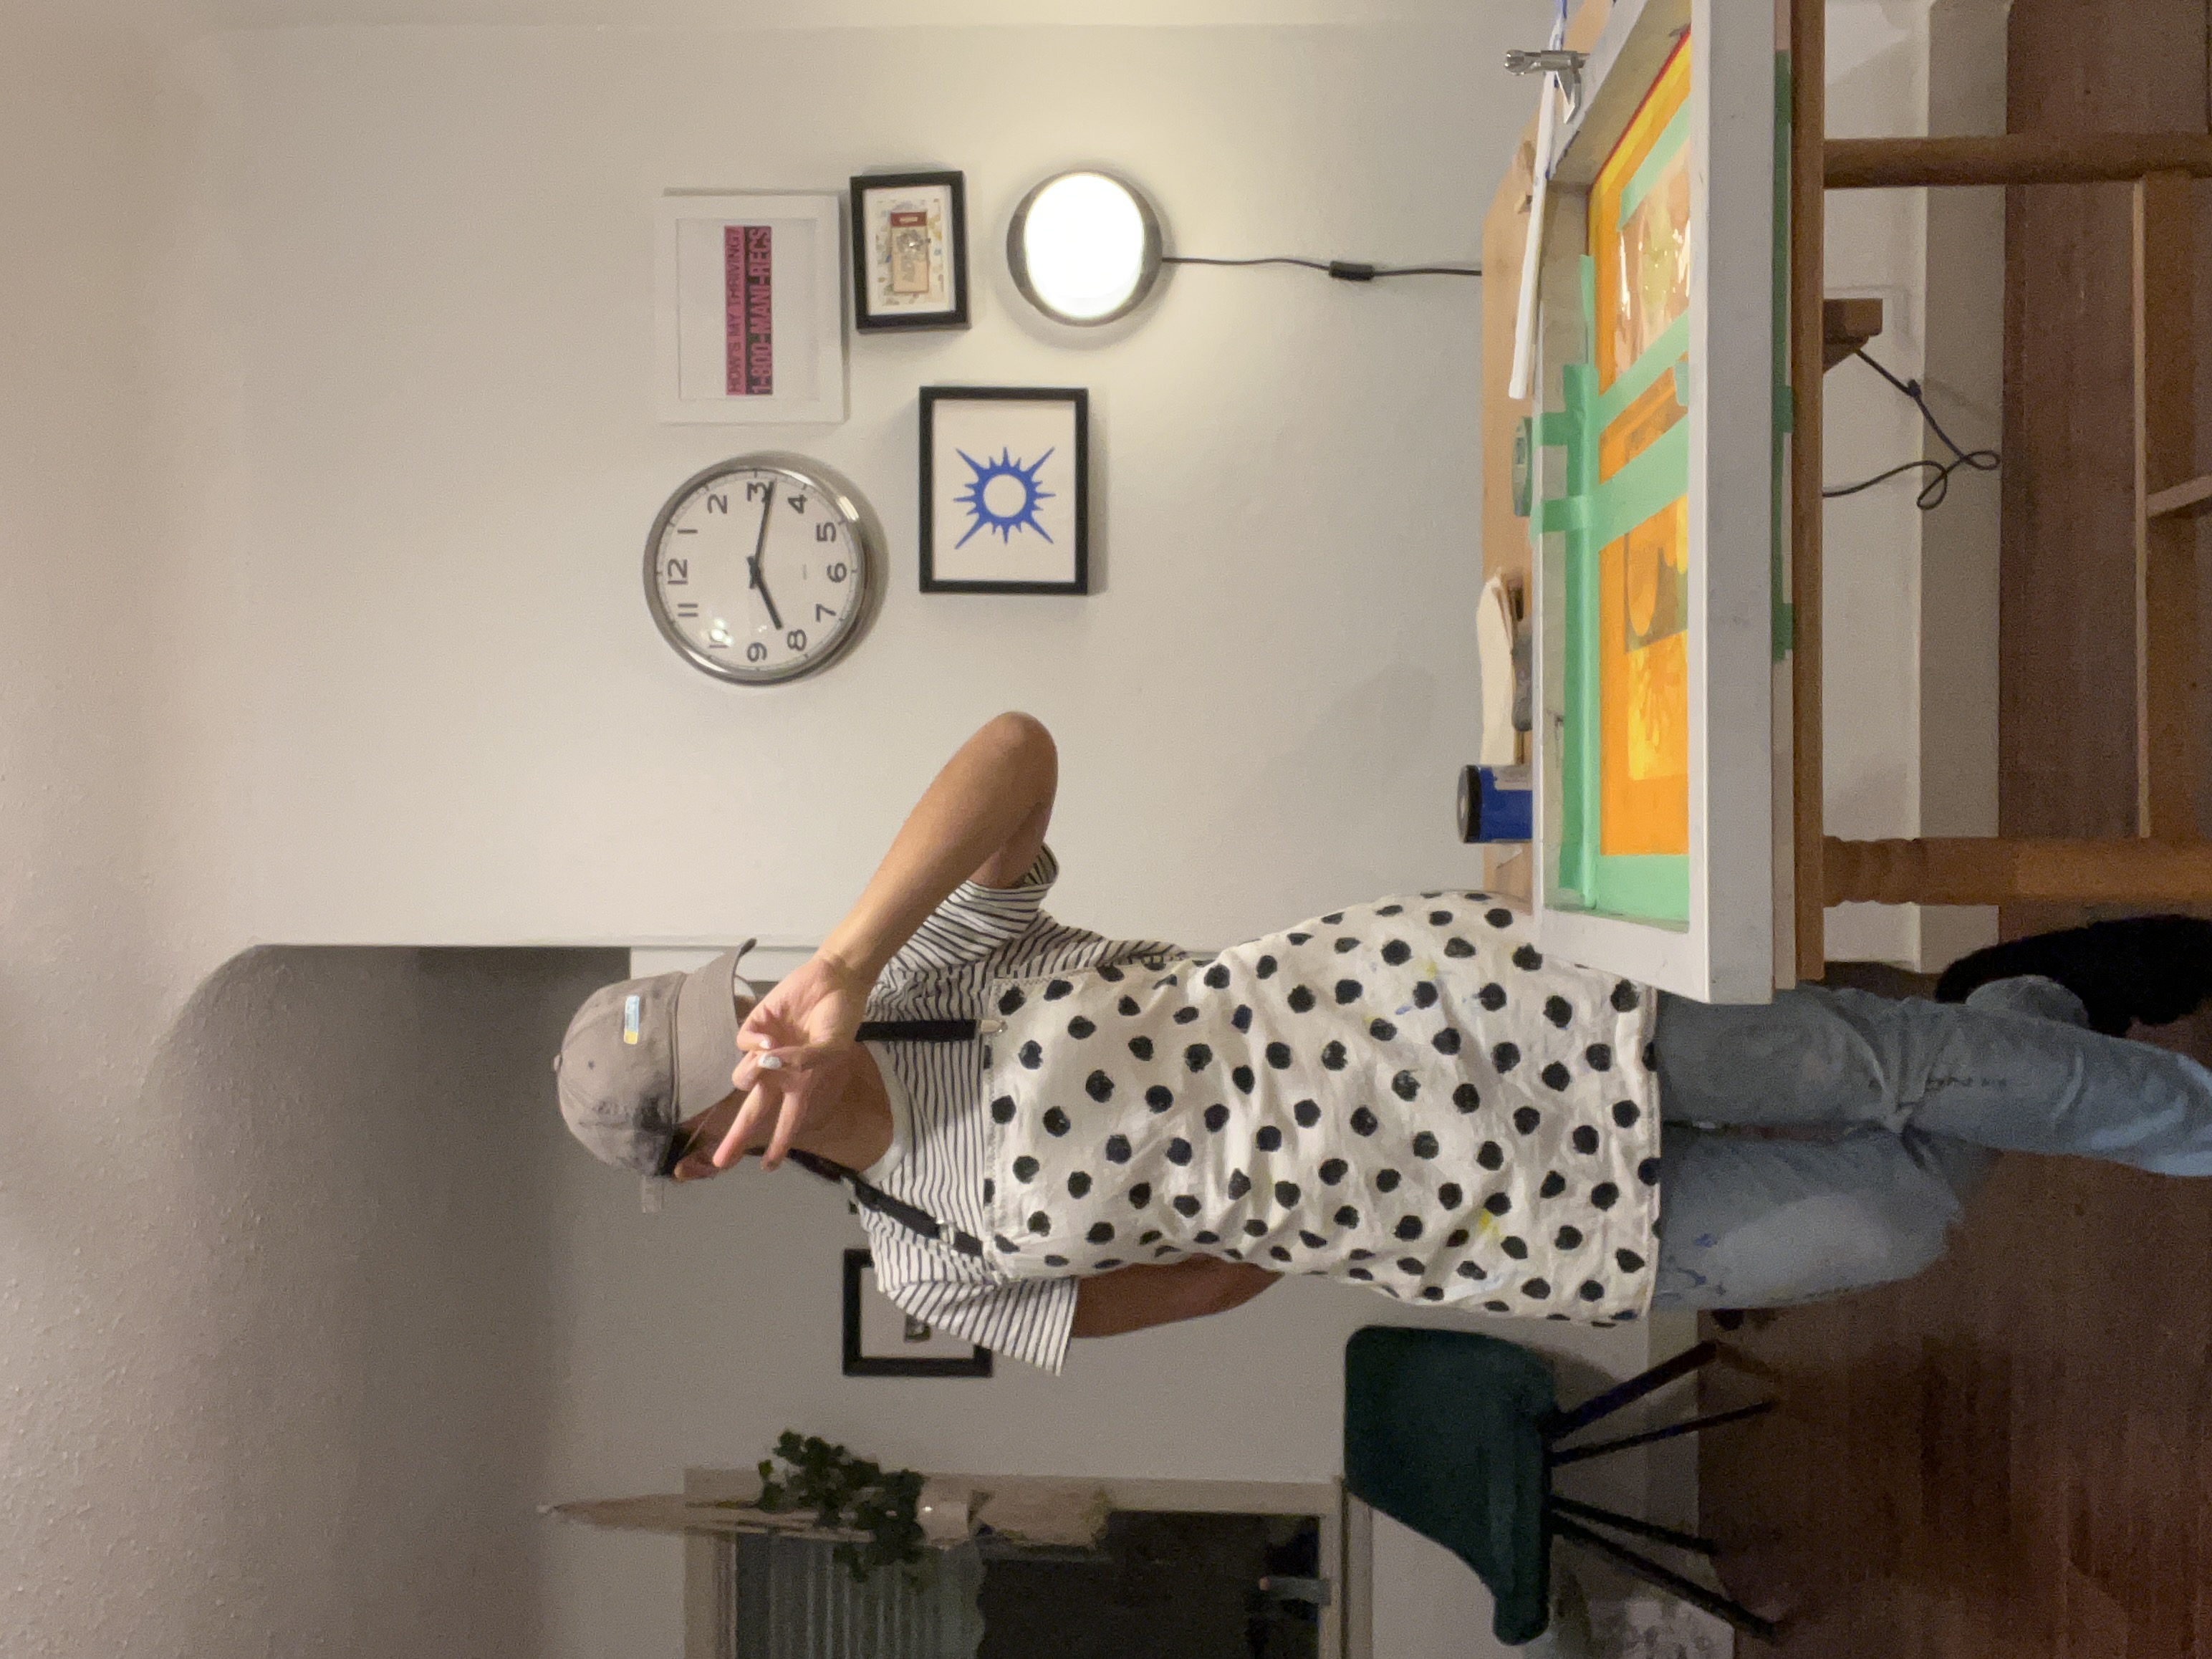
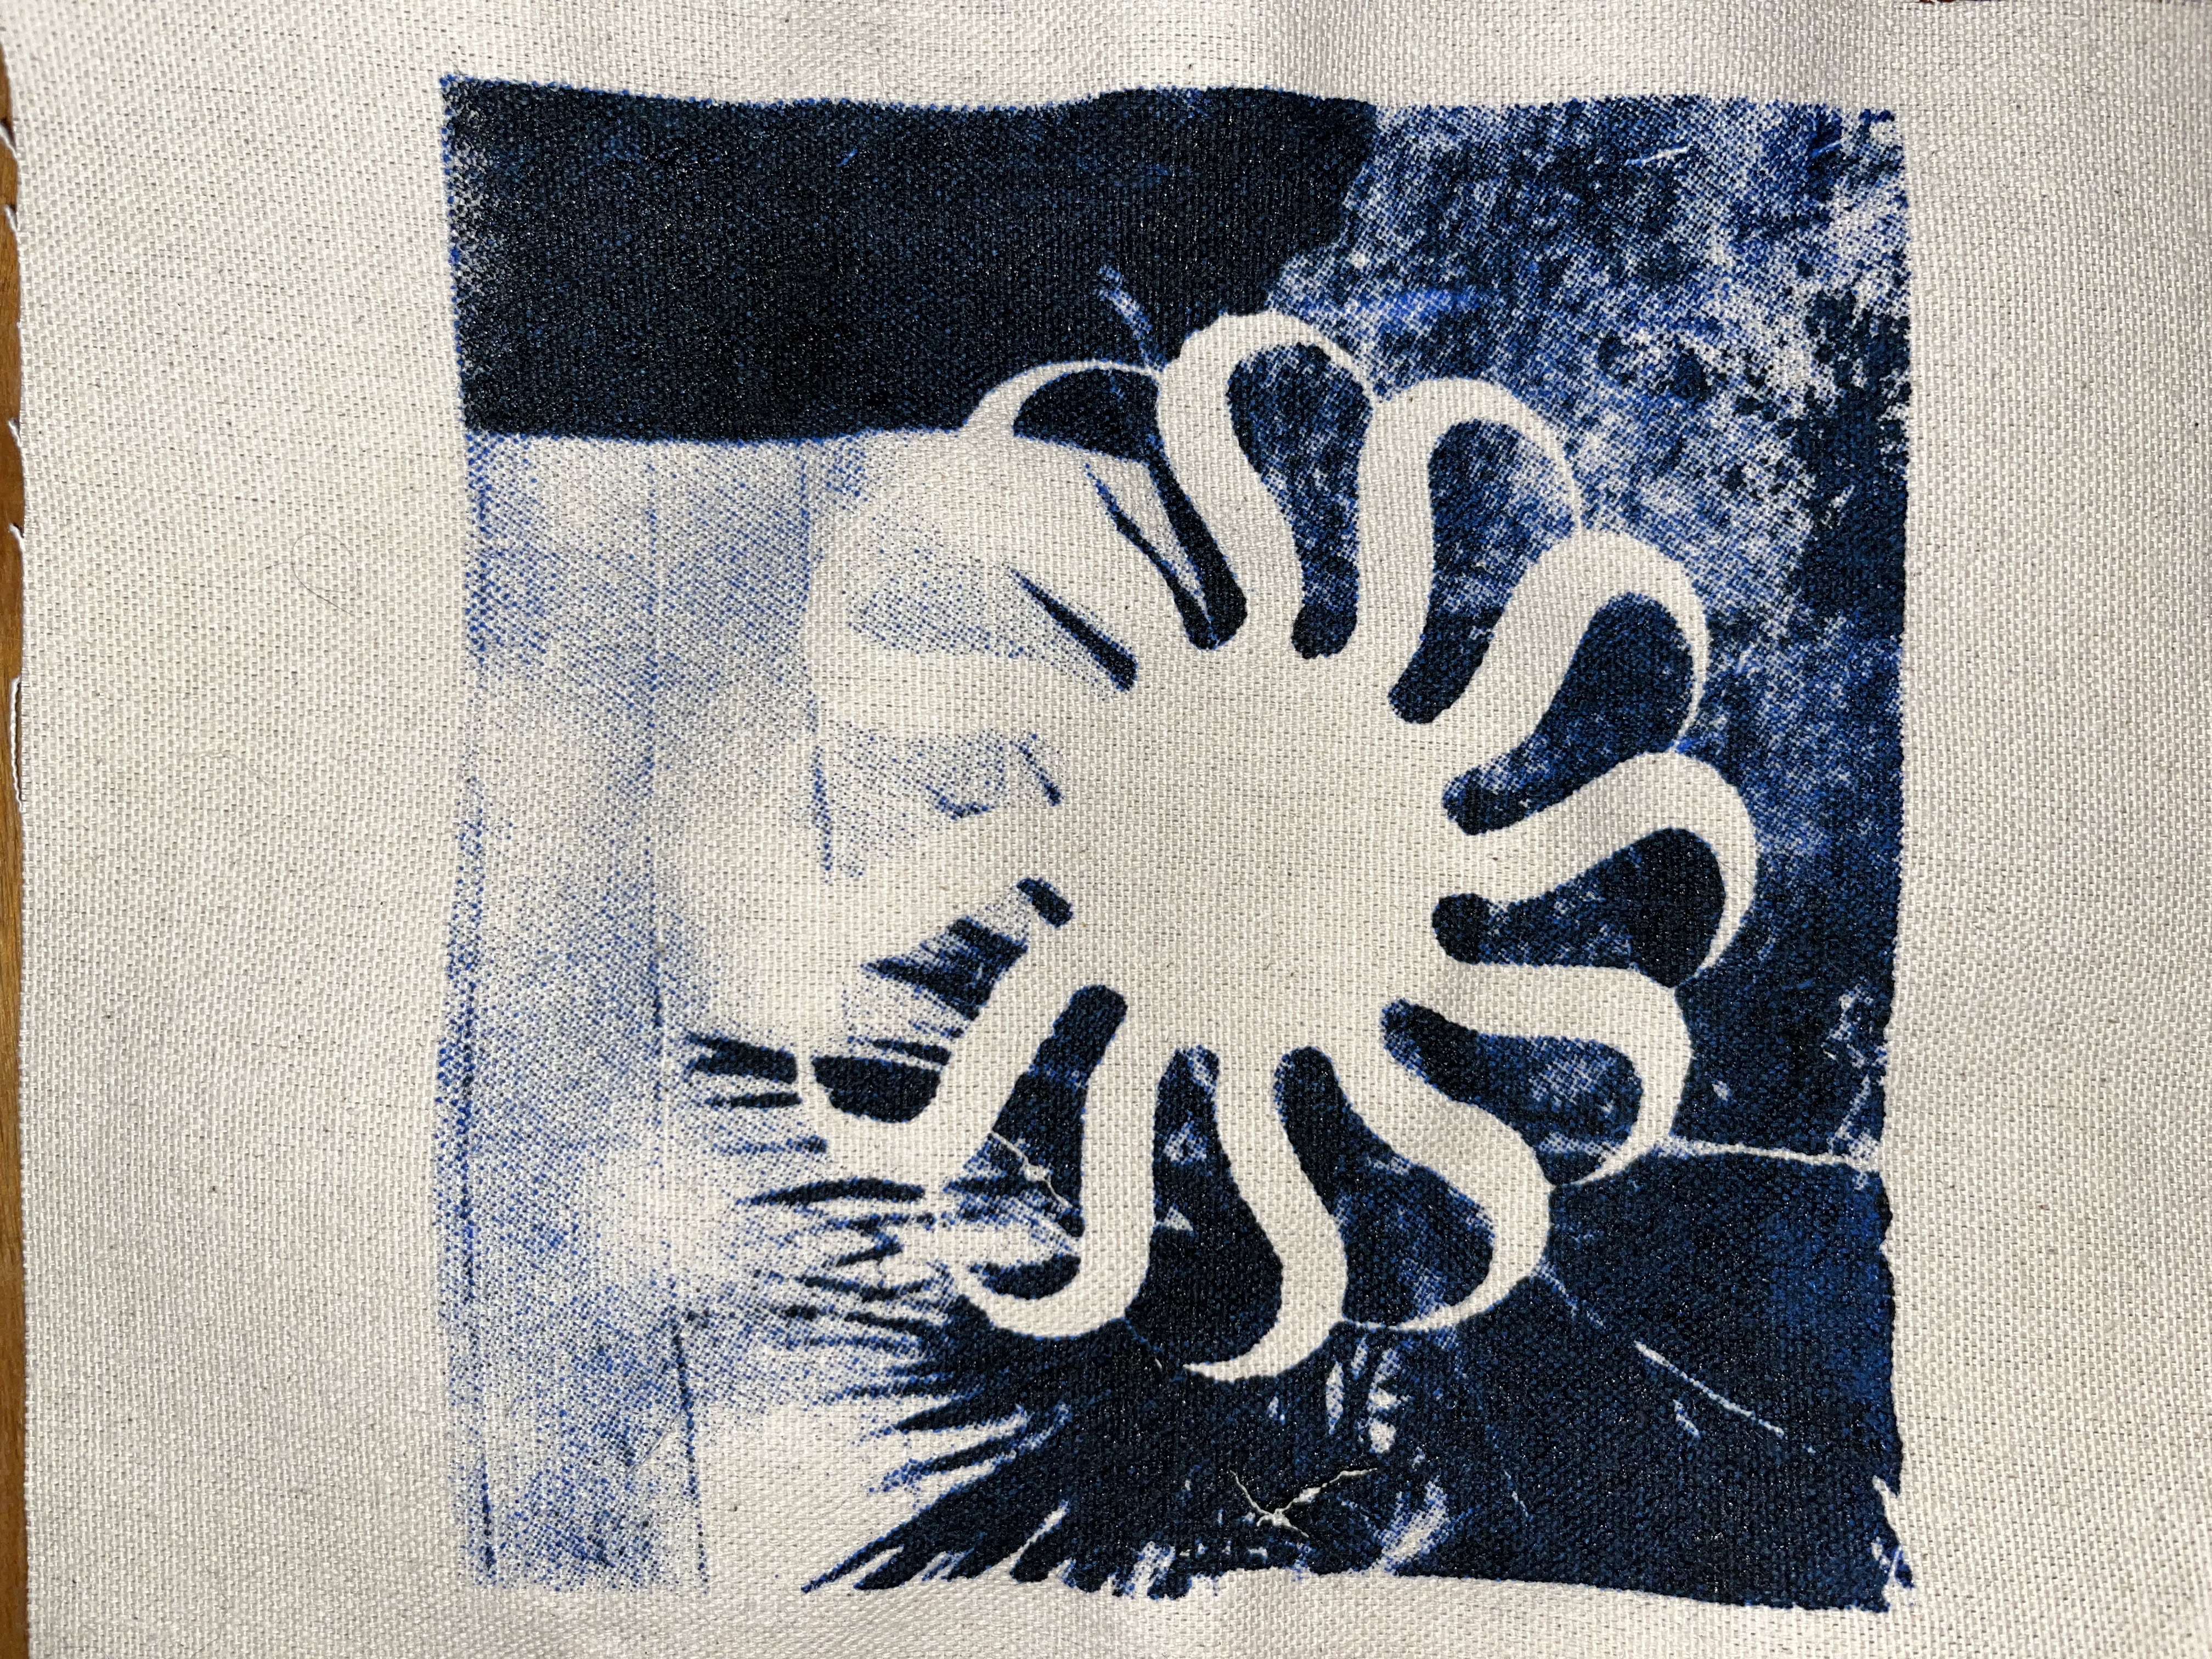
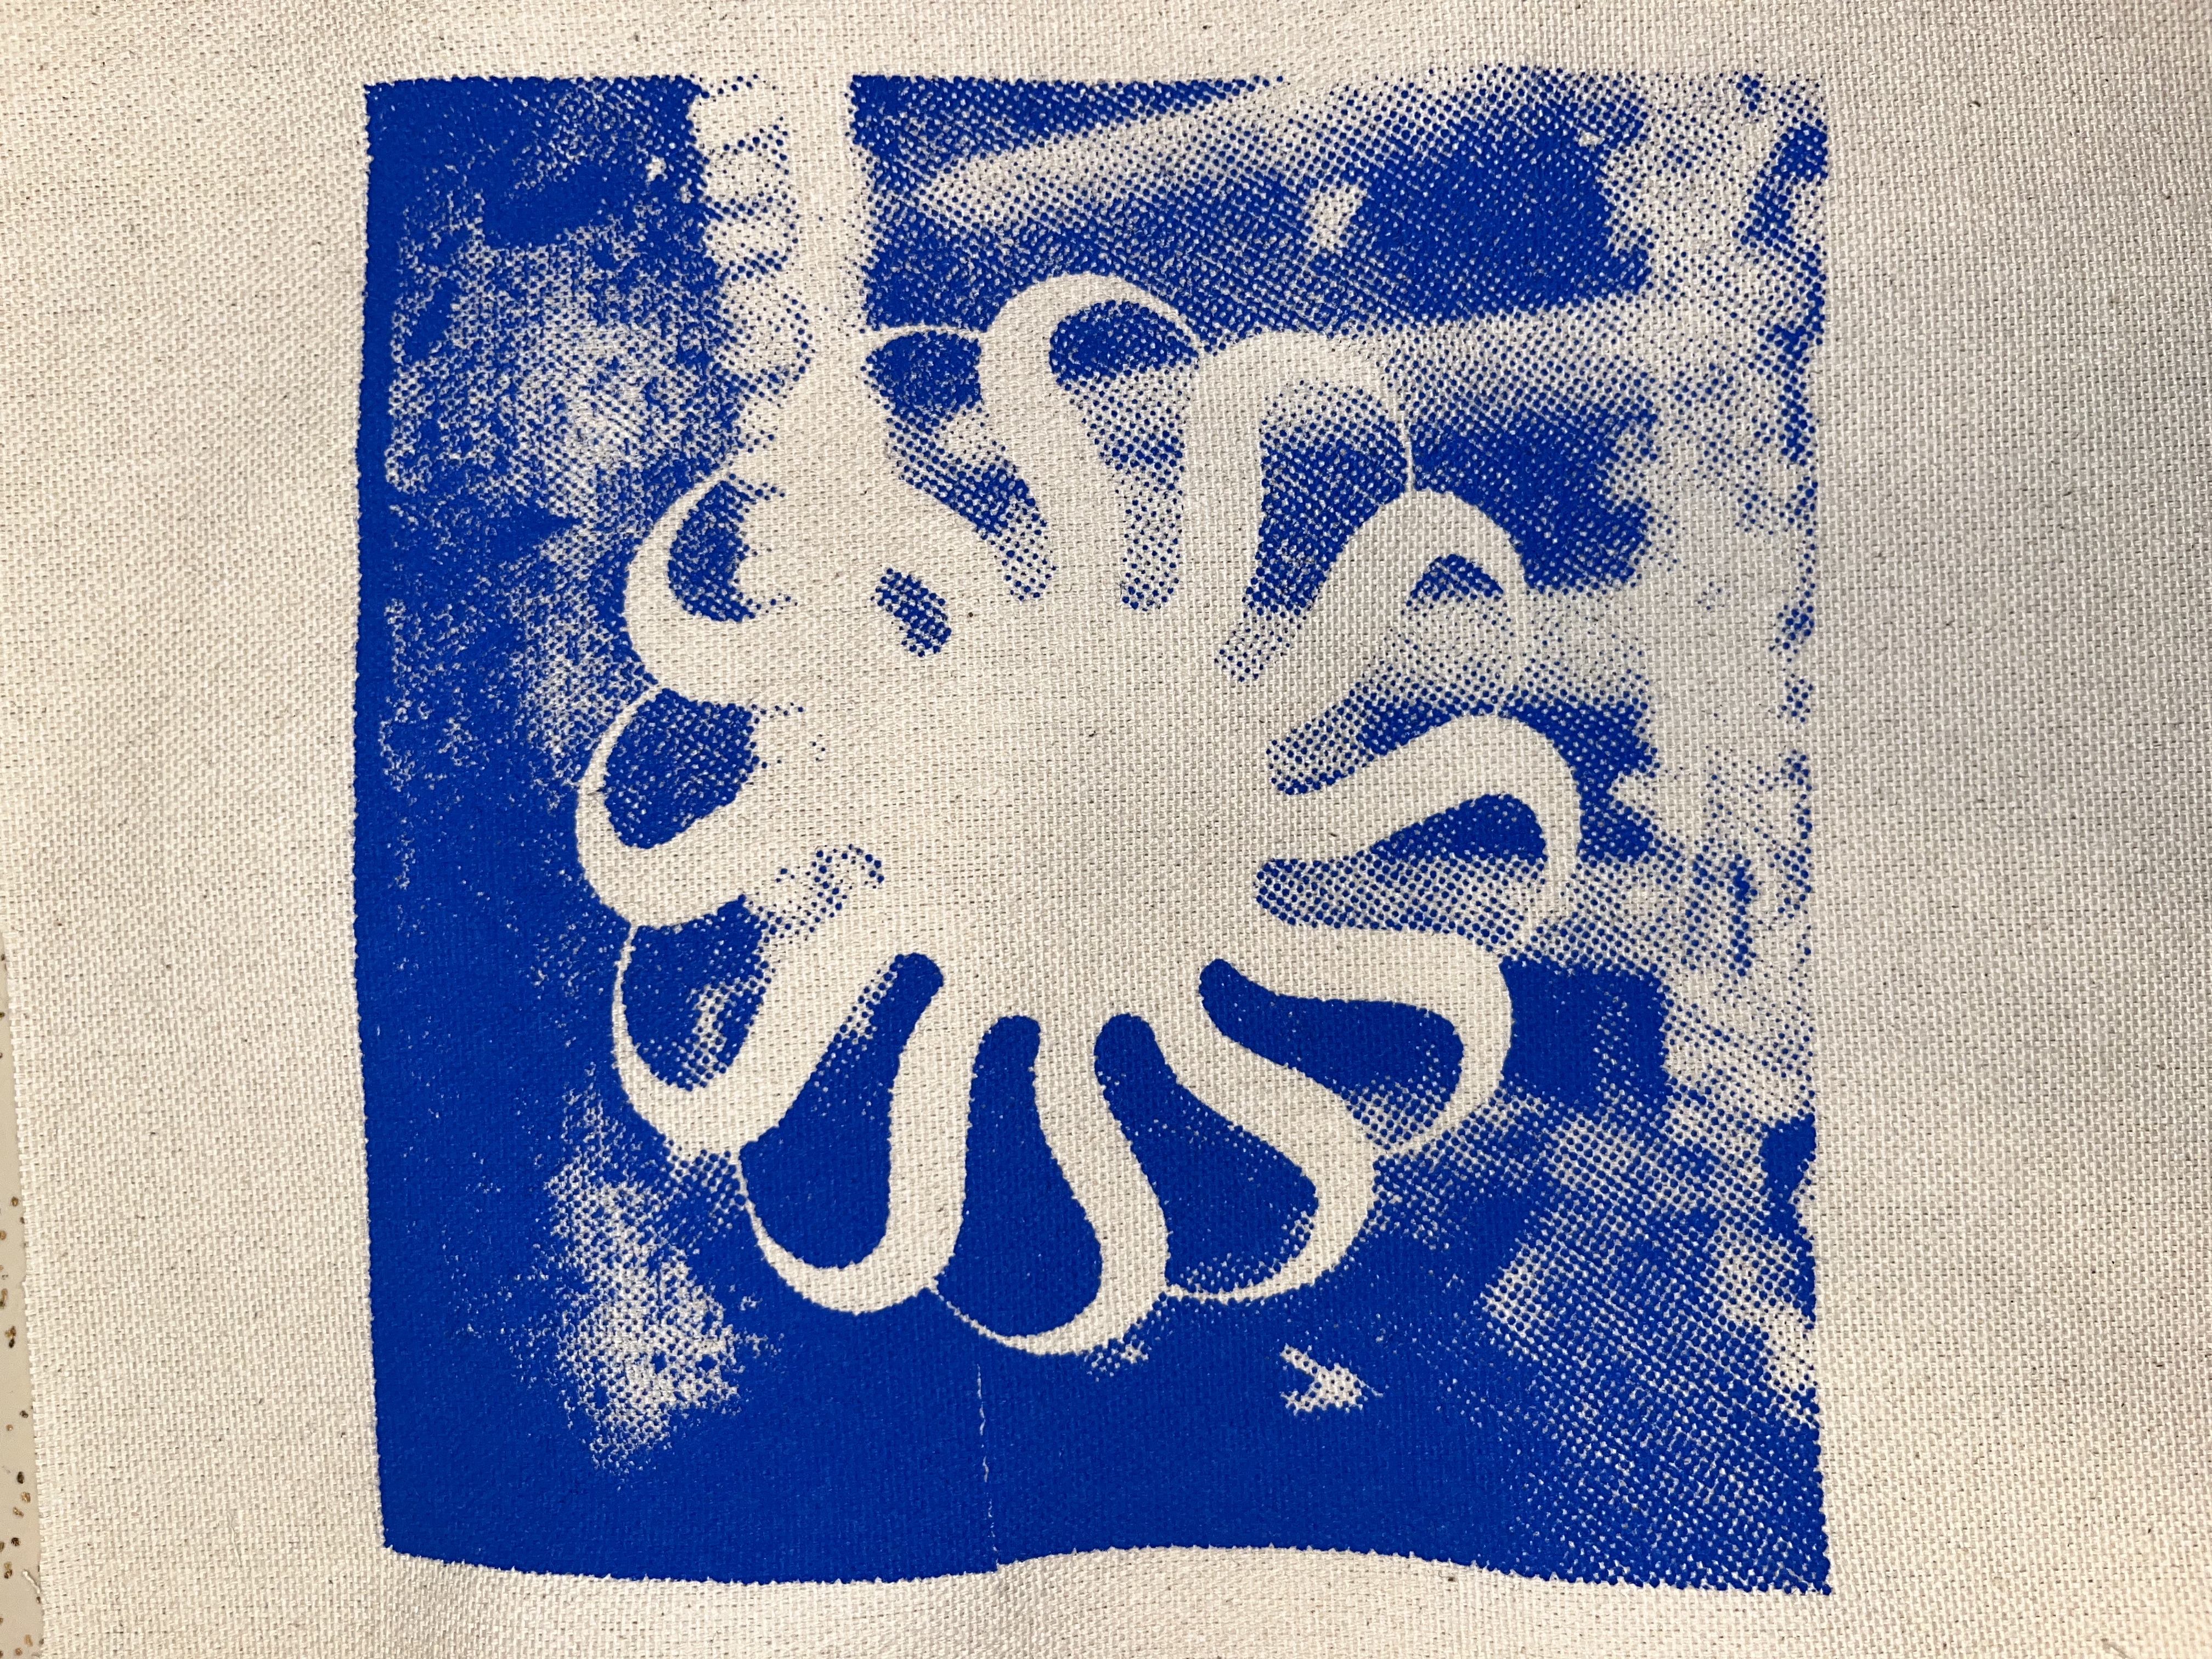
Each time I finished a project, it got easier. Same goes for most things, but I’m telling you this was frustrating AF to figure out at home. Now that I figured it out, I thought I’d break down my process. The photos below are from a session I had last Sunday. S/O to my bestie Nick for coming by and helping with the art and concept!
Step 1: Prepare Screens
This part is boring but important. Essentially you take the emulsion and coat the screens with it. This needs to be done away from UV light. I learned that a yellow bug-light is much cheaper than any darkroom lights and does the trick. I do this step in a room with the windows covered and the yellow light on. After the screens are coated, you need to leave them to dry horizontally. I turn a fan on to speed this process up a bit. A blackout curtain is also a good idea if you don’t have space for a drying cabinet. With the emulsion that I use (Ulano Orange), the humidity in the room, and a number of other factors, I found 1.5 hours minimum drying time is required.
Step 2: Prepare Art
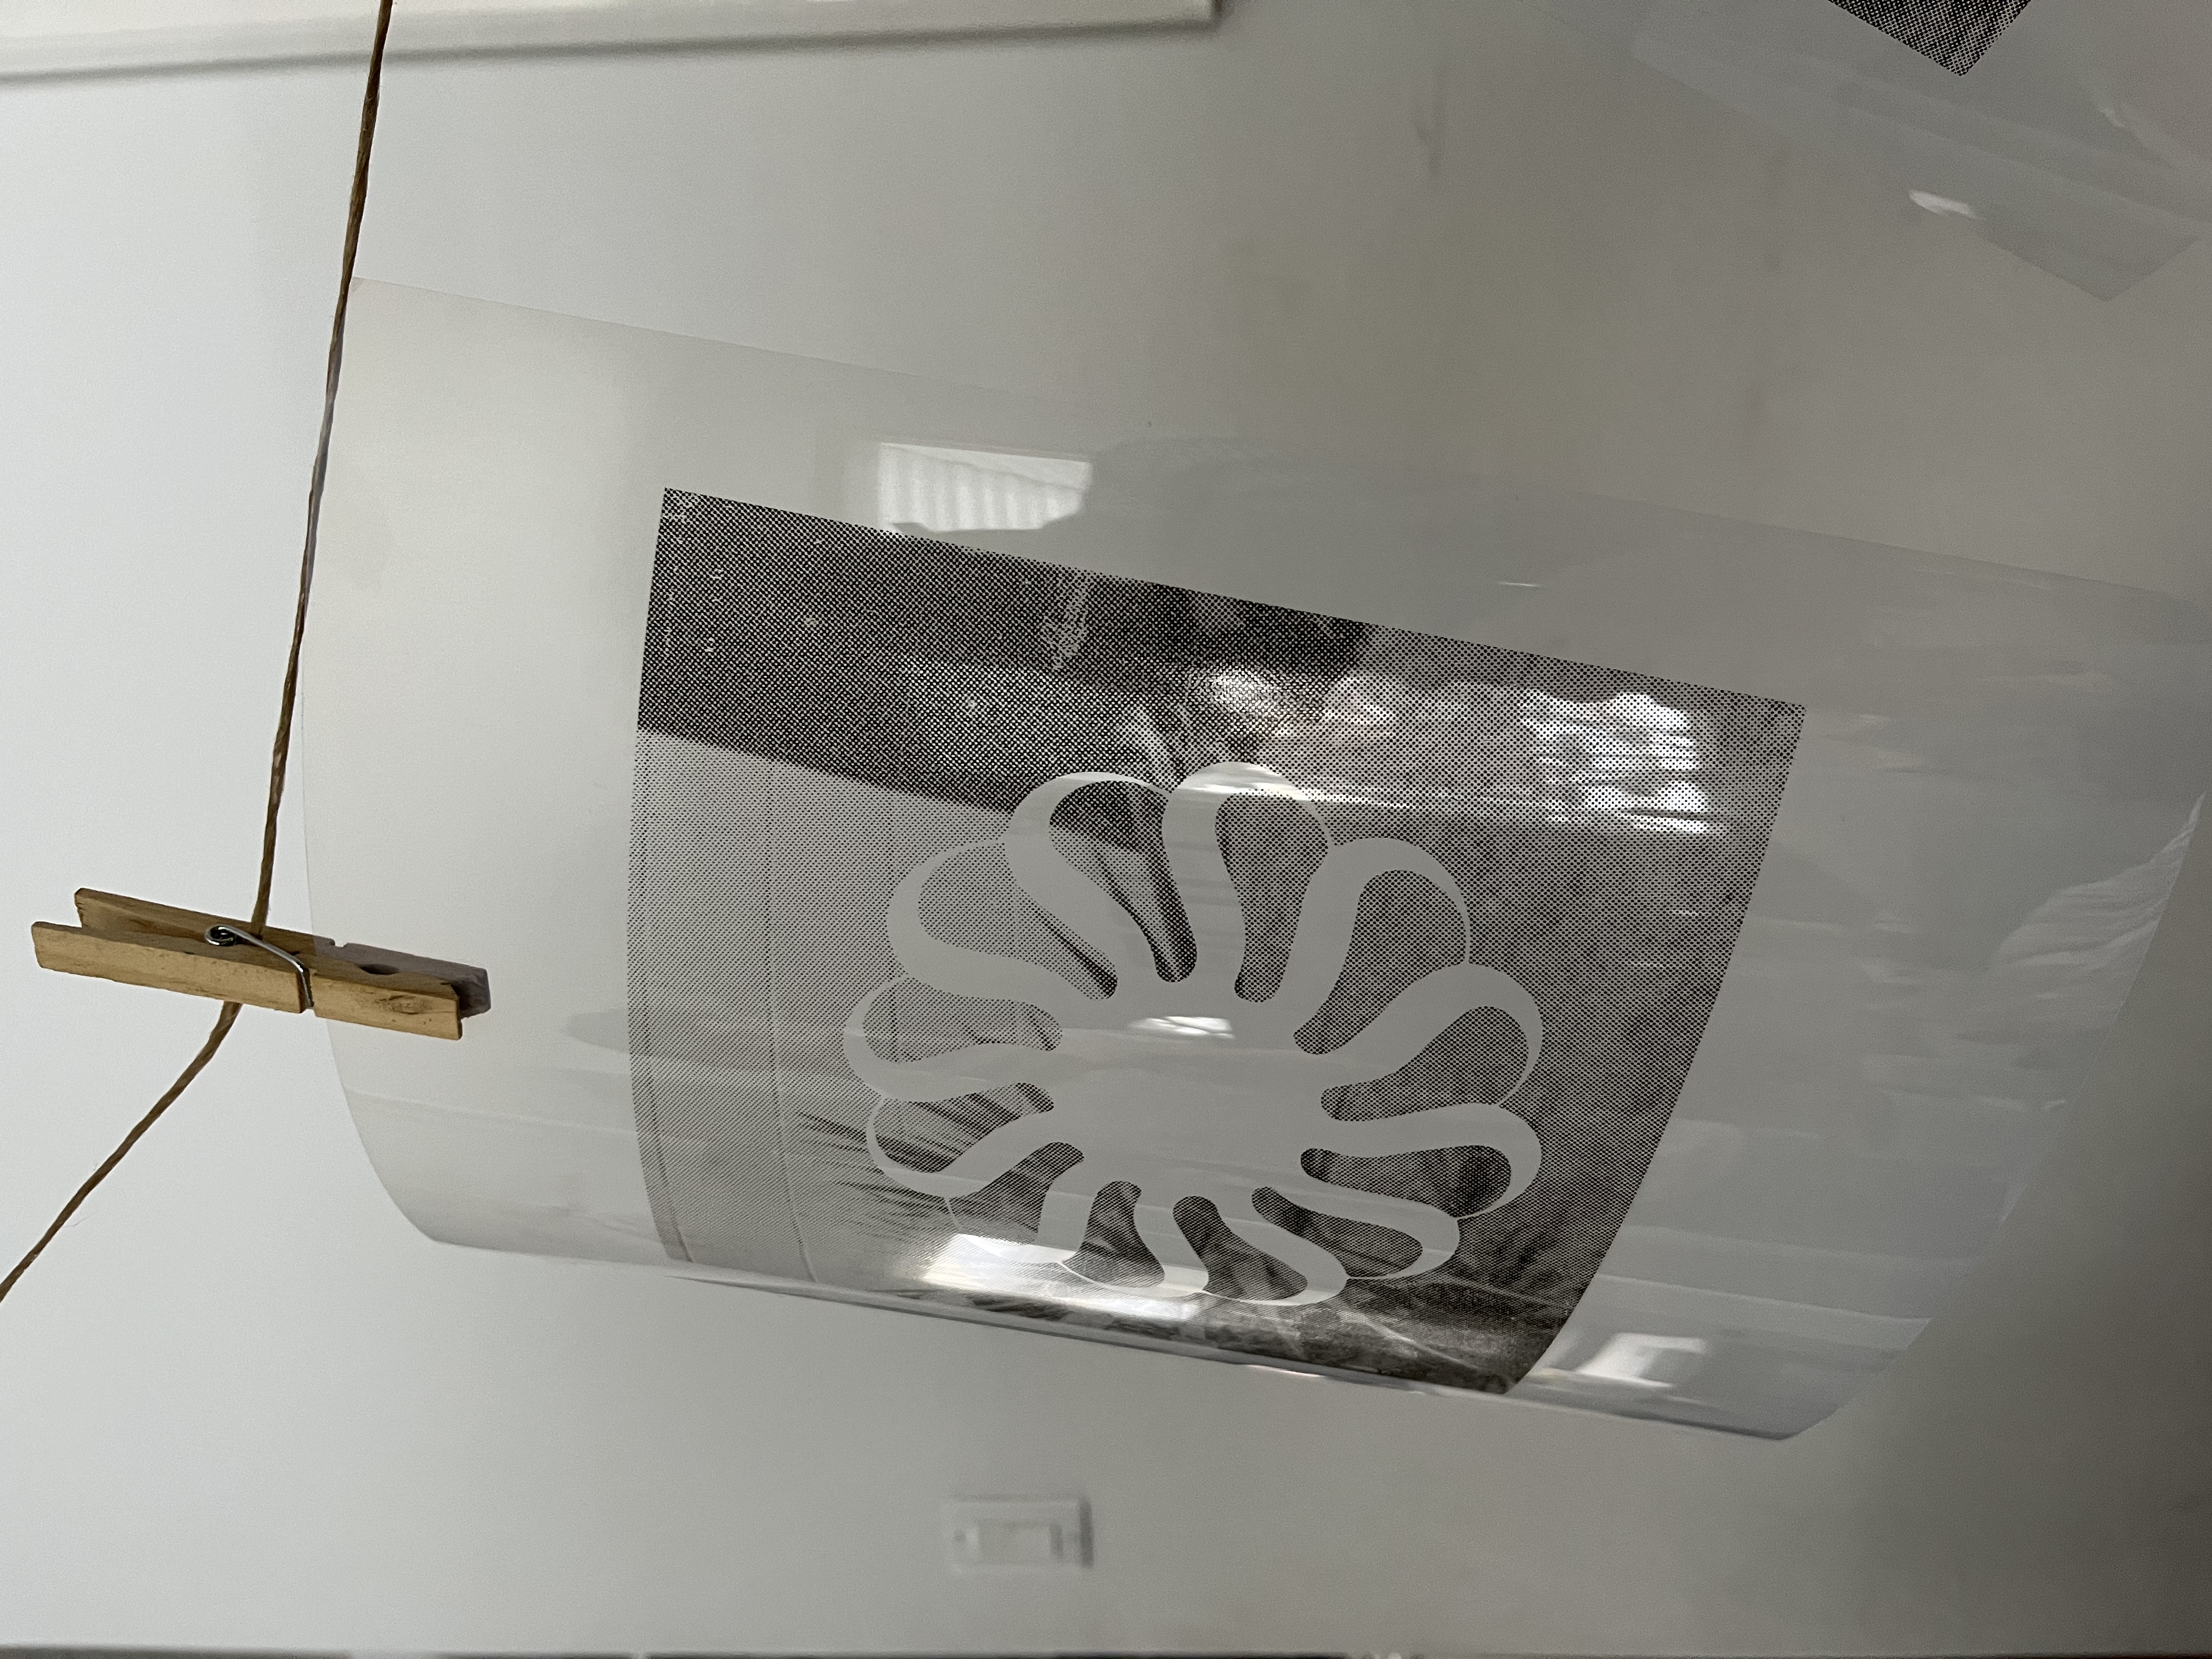
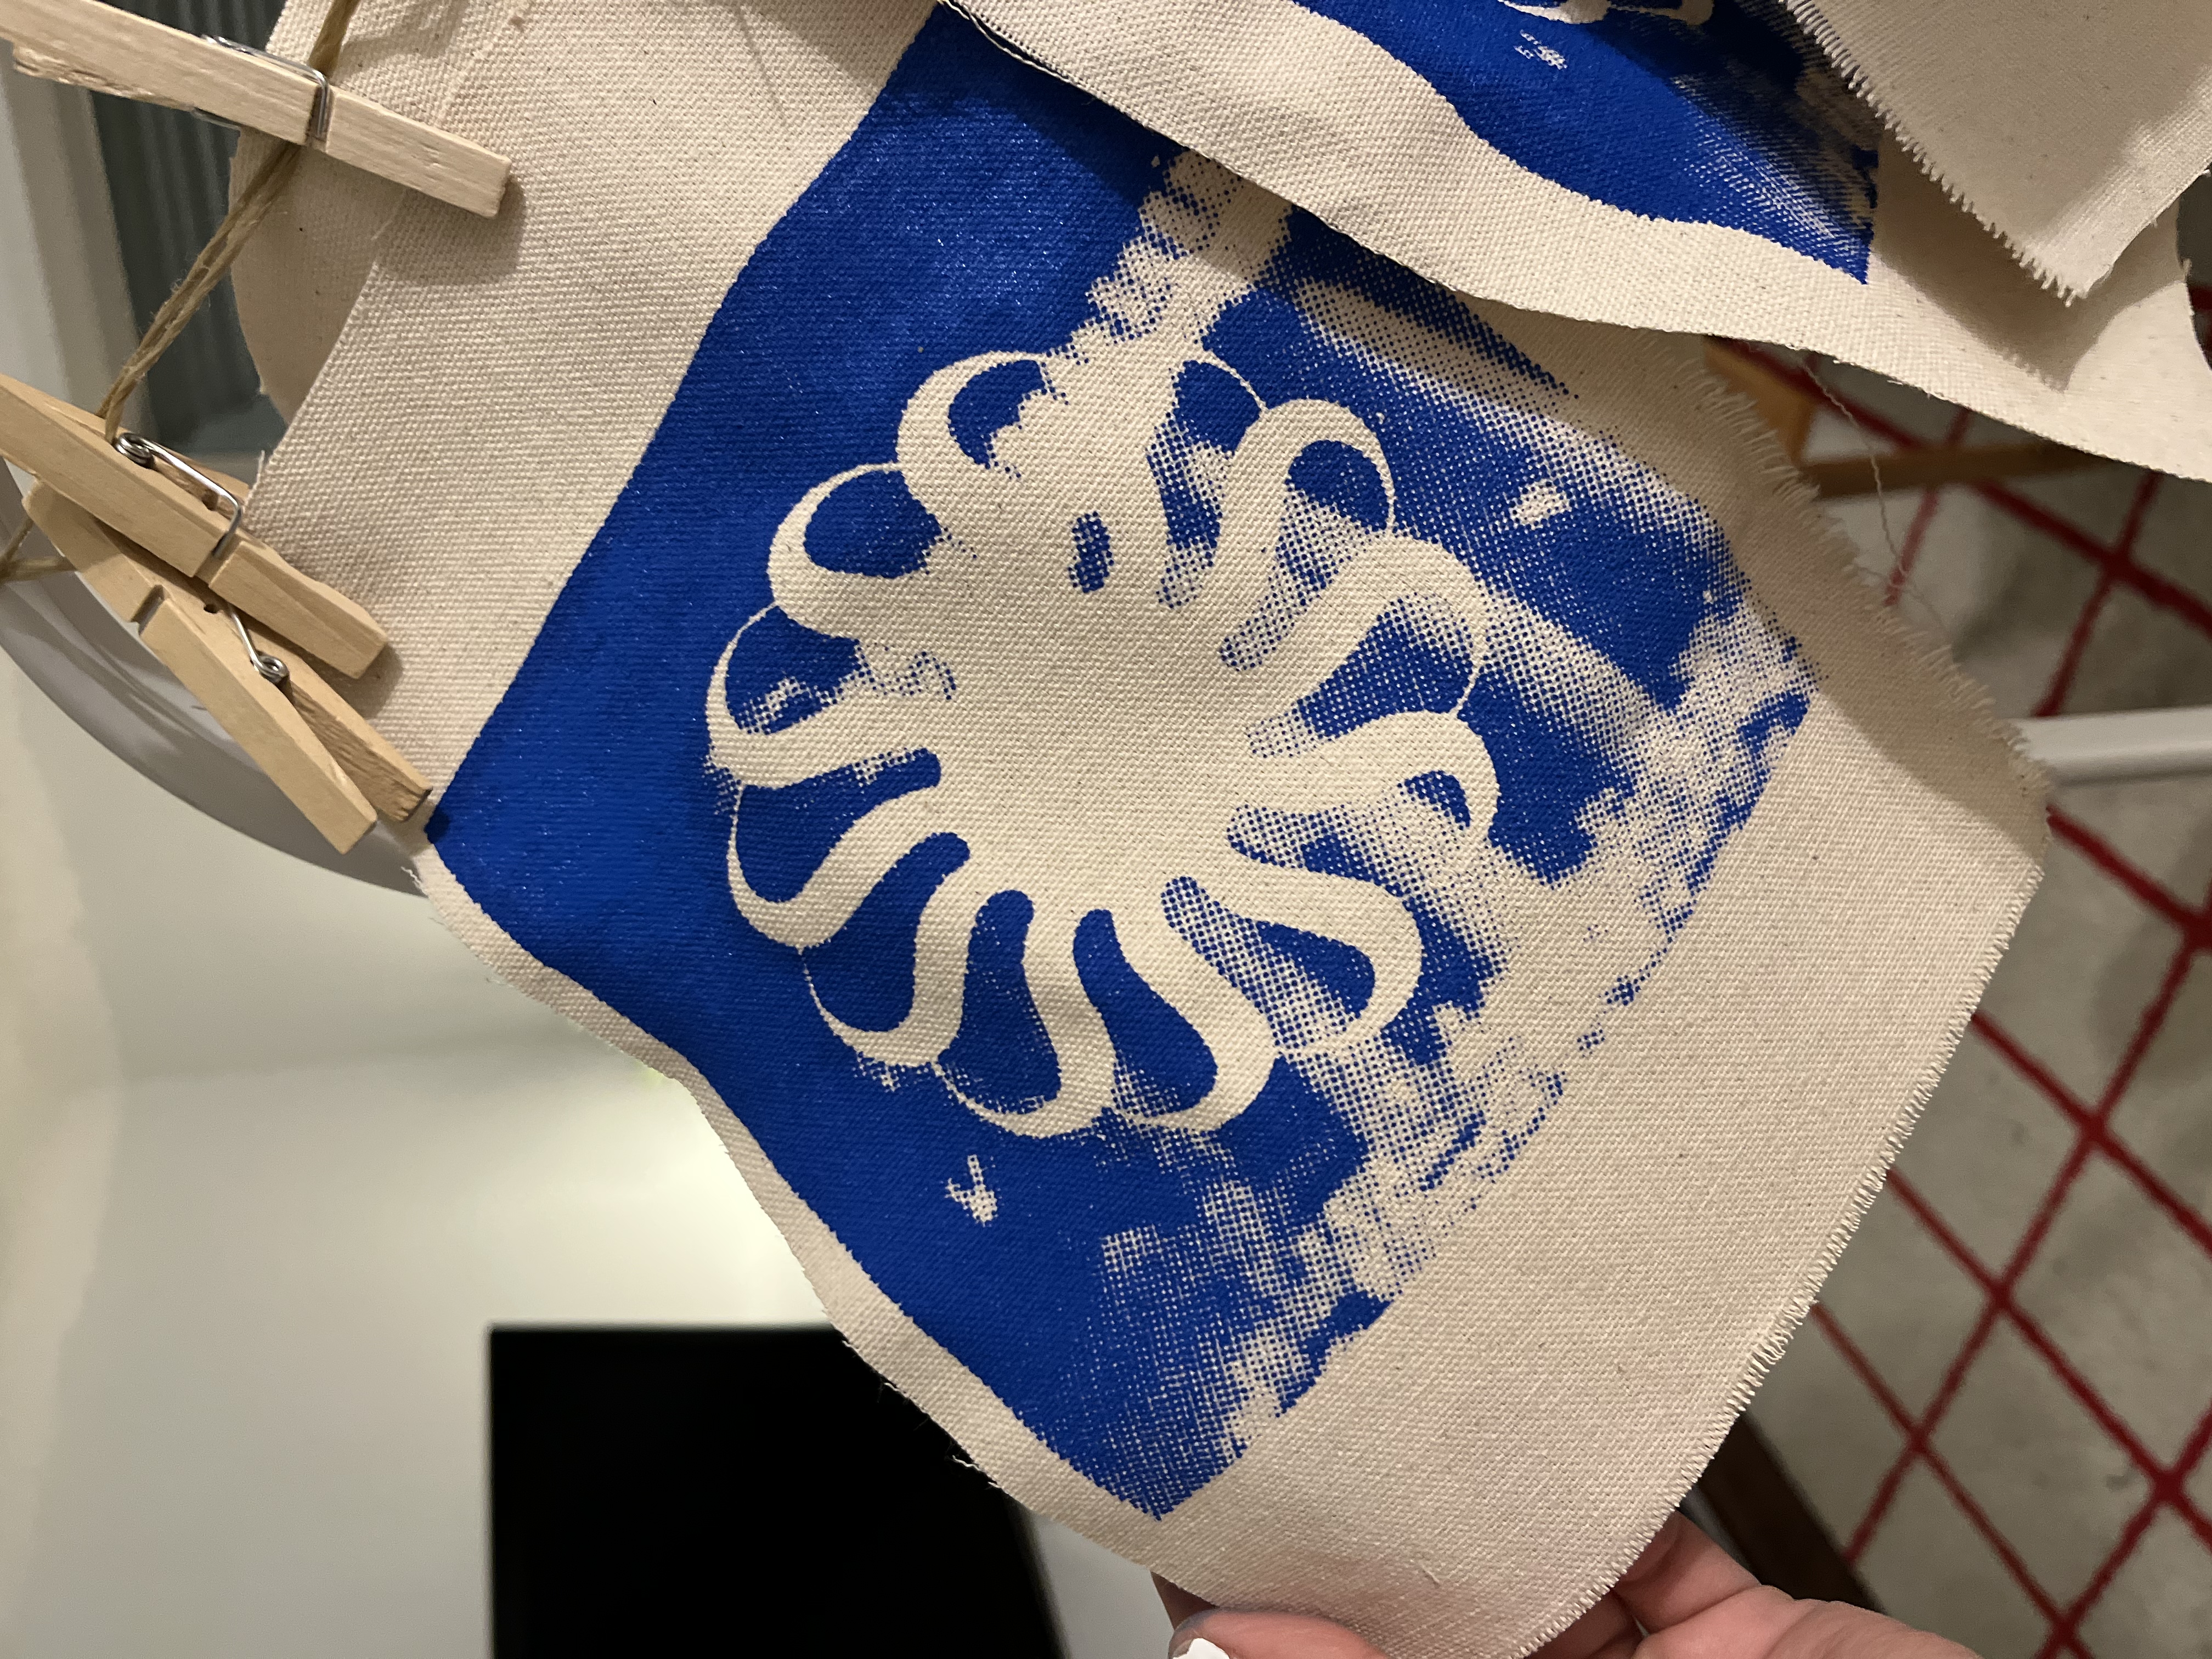
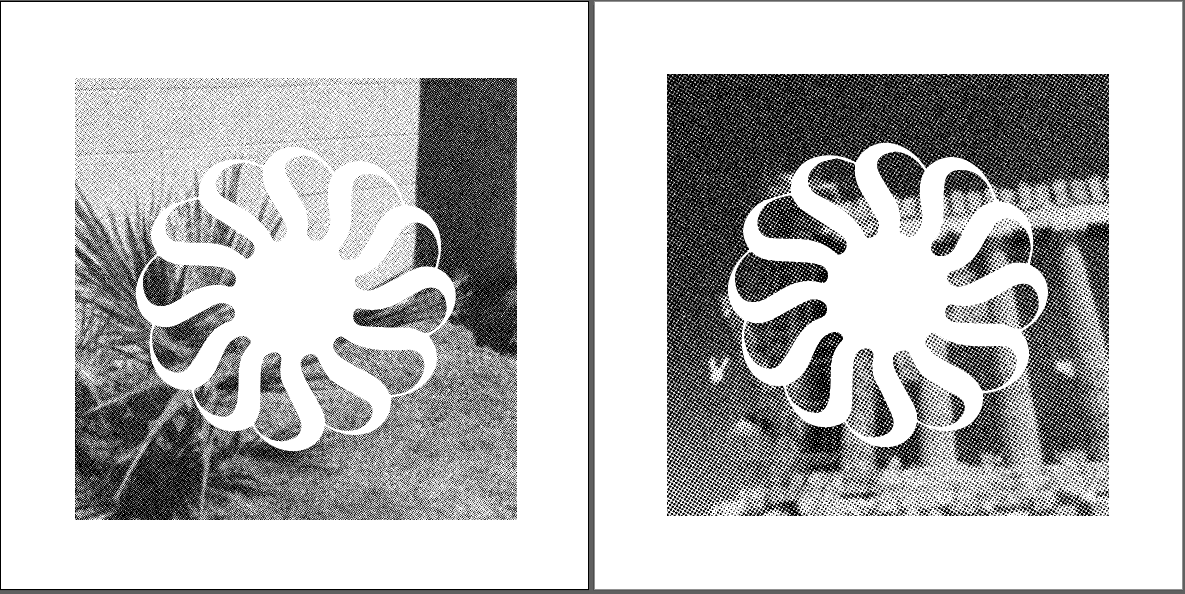
I bought some canvas from a local fabric shop so I thought it would be fun to make some patches. We didn’t really have an art concept going in but I had some high mesh-count screens ready which meant we could try something with higher detail (higher mesh = more spots for the ink to pass though, think of it like pixels). We smoked up and Nick found some cool photos from some of his trips that we went with. I thought it would be cool to play with negative space so we added this sun element on top. We spent some time deciding what we liked and went with these designs. We printed out the designs on some inkjet transparency paper twice and layering them on top of one another to make sure that the transparency was dark enough that light cannot pass though (which is very important for the next step).
Step 3: Burn Screens
Back in the makeshift darkroom, we went to burn our design onto the screens we prepared in Step 1. To do this, we took the transparency we made in Step 2 and placed it onto the coated screens. We placed our transparency (reversed) onto the on the screen print side up (print side = the side that hits the print surface; the “flat” part of the screen). This is done on a black table or you can use a black t-shirt or piece of paper to ensure light did not go through. When doing detailed work such as a photographic image, I will place a piece of glass from a picture frame on top of the transparency to make sure it is flat and does not get distorted during the actual burning process; the glass allows light to go through the parts we do not want to print. Through trial and error from previous projects I found the optimal distance of light to the screen and calculated the appropriate burn time. If you’re interested in details HMU. We flicked the light on and waited for the screens to burn. As soon as the time is over, we shut the light off and developed the screens using water. Then with a little bit of water pressure, your design becomes exposed! The emulsion is still “wet” where the design was placed, and the other emulsion is cured by the burnlight. If done right, you should have a perfect stencil! Let it air dry a bit.
Step 4: Print!
Prepare Prepare Prepare. We prepared some canvas by cutting it into smaller pieces. Surprisingly, the canvas was cheaper than the printmaking paper from the art store. Then, the ink, and the screen itself. Be really organized and tidy at this stage. I made a makeshift clampboard using some clamps I found online and an old cabinet door. It works perfectly. I locked the screen to this board and then taped up the parts of the screen that did not have emulsion, had a different design, or had any holes where ink could pass though and mess up my print. Using some transparency paper I did a test print that I also use for registration and if everything worked out, we should be good to go! This part is satisfying, once the image gets printed perfectly, it makes the tediousness of everything earlier in the day worth it.
Step 5: Reclaim Screens
Go to the carwash and spray them d o w n. You need high pressure to reclaim your screens (as well as a chemical emulsion remover). I like doing this when I’m having a bad day, it feels good to clean ‘em out and start thinking of my next project.
Anyways, hope you enjoyed this!
x, hj